It was supposed to be a simple, long, stockinette/rib cardigan that would show off my oh-so-pretty New York colorway Color Adventures cashmere sock yarn. Simple. It was supposed to be simple. So, why oh why, nine months post cast on, with a half sweater worth of teeny tiny loops pulled through loops, did I find myself two seconds from frogging the whole thing into oblivion?
I’ll tell you why: it was so simple, I forgot to think. All those oh-so hard lessons of projects gone by were apparently locked firmly away in a dusty file cabinet in my brain. I really should read my own blog posts. Remember that post where I said sweaters are hard? It’s no joke – even the easy sweaters are hard, it seems. It’s true that I made a couple modifications (as I am wont to do) to Joji’s lovely design, but the mods weren’t the problem. Both mods, the contrast edging and the pockets, were a bit finicky, but the applications went smoothly and added much coolness to the design without affecting its clean lines. Nope, the mods were fine. It was some fundamental, I-should-have-know-better stuff that got me.
The Body
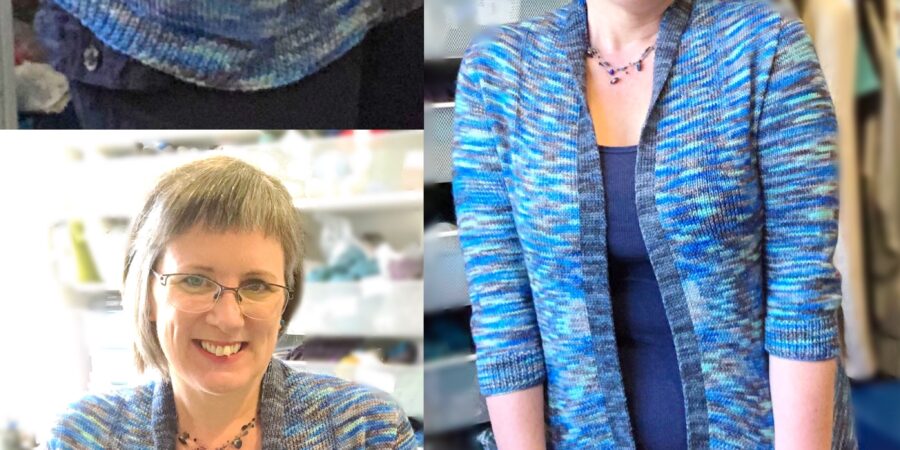
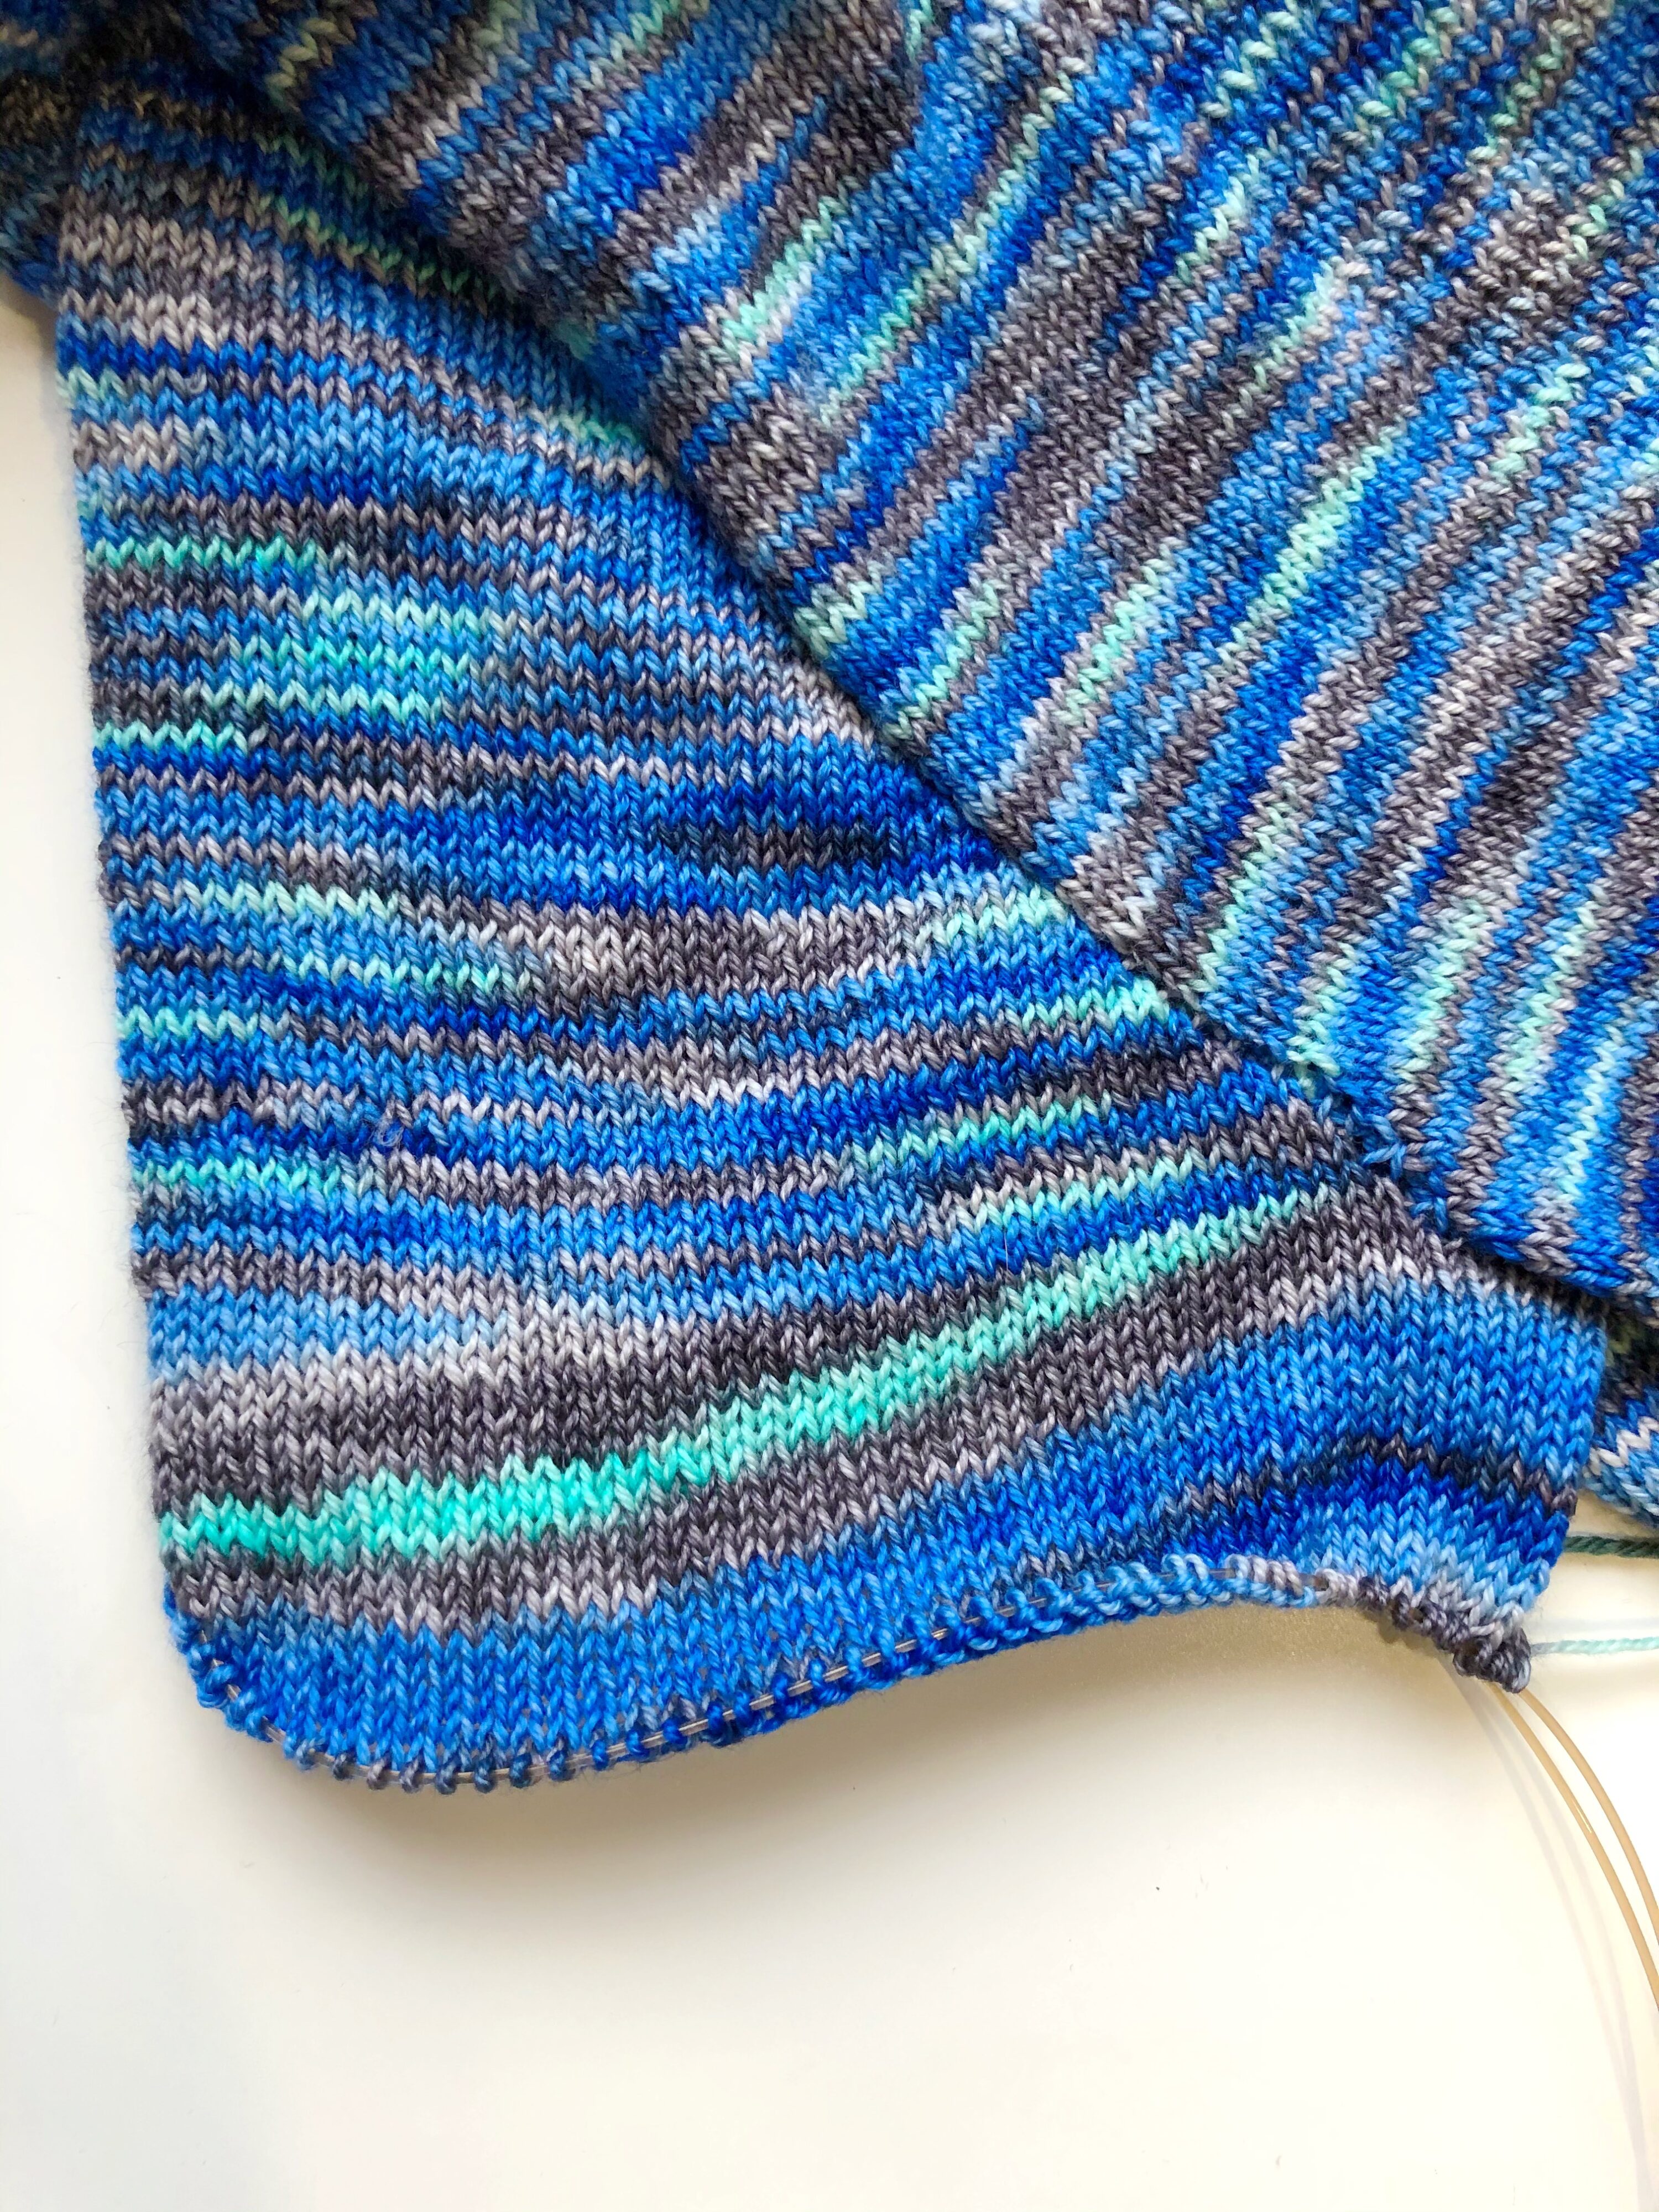
As you may recall, this little number is Joji Locatelli’s Longline Cardigan. At the stage below, the body, which is worked top down from the center back neck, was looking snazzy and I was still a happy camper.
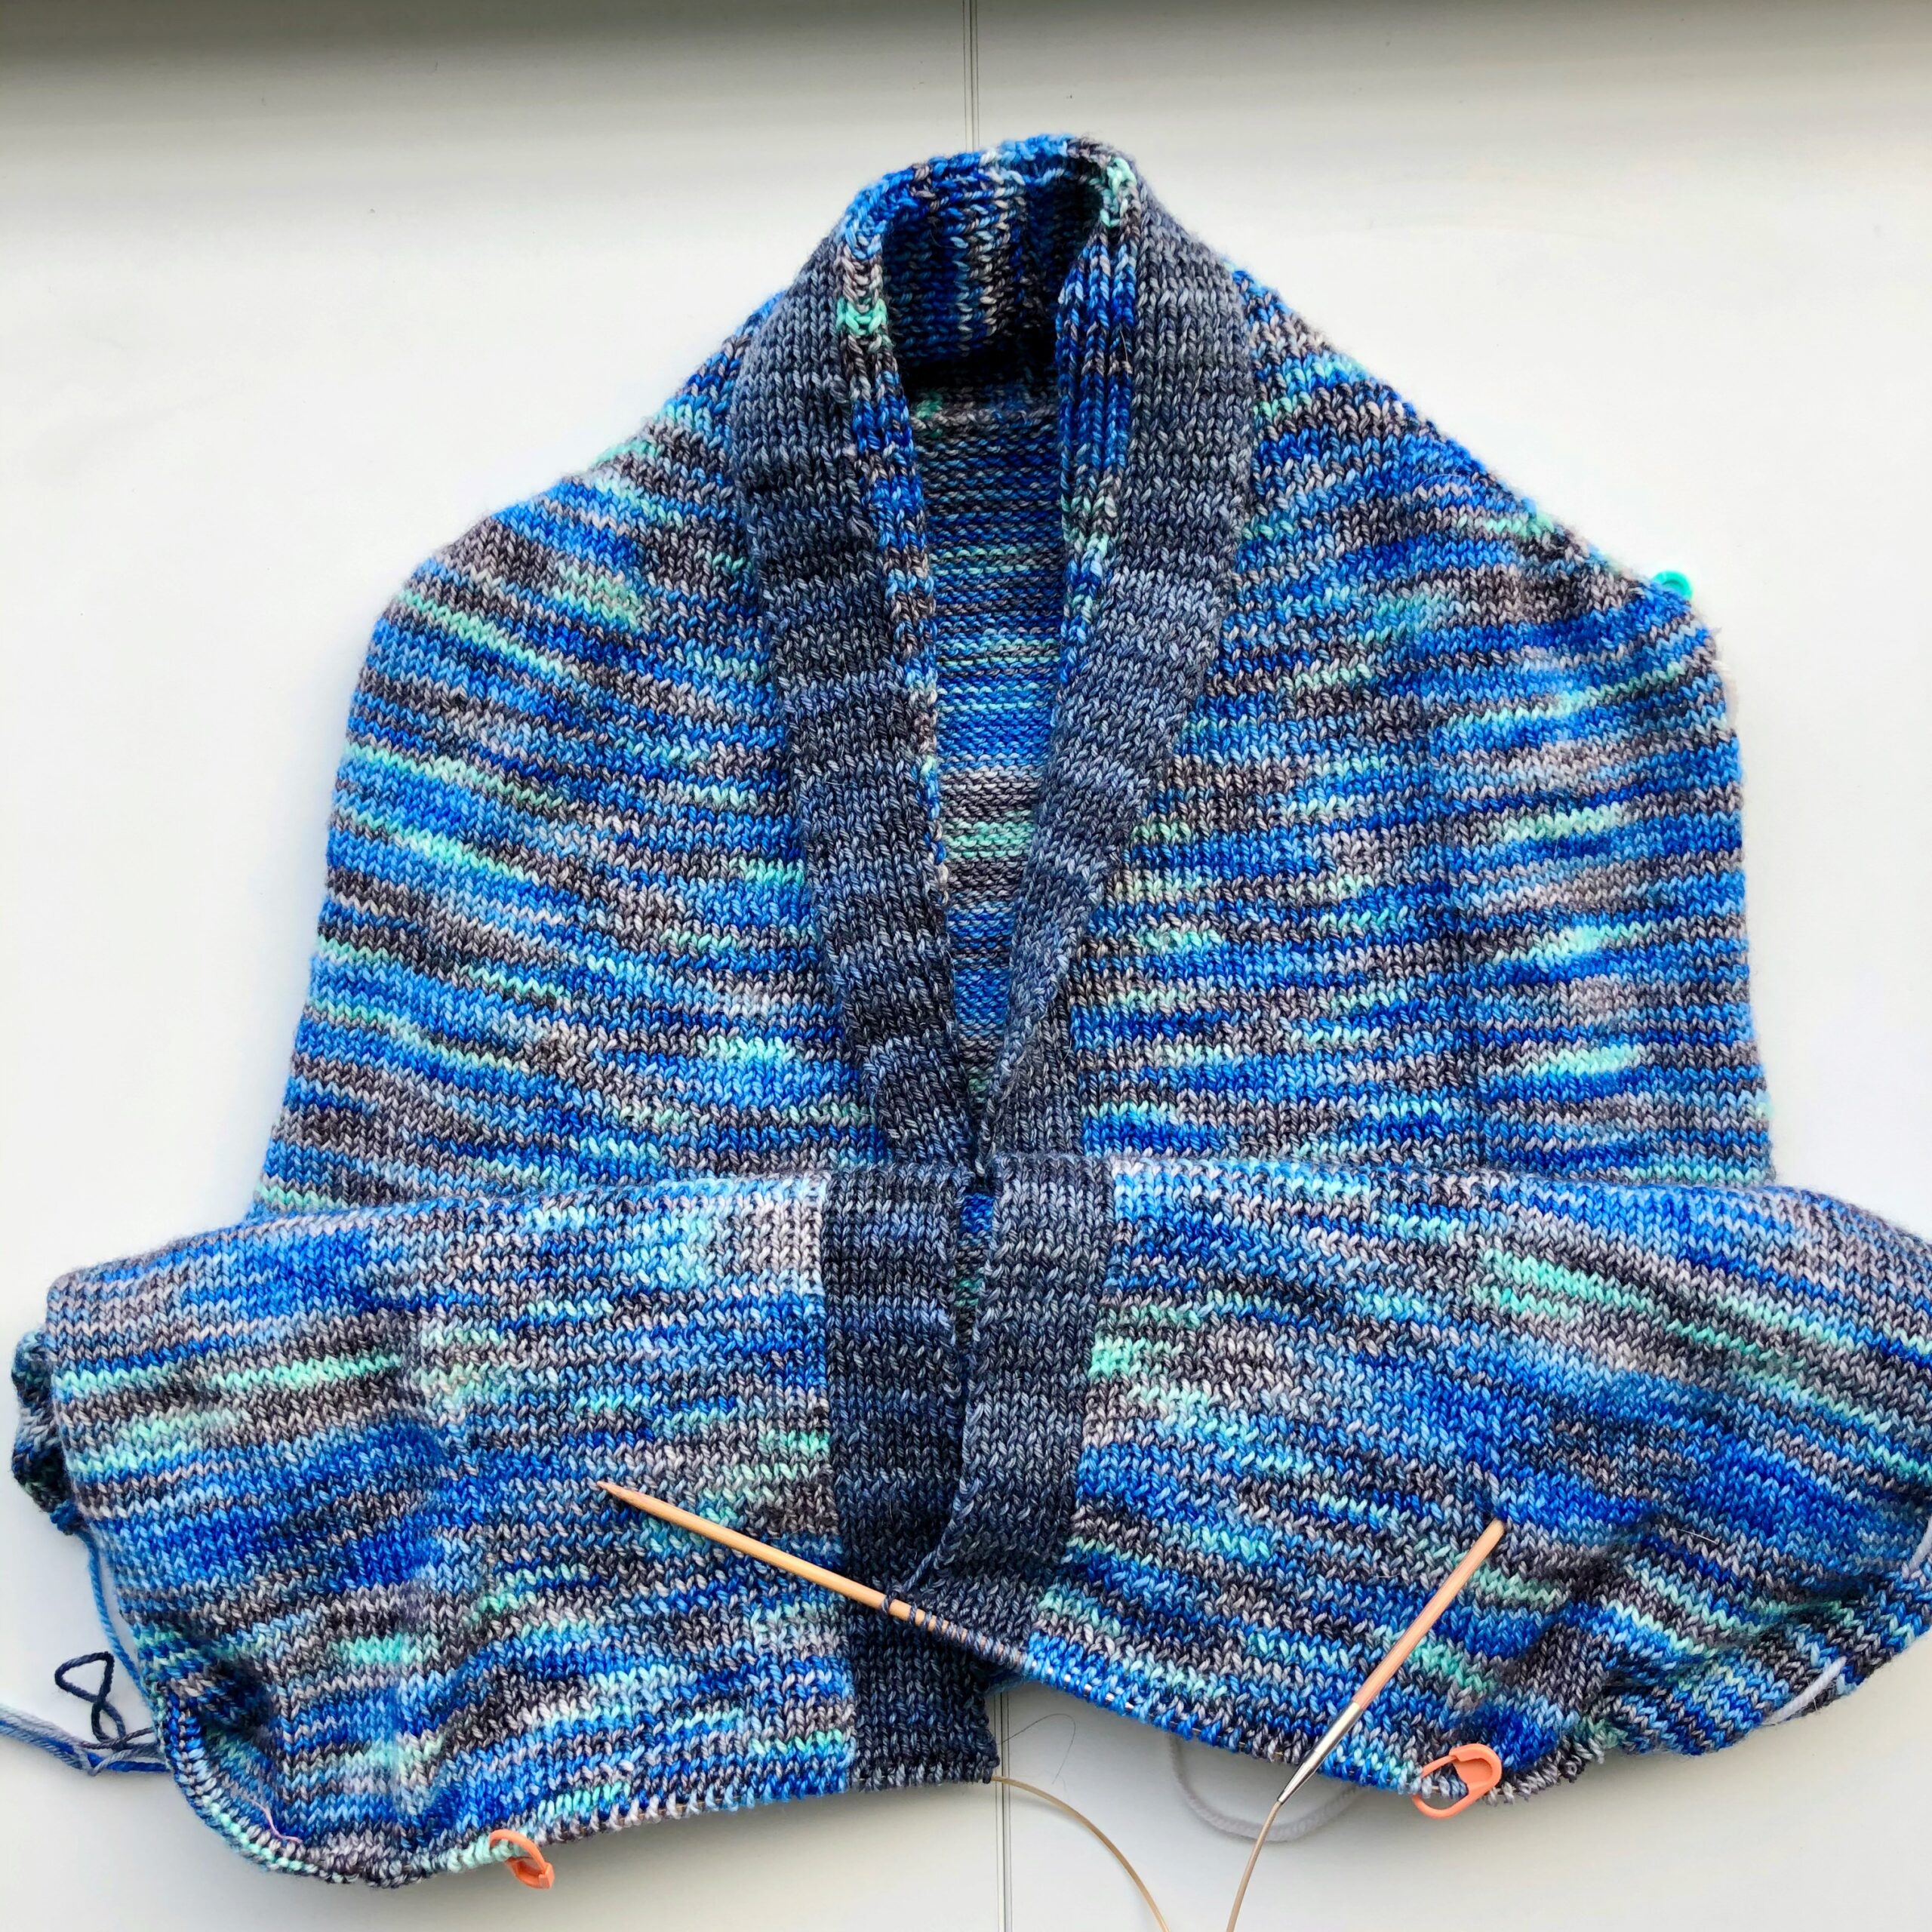
It’s all pretty yarn and a groovy contrast edging creating a flattering vertical line down the center. All’s well to carry on, yes? Actually no, but I carry on I did, nonetheless. Somewhere in the back of my stubborn, I-know-better brain, I knew there was a potential issue brewing, but I also knew that correcting it would mean frogging back about a zillion tiny stiches and knitting them again. I can deal with it later, I asserted assertively. Right now, I have to think about how to add pockets, because I’m really excited about doing that and I’m really not excited about frogging back a bunch of hours and I’m already feeling like it’s taken me way too long to knit this sweater which has been sitting in time out for months because of all the tiny tiny stitches and…HEY LOOK! A COOL POCKET METHOD I HAVEN’T TRIED BEFORE!! Uh huh, I got really really really distracted by this super cool pocket method, so I madly knitknitknit the tiny stitches until I landed on the pocket top threshold.
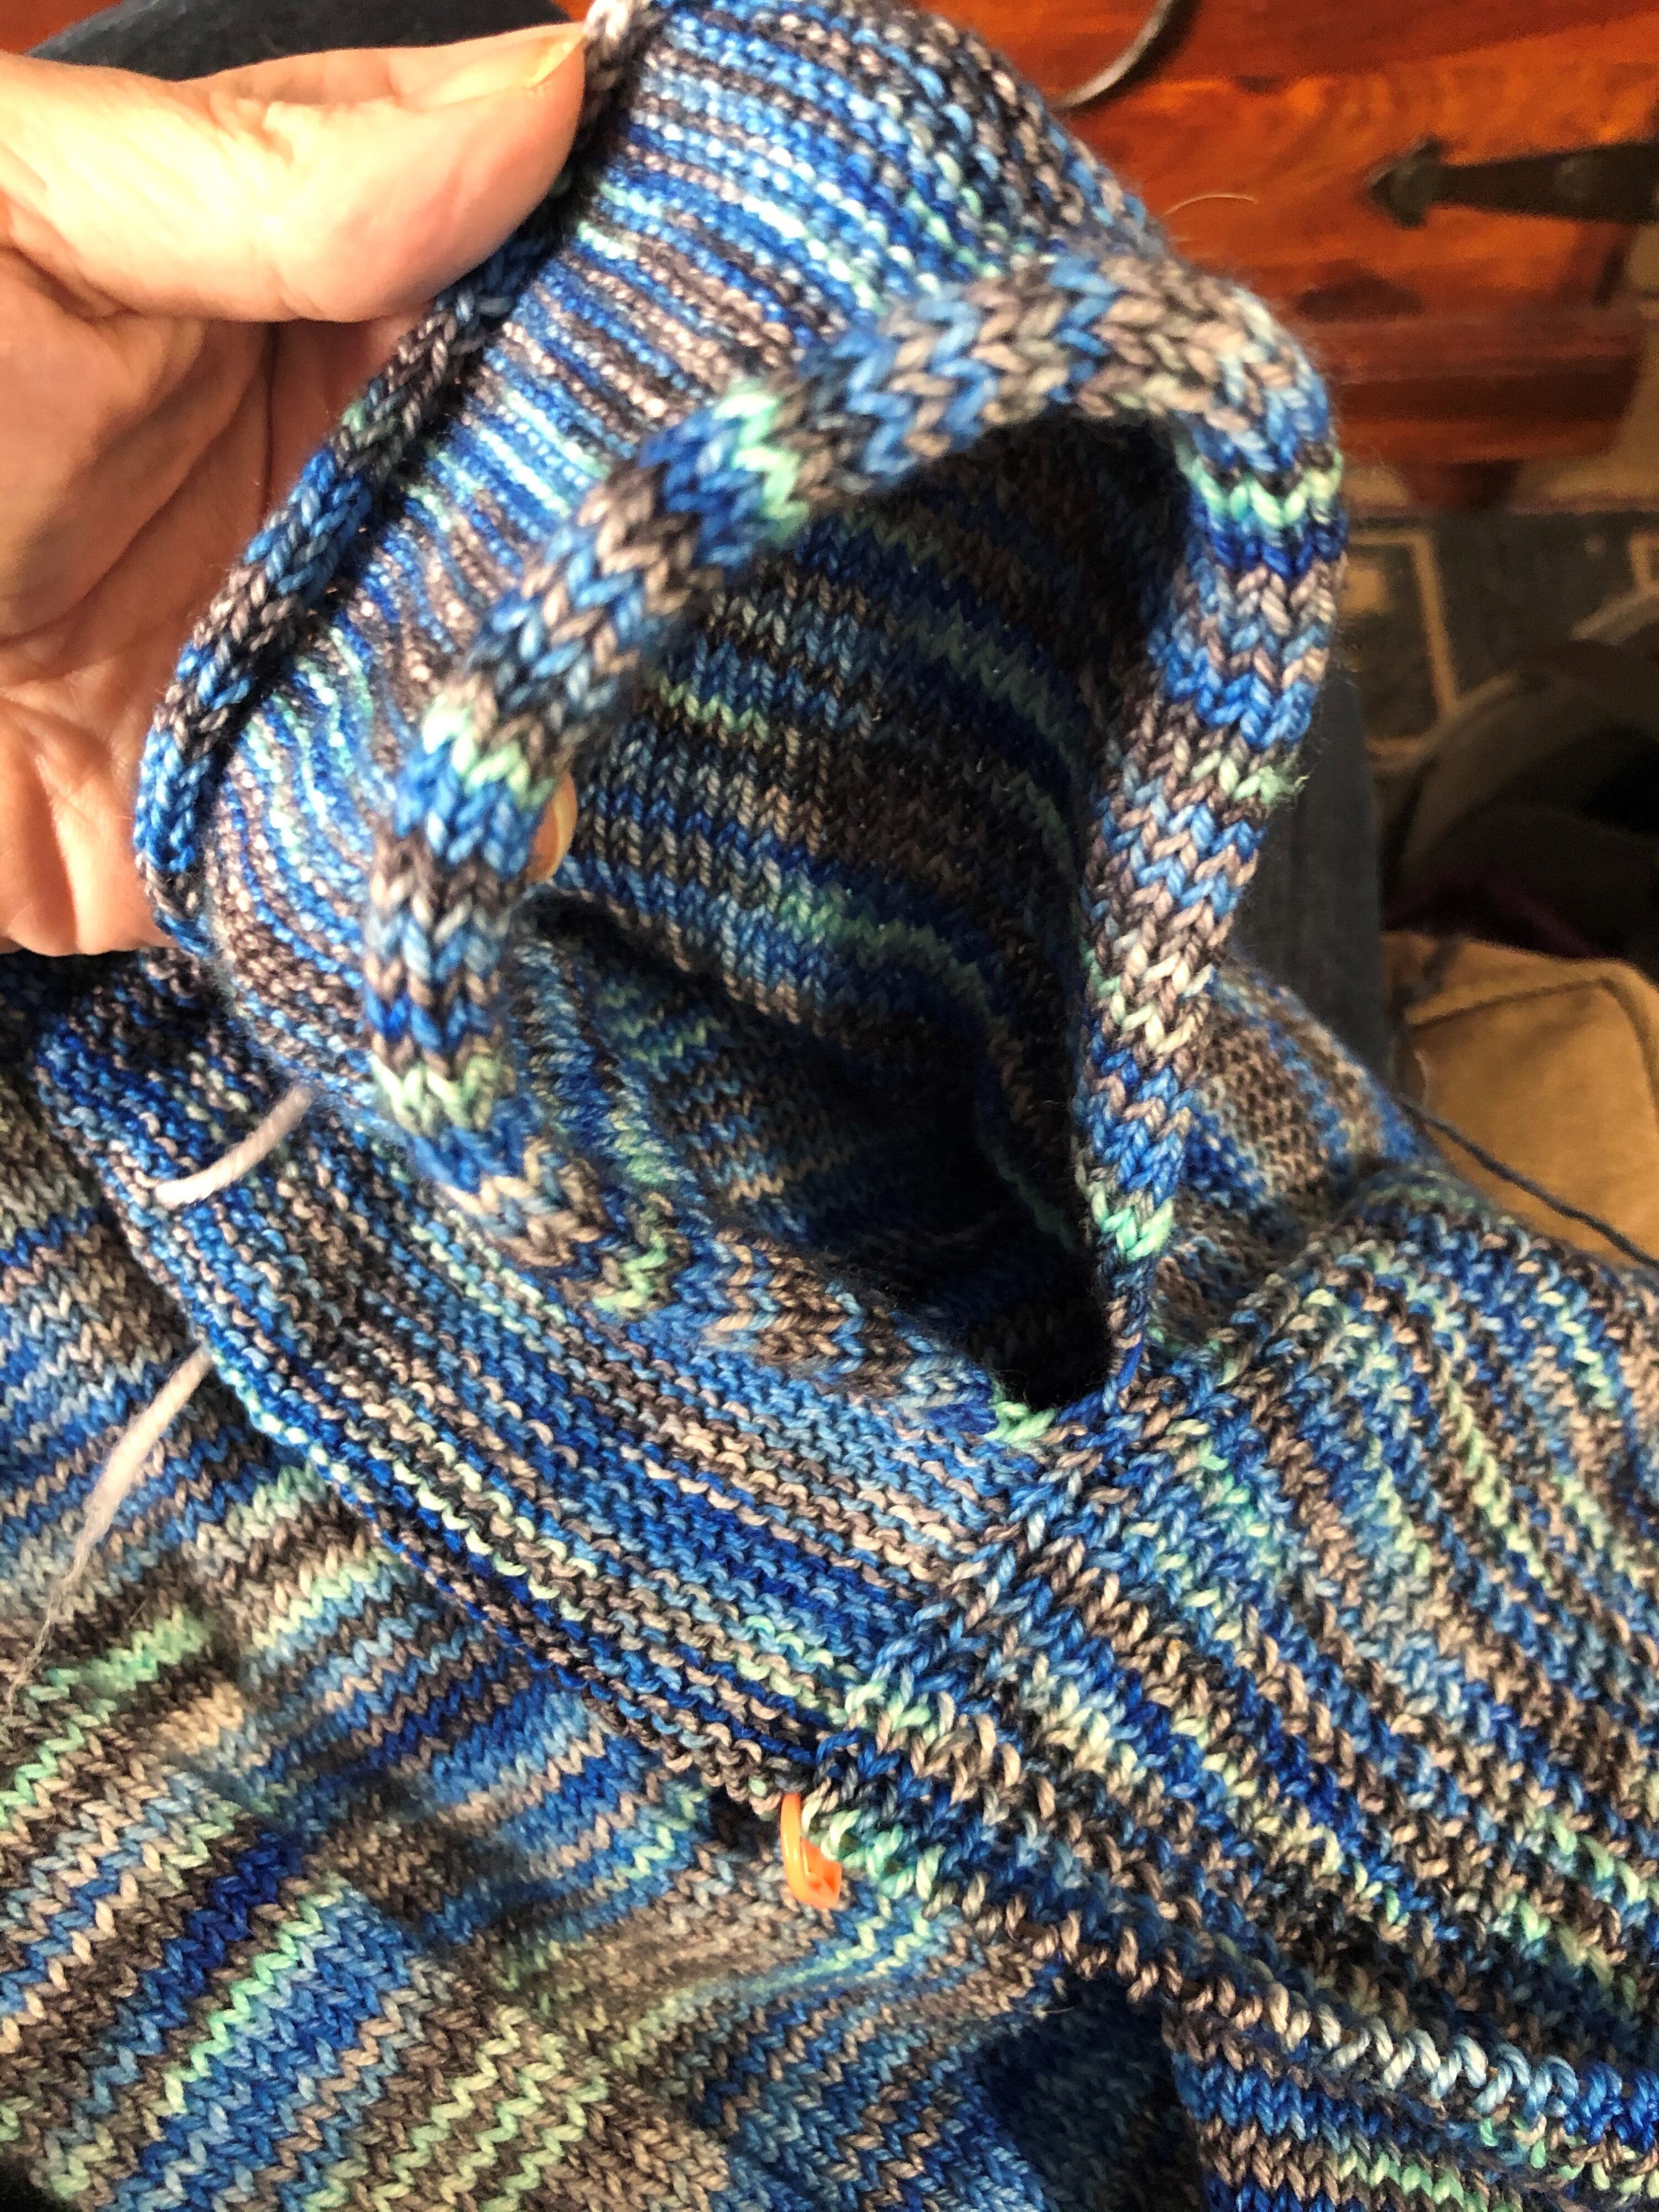
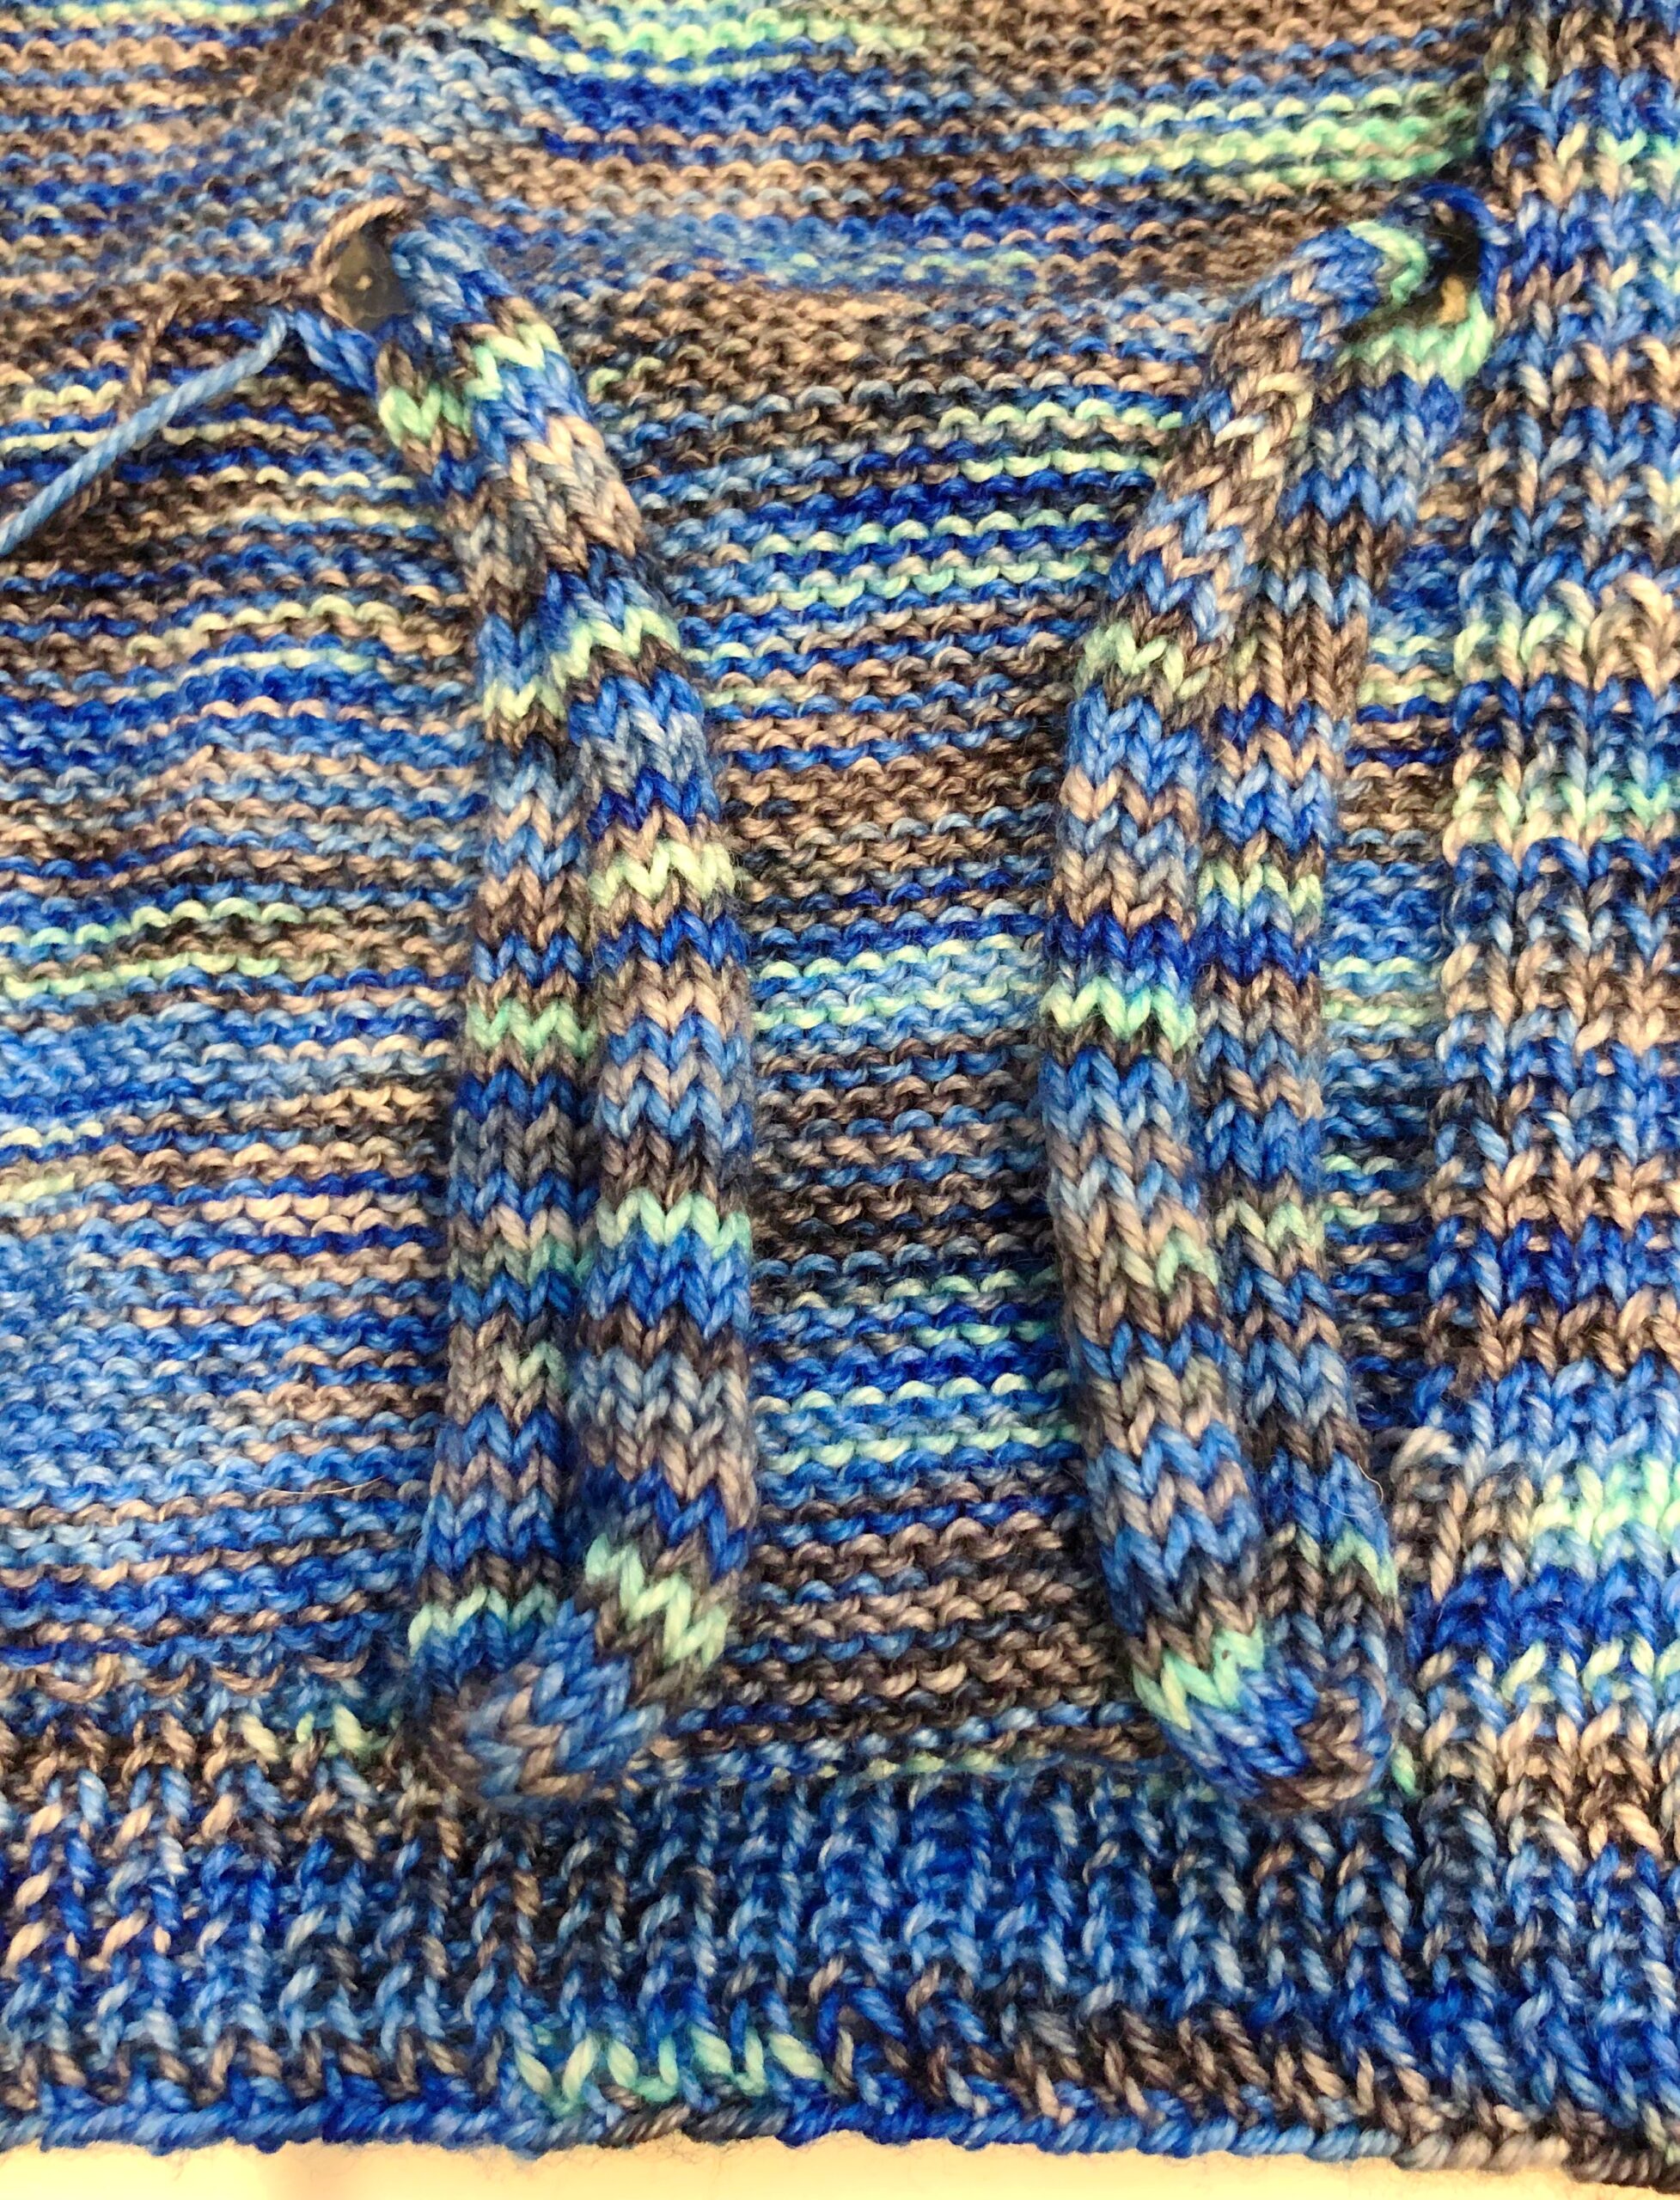
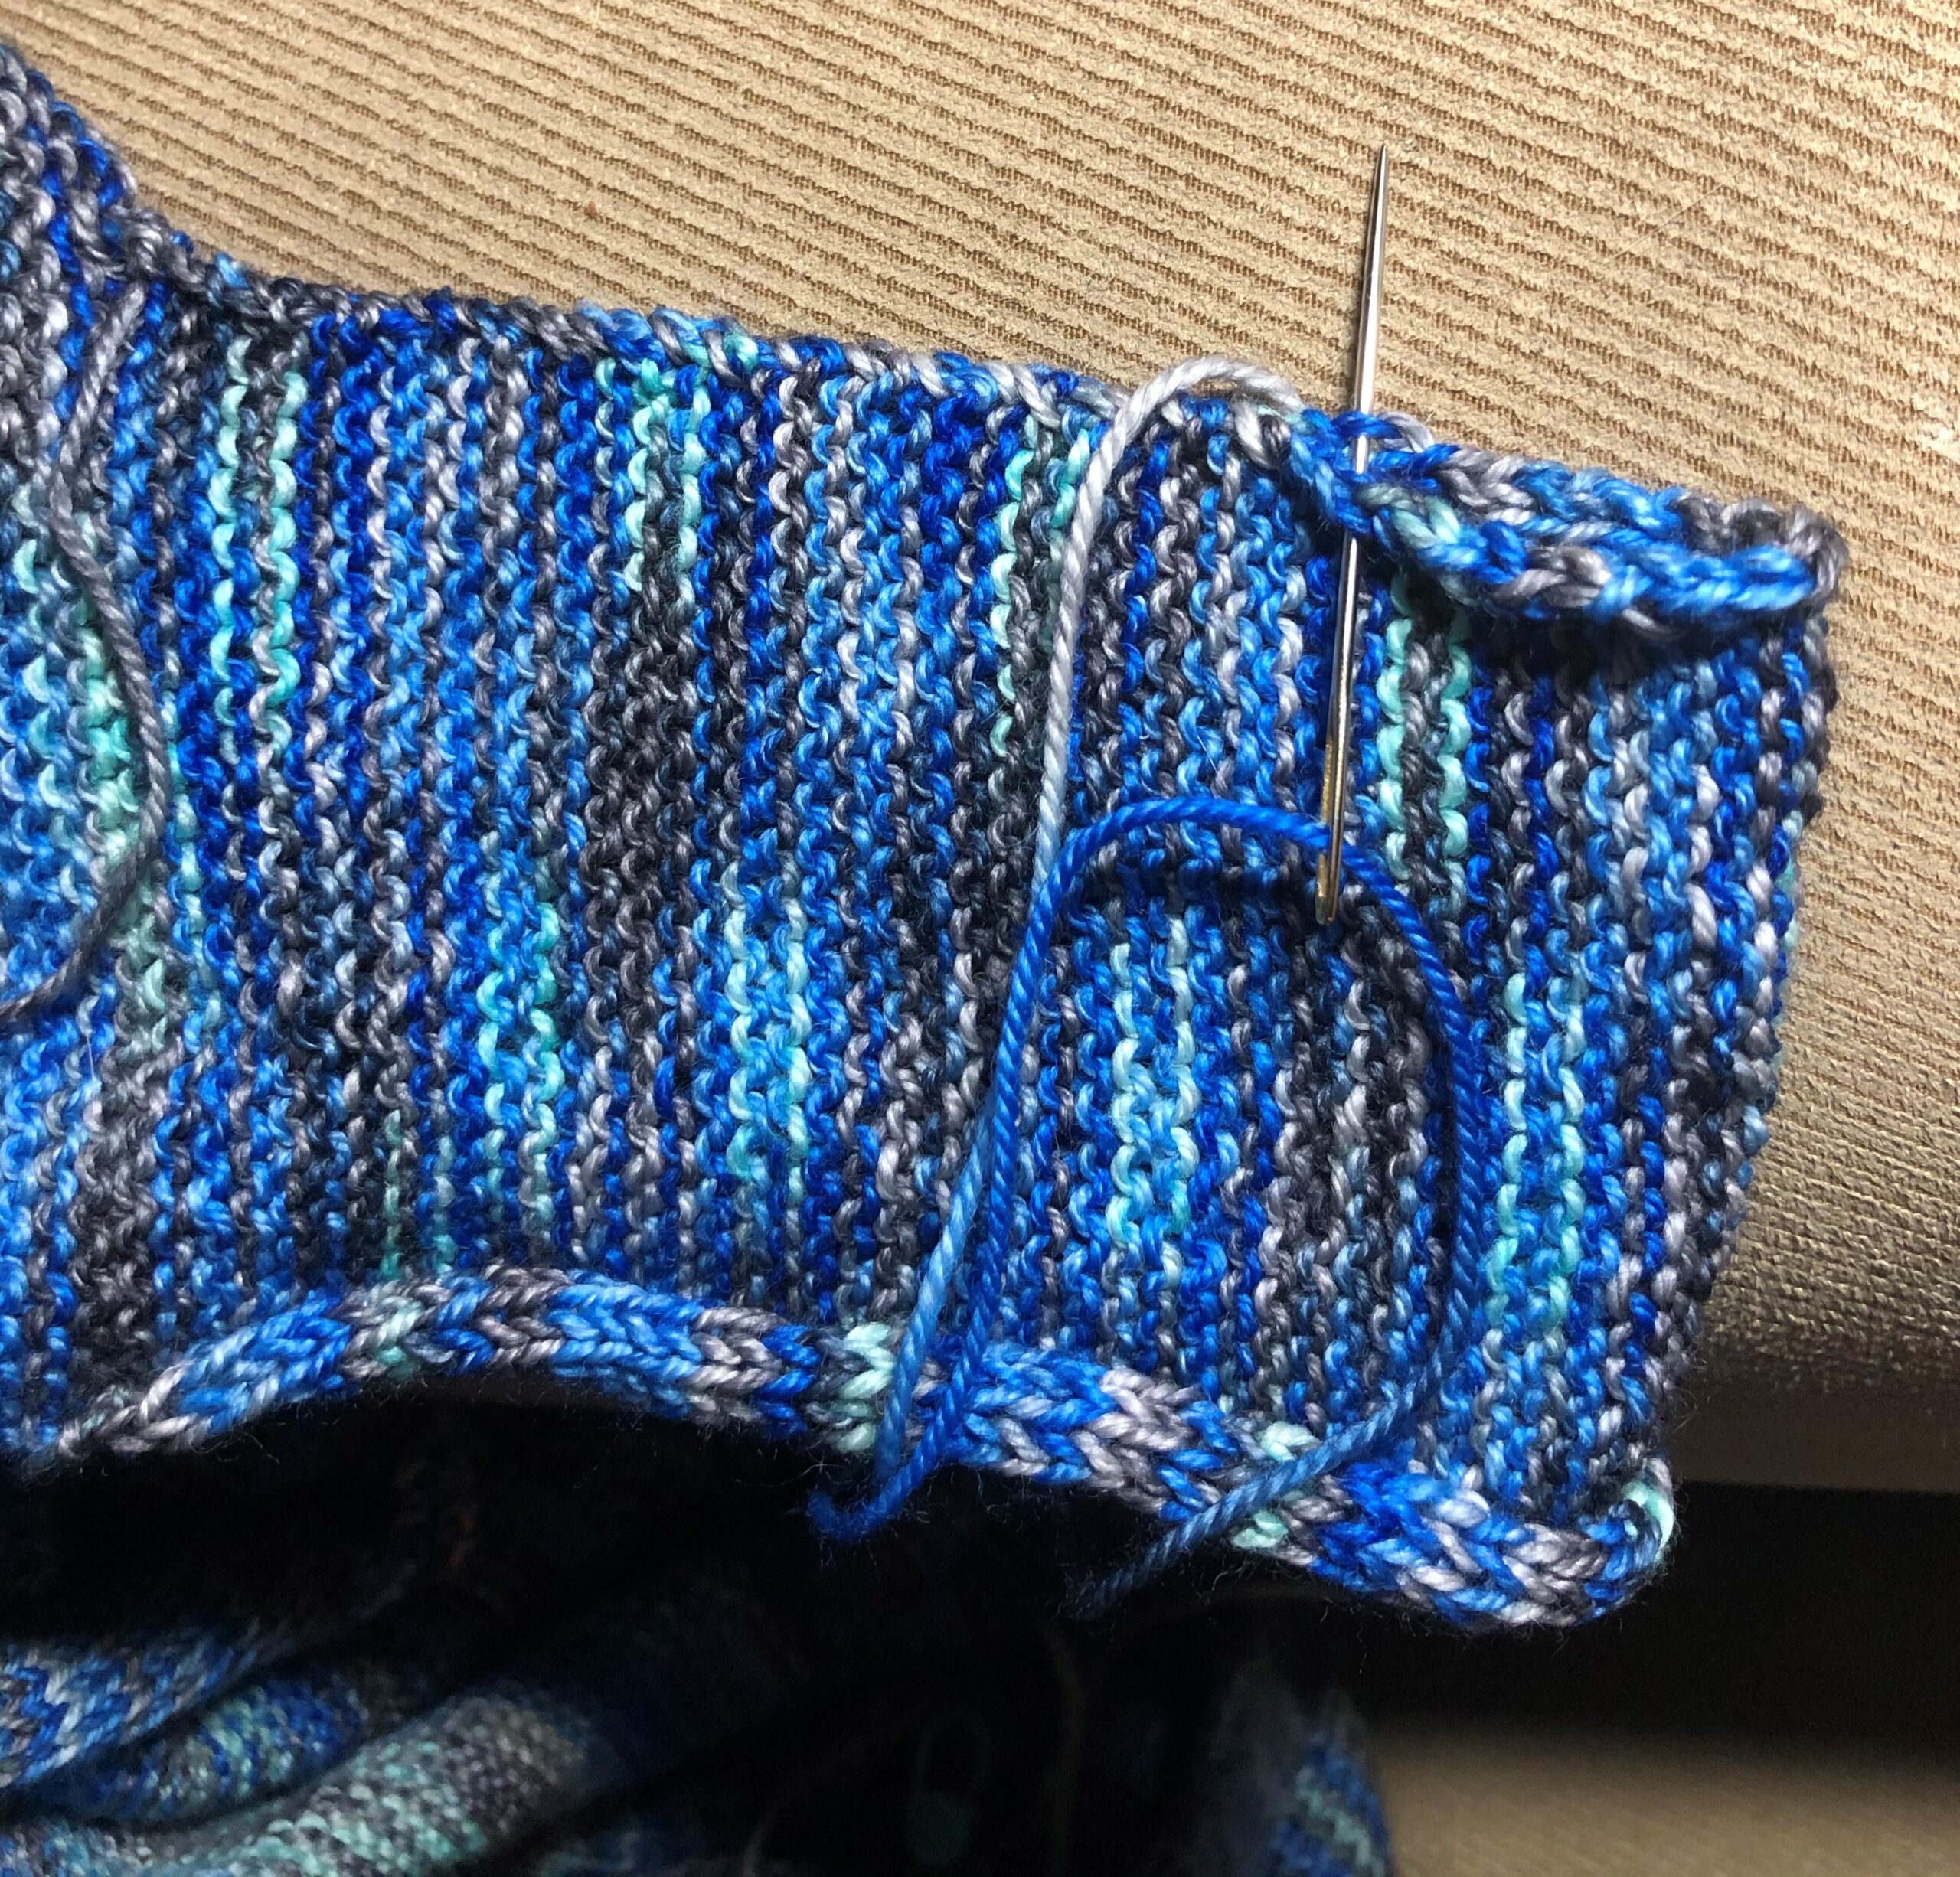
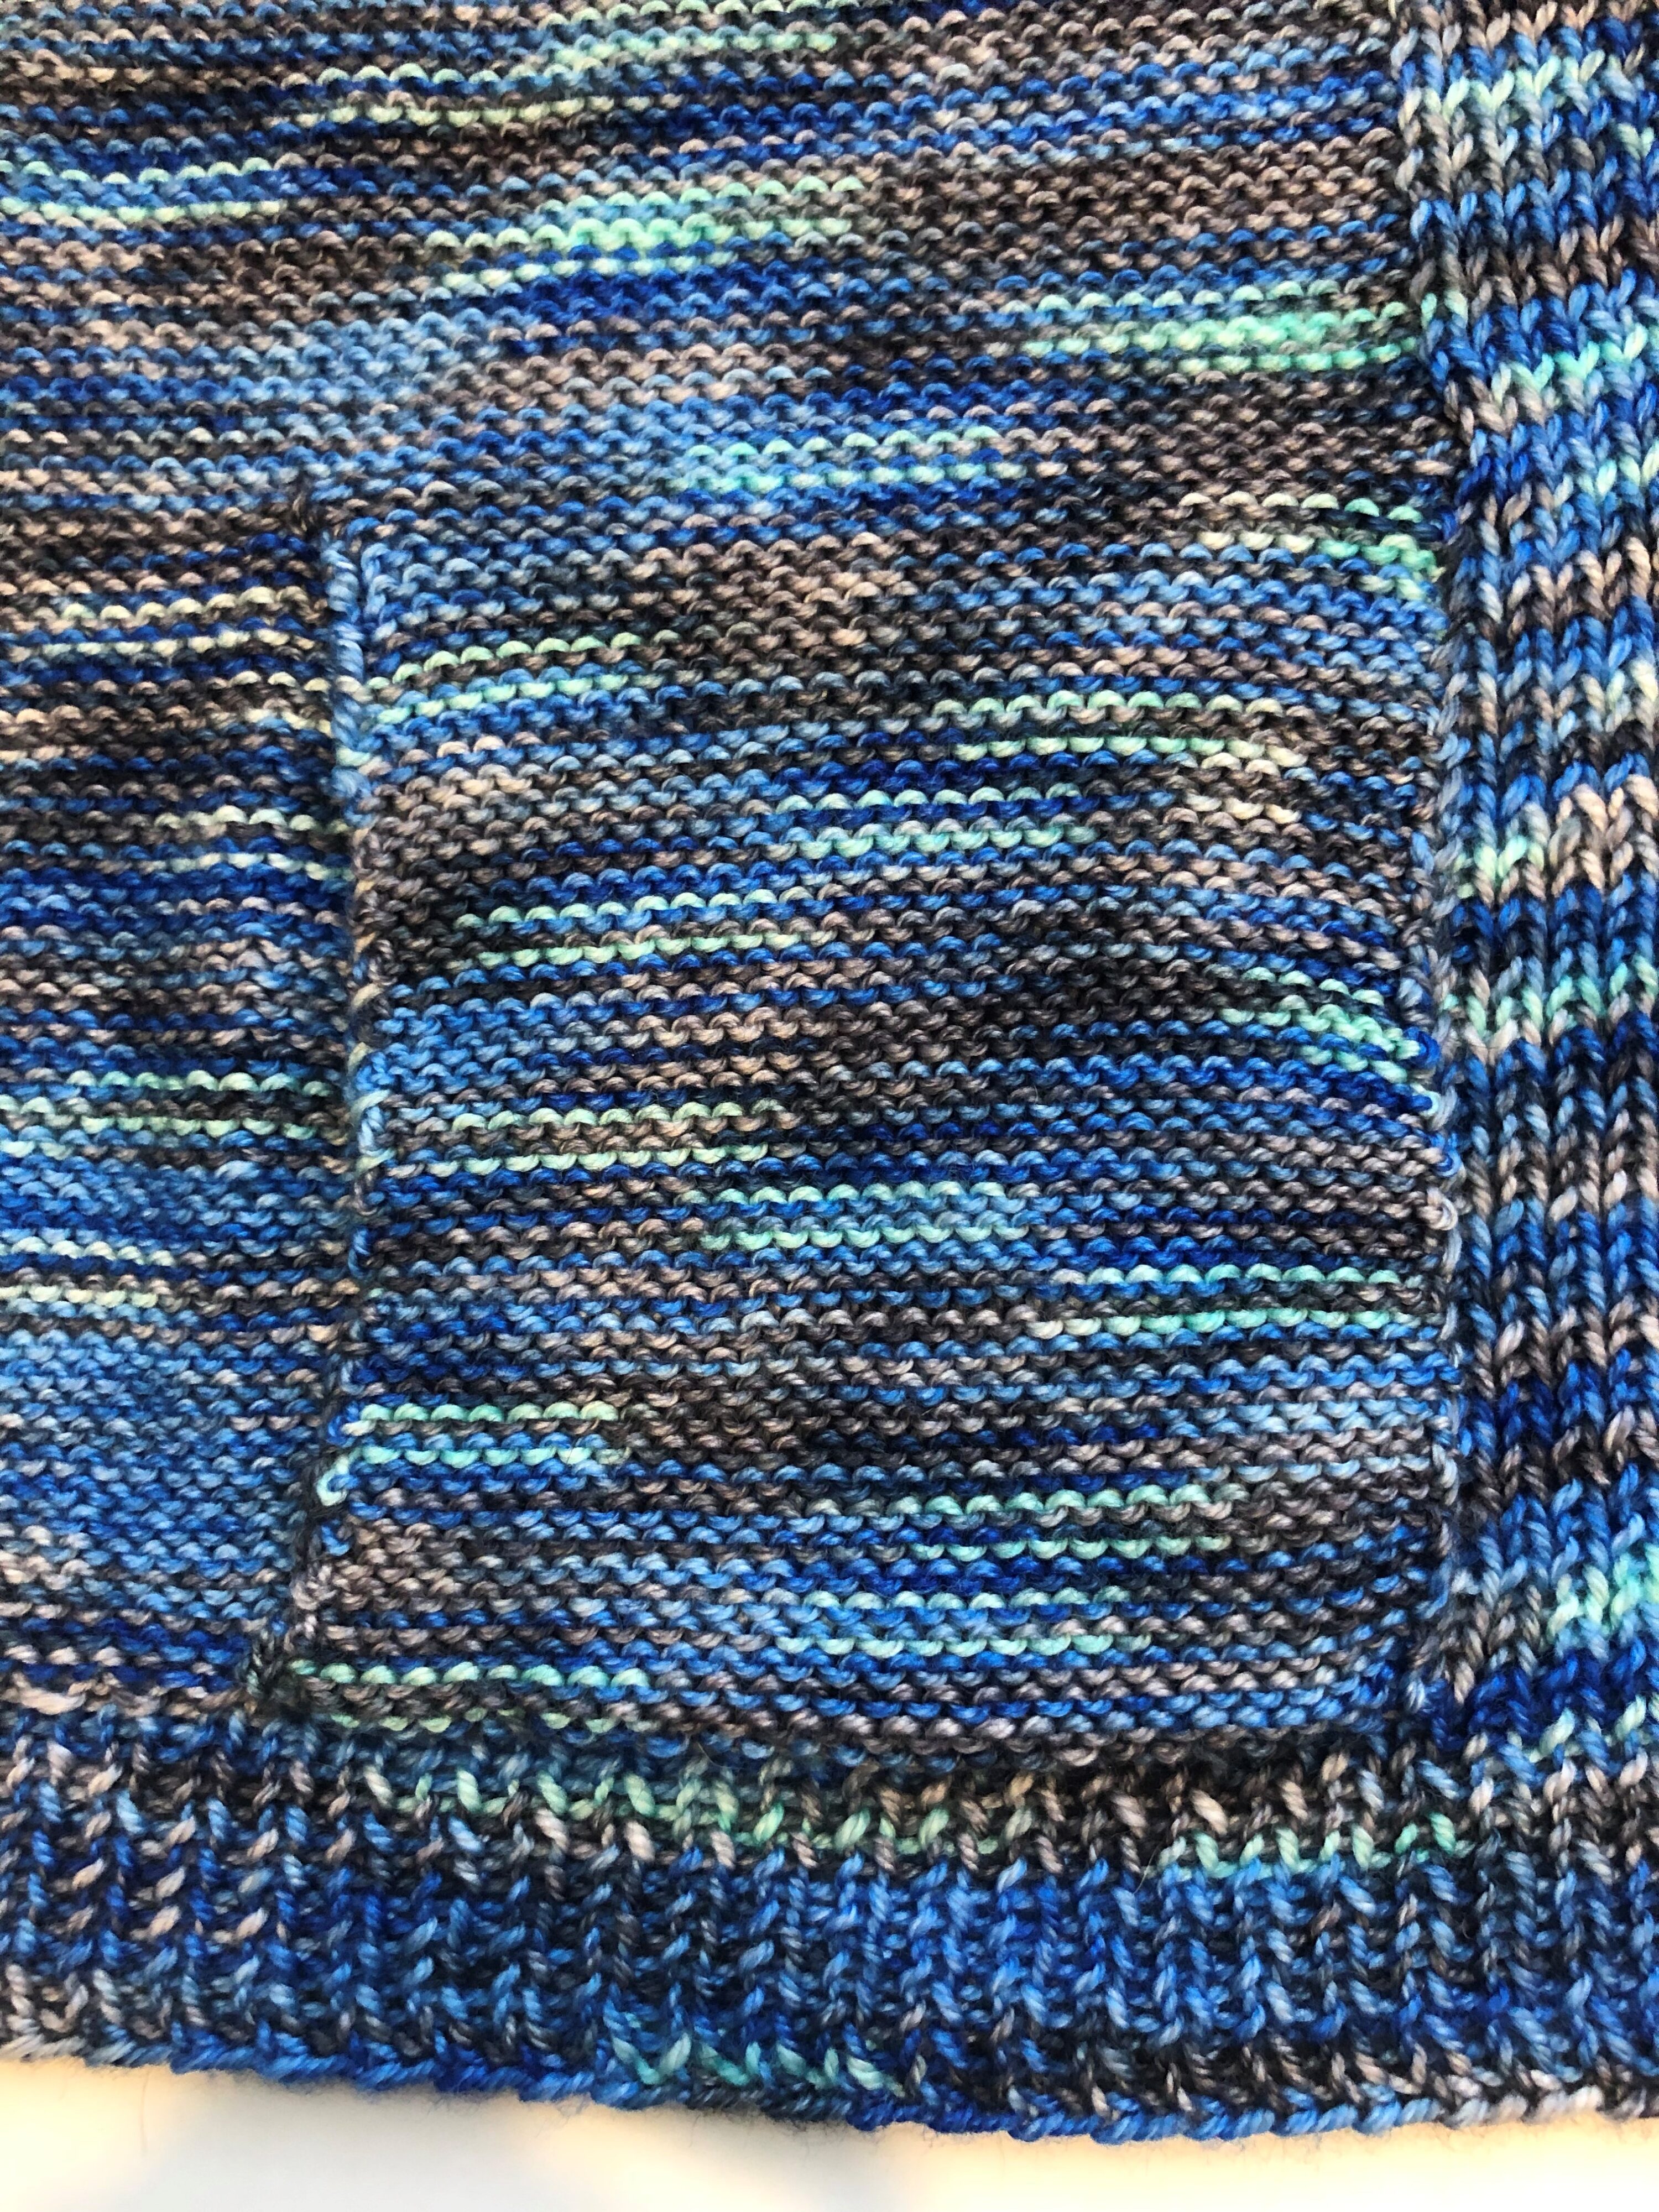
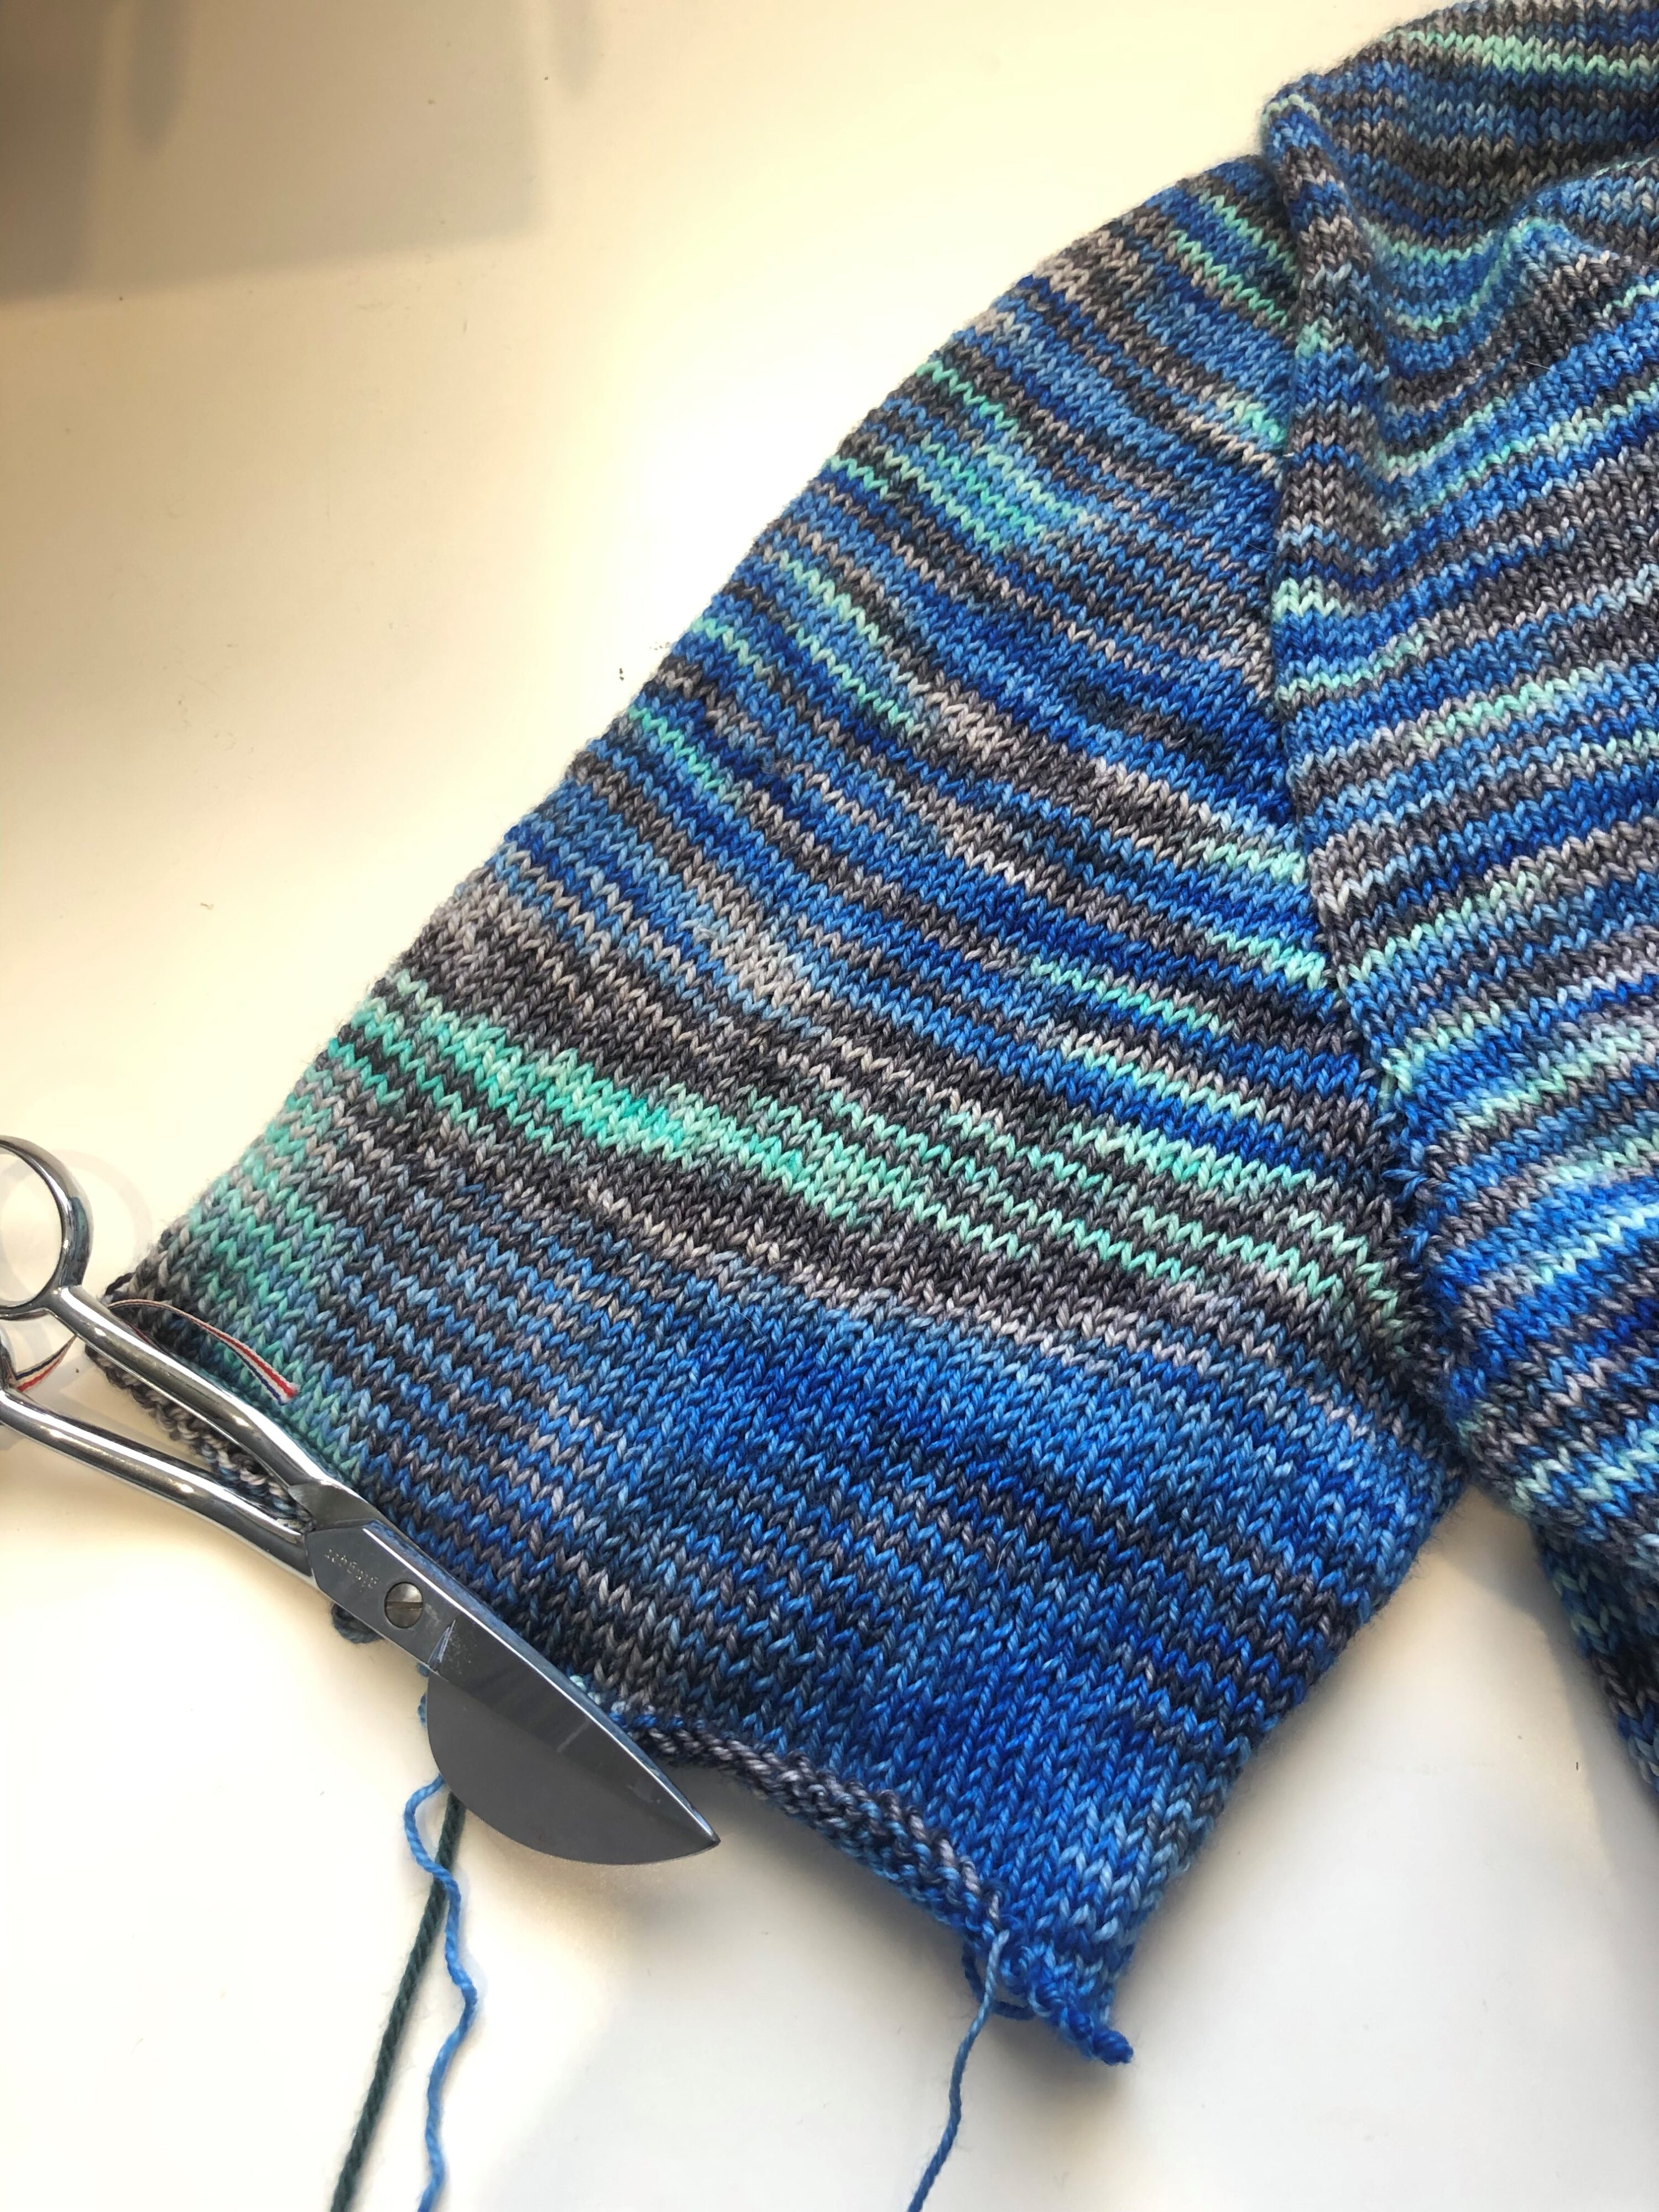
The Pockets
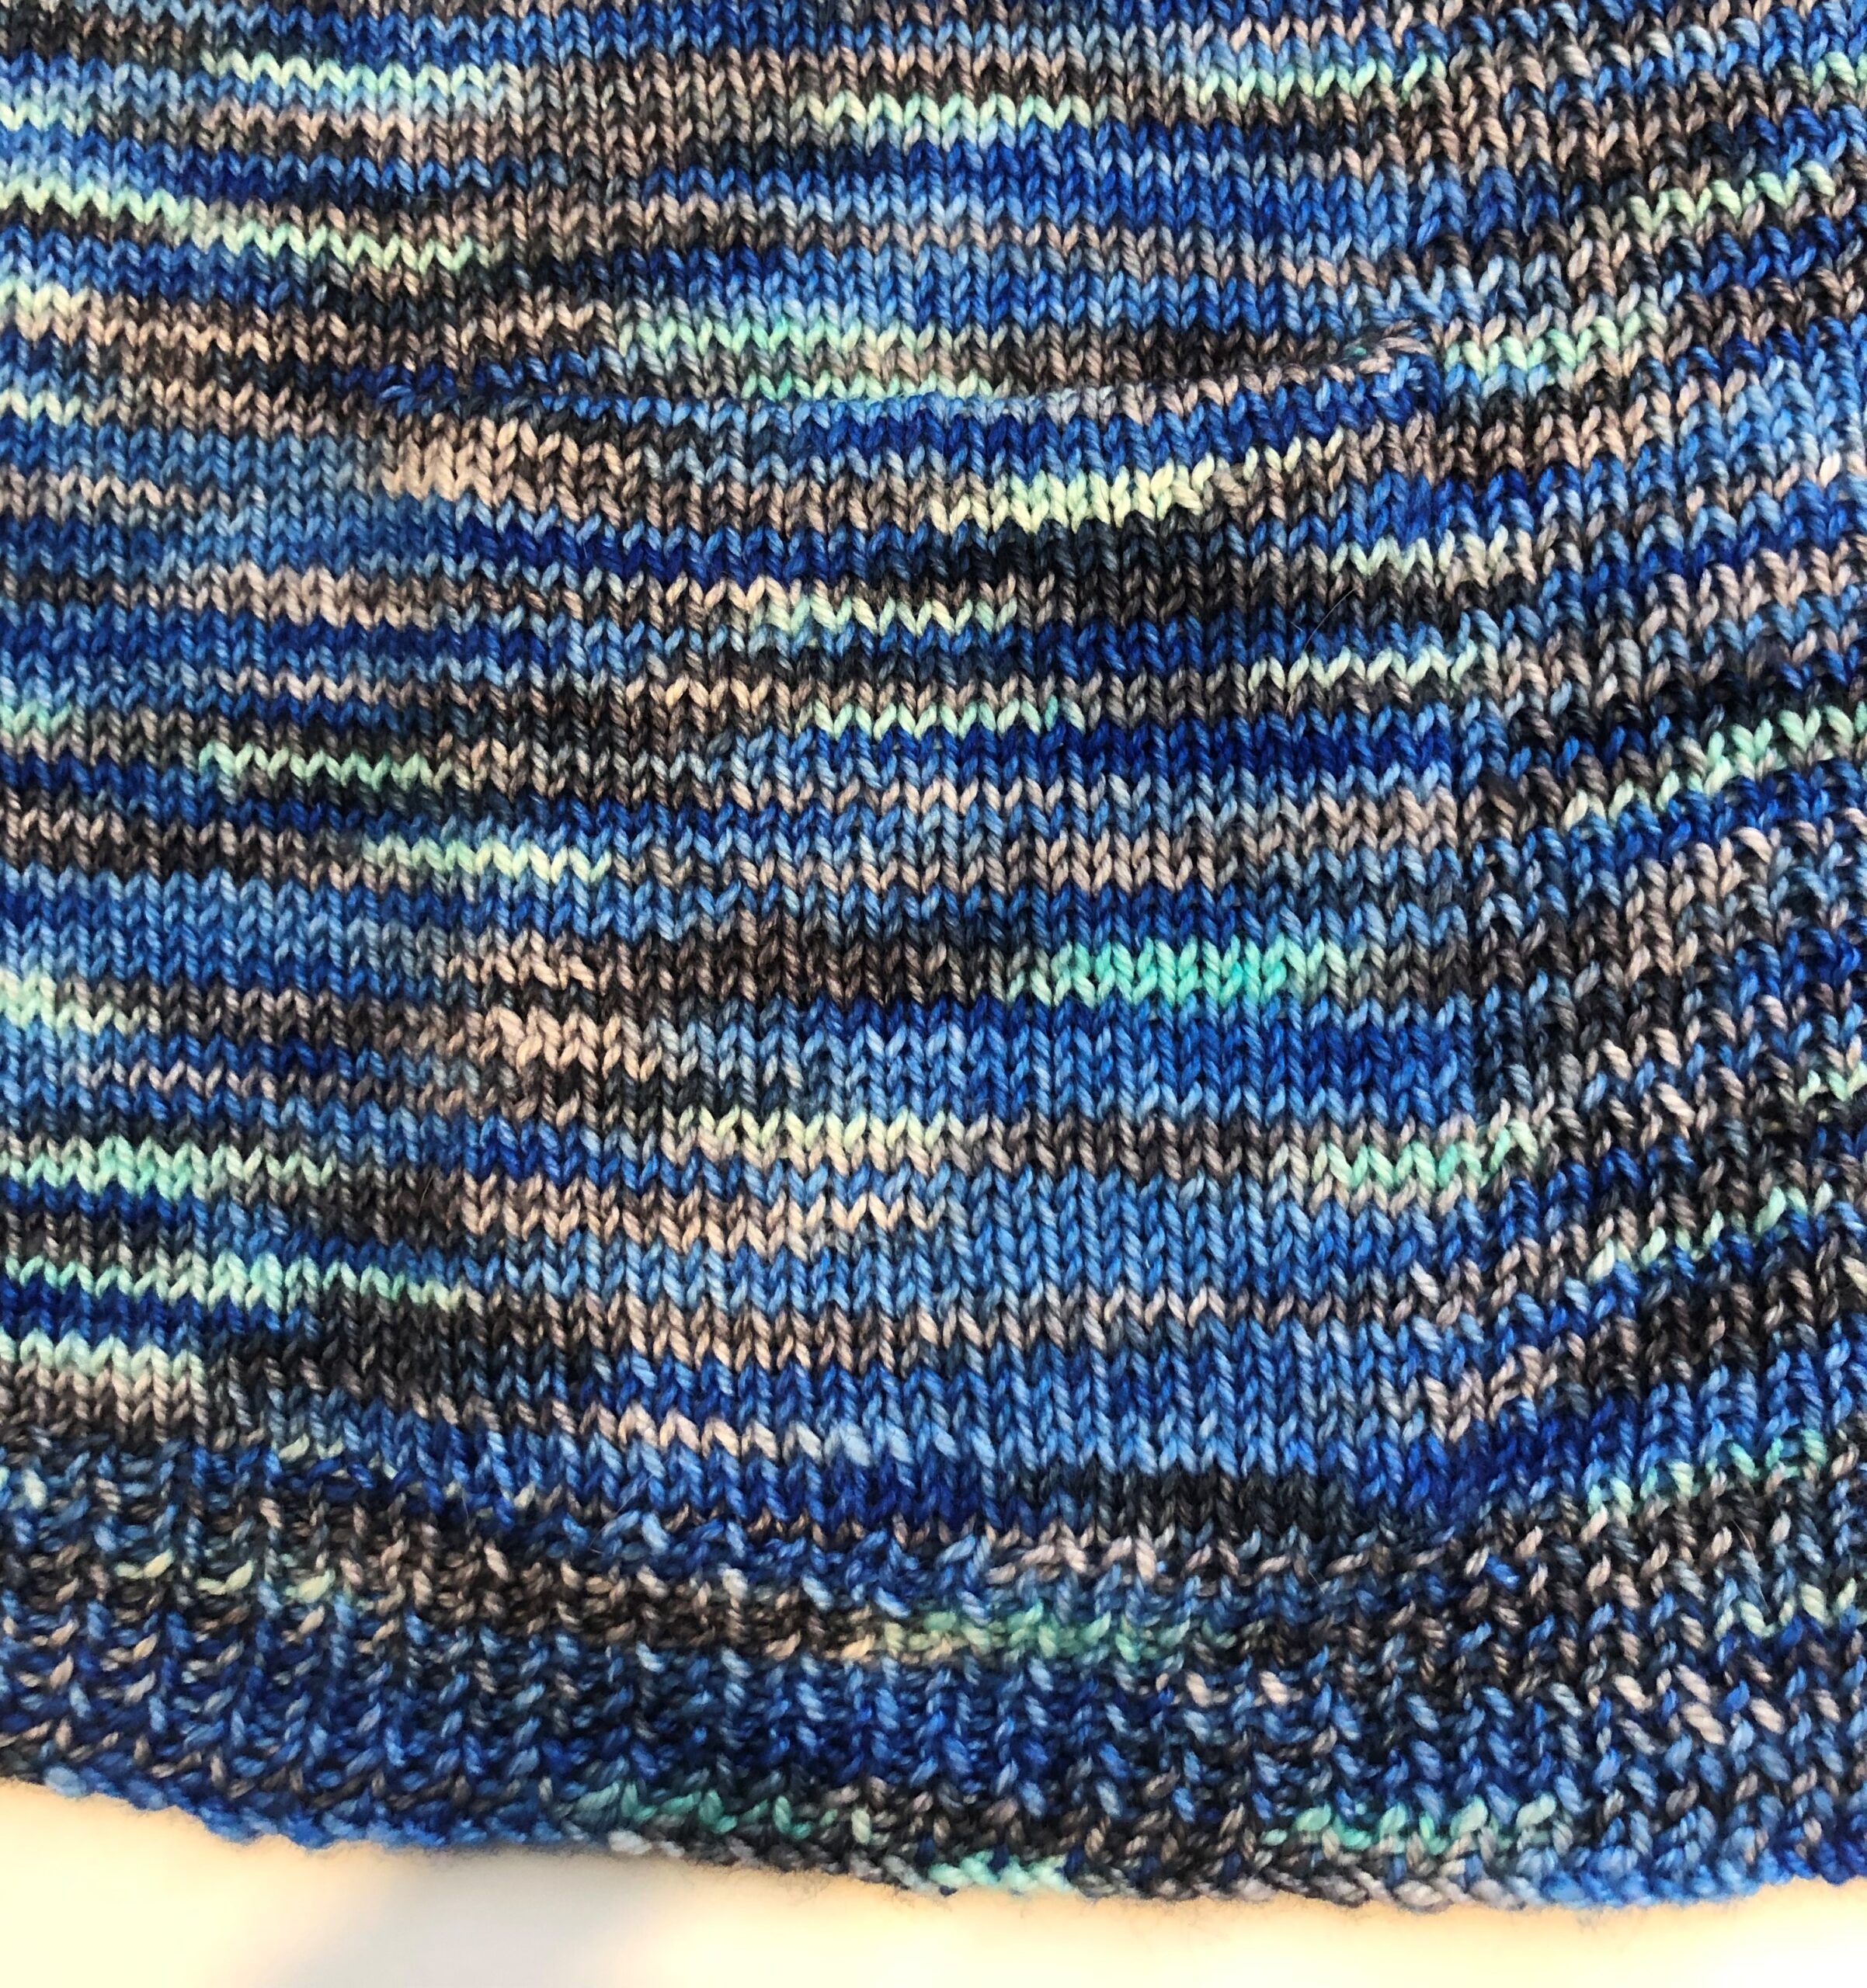
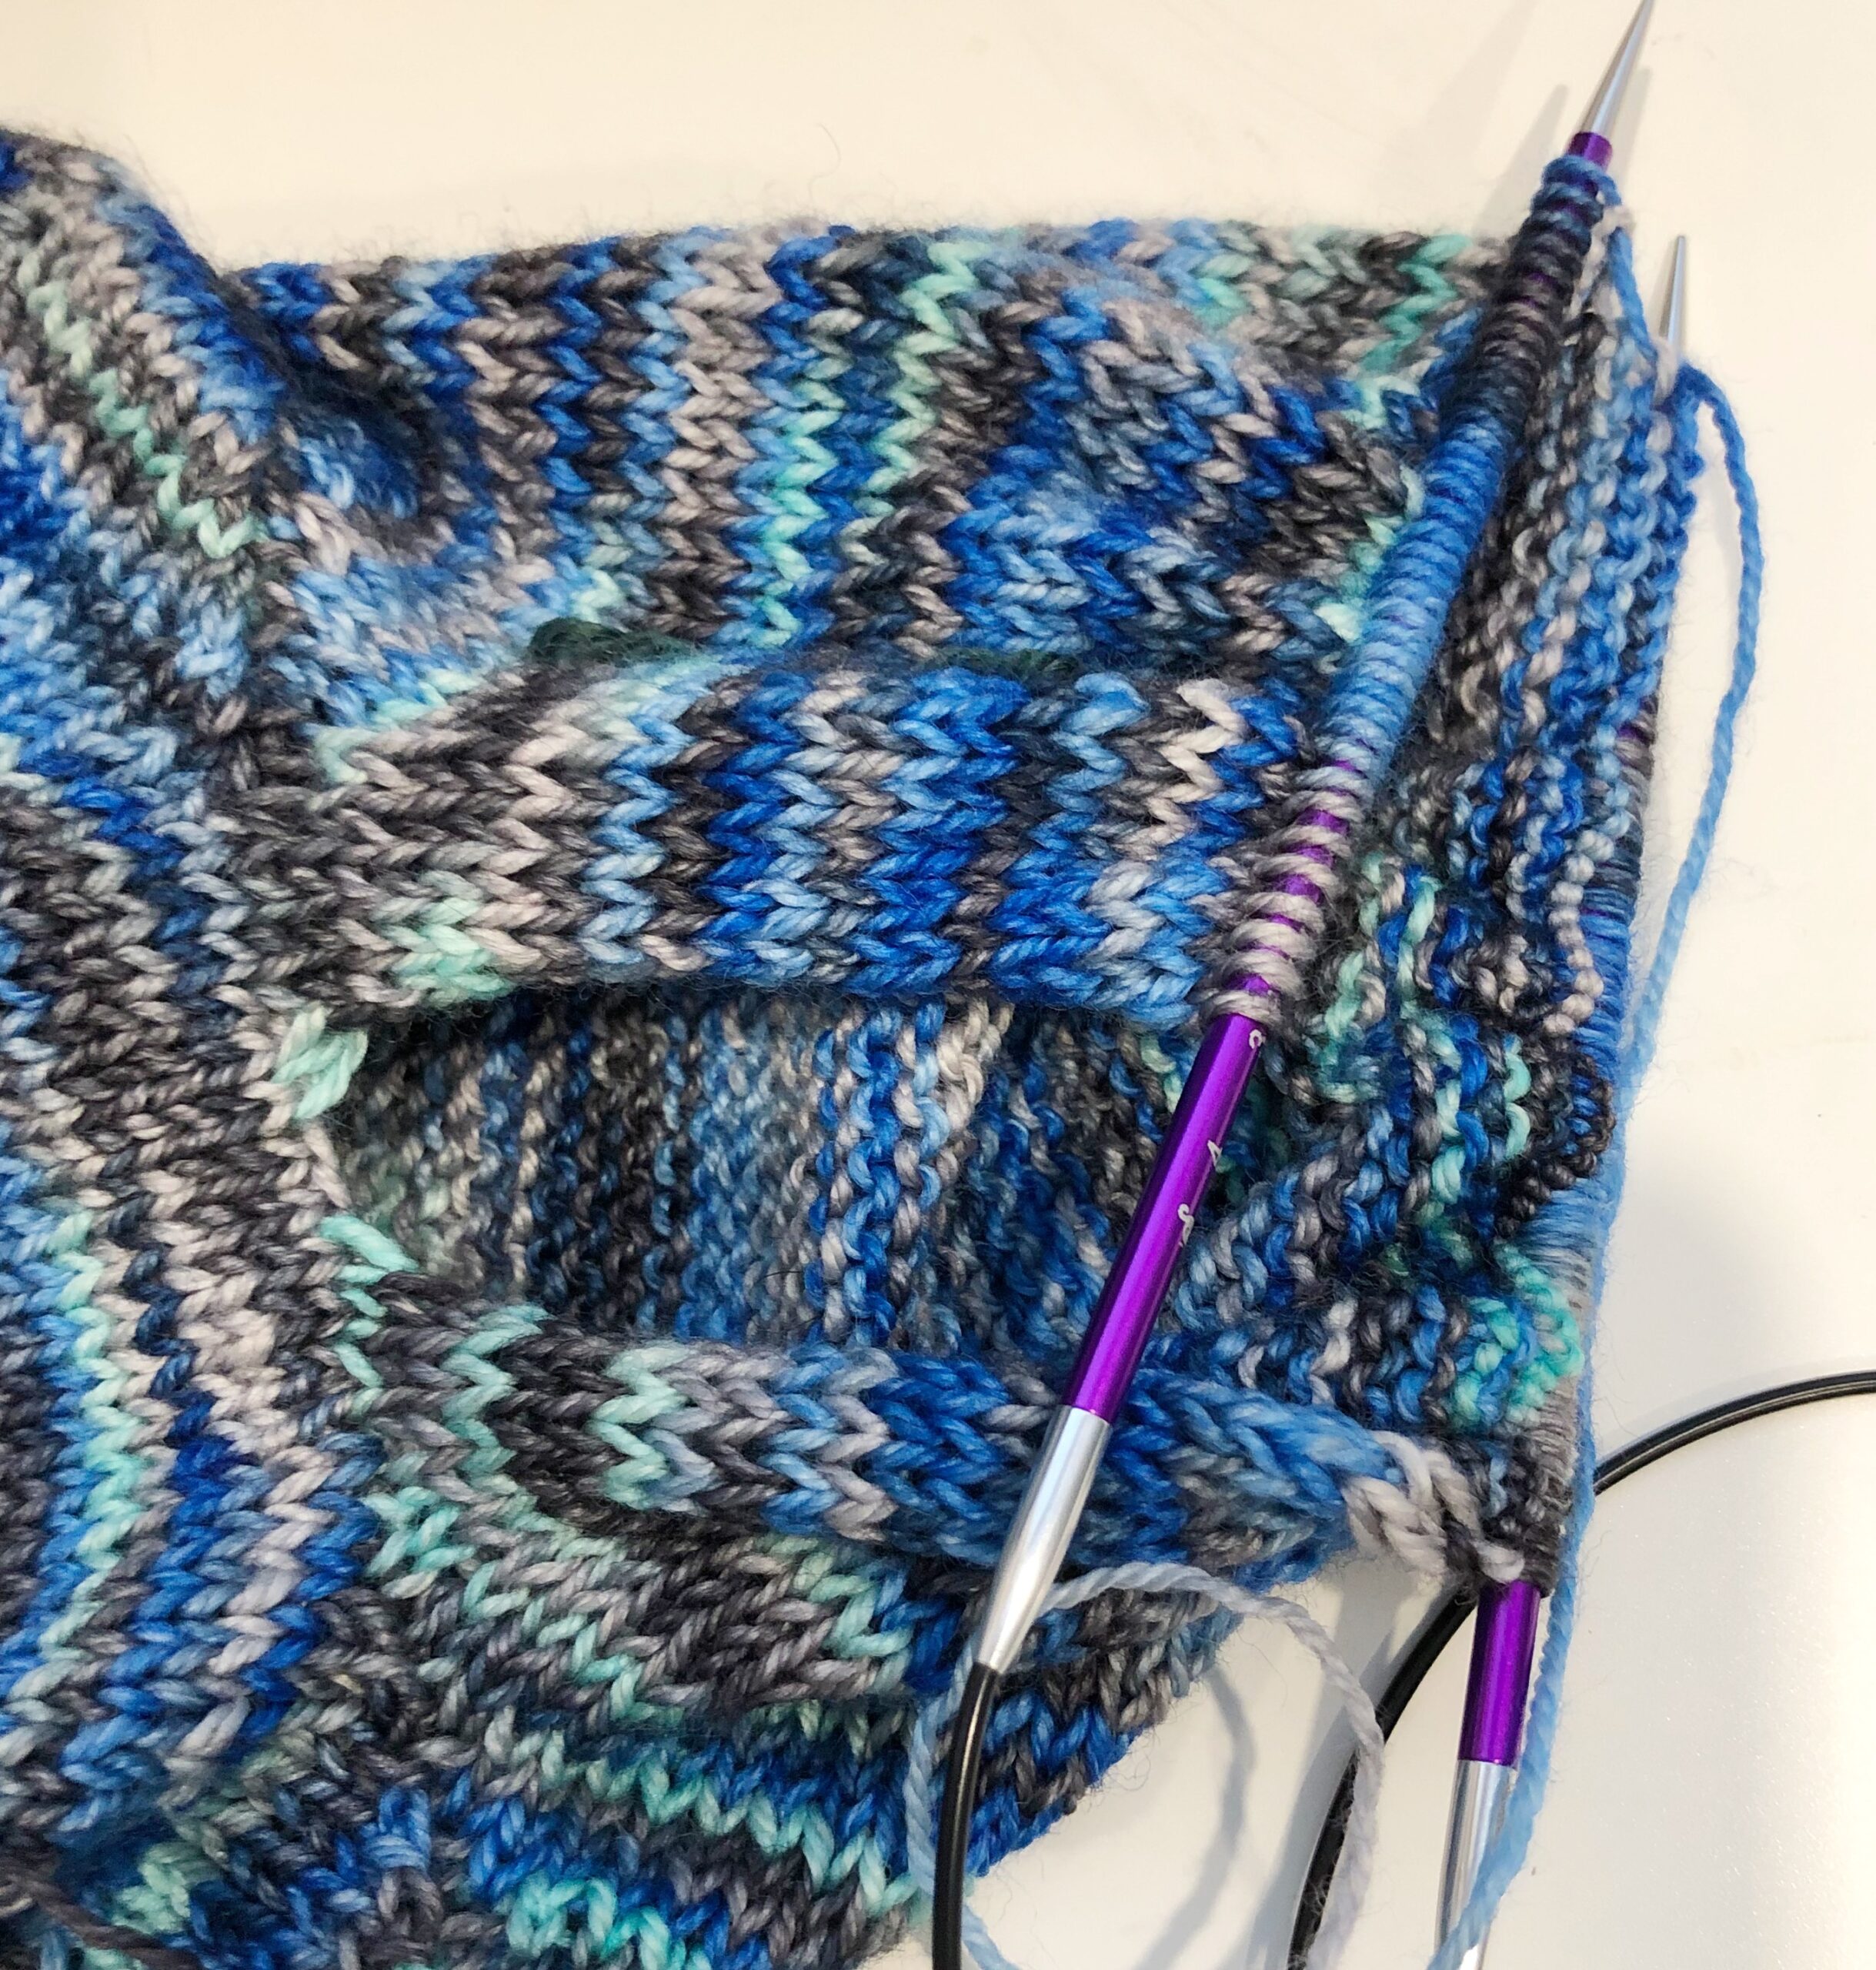
The cool pocket method came from Julie Weisenberger’s Cocoknits pattern, Franca. She calls them kangaroo pockets. It’s a dead simple concept. Knit to where you want the pocket, then only knit the pocket stitches until you have double the pocket depth. Fold the pocket strip up and carry on knitting all the body stitches. Repeat with the pocket on the other side. Carry on knitting the rest of the sweater. The only thing left to do is sew the sides of the pockets closed, and maybe tack them to the body of the sweater, if you want (which I did), or just let them swing free on the inside. On the outside, all you see is folded fabric at the top of the pocket opening – almost invisible in a multi yarn like I used.
Here’s some visuals of the pocket process to help you get the idea:

Neat, eh? You betcha…so really and truly neat that I kept knitting all the way down, cast off a bazillion tiny stitches, and moved on to tackle the dastardly sleeves.
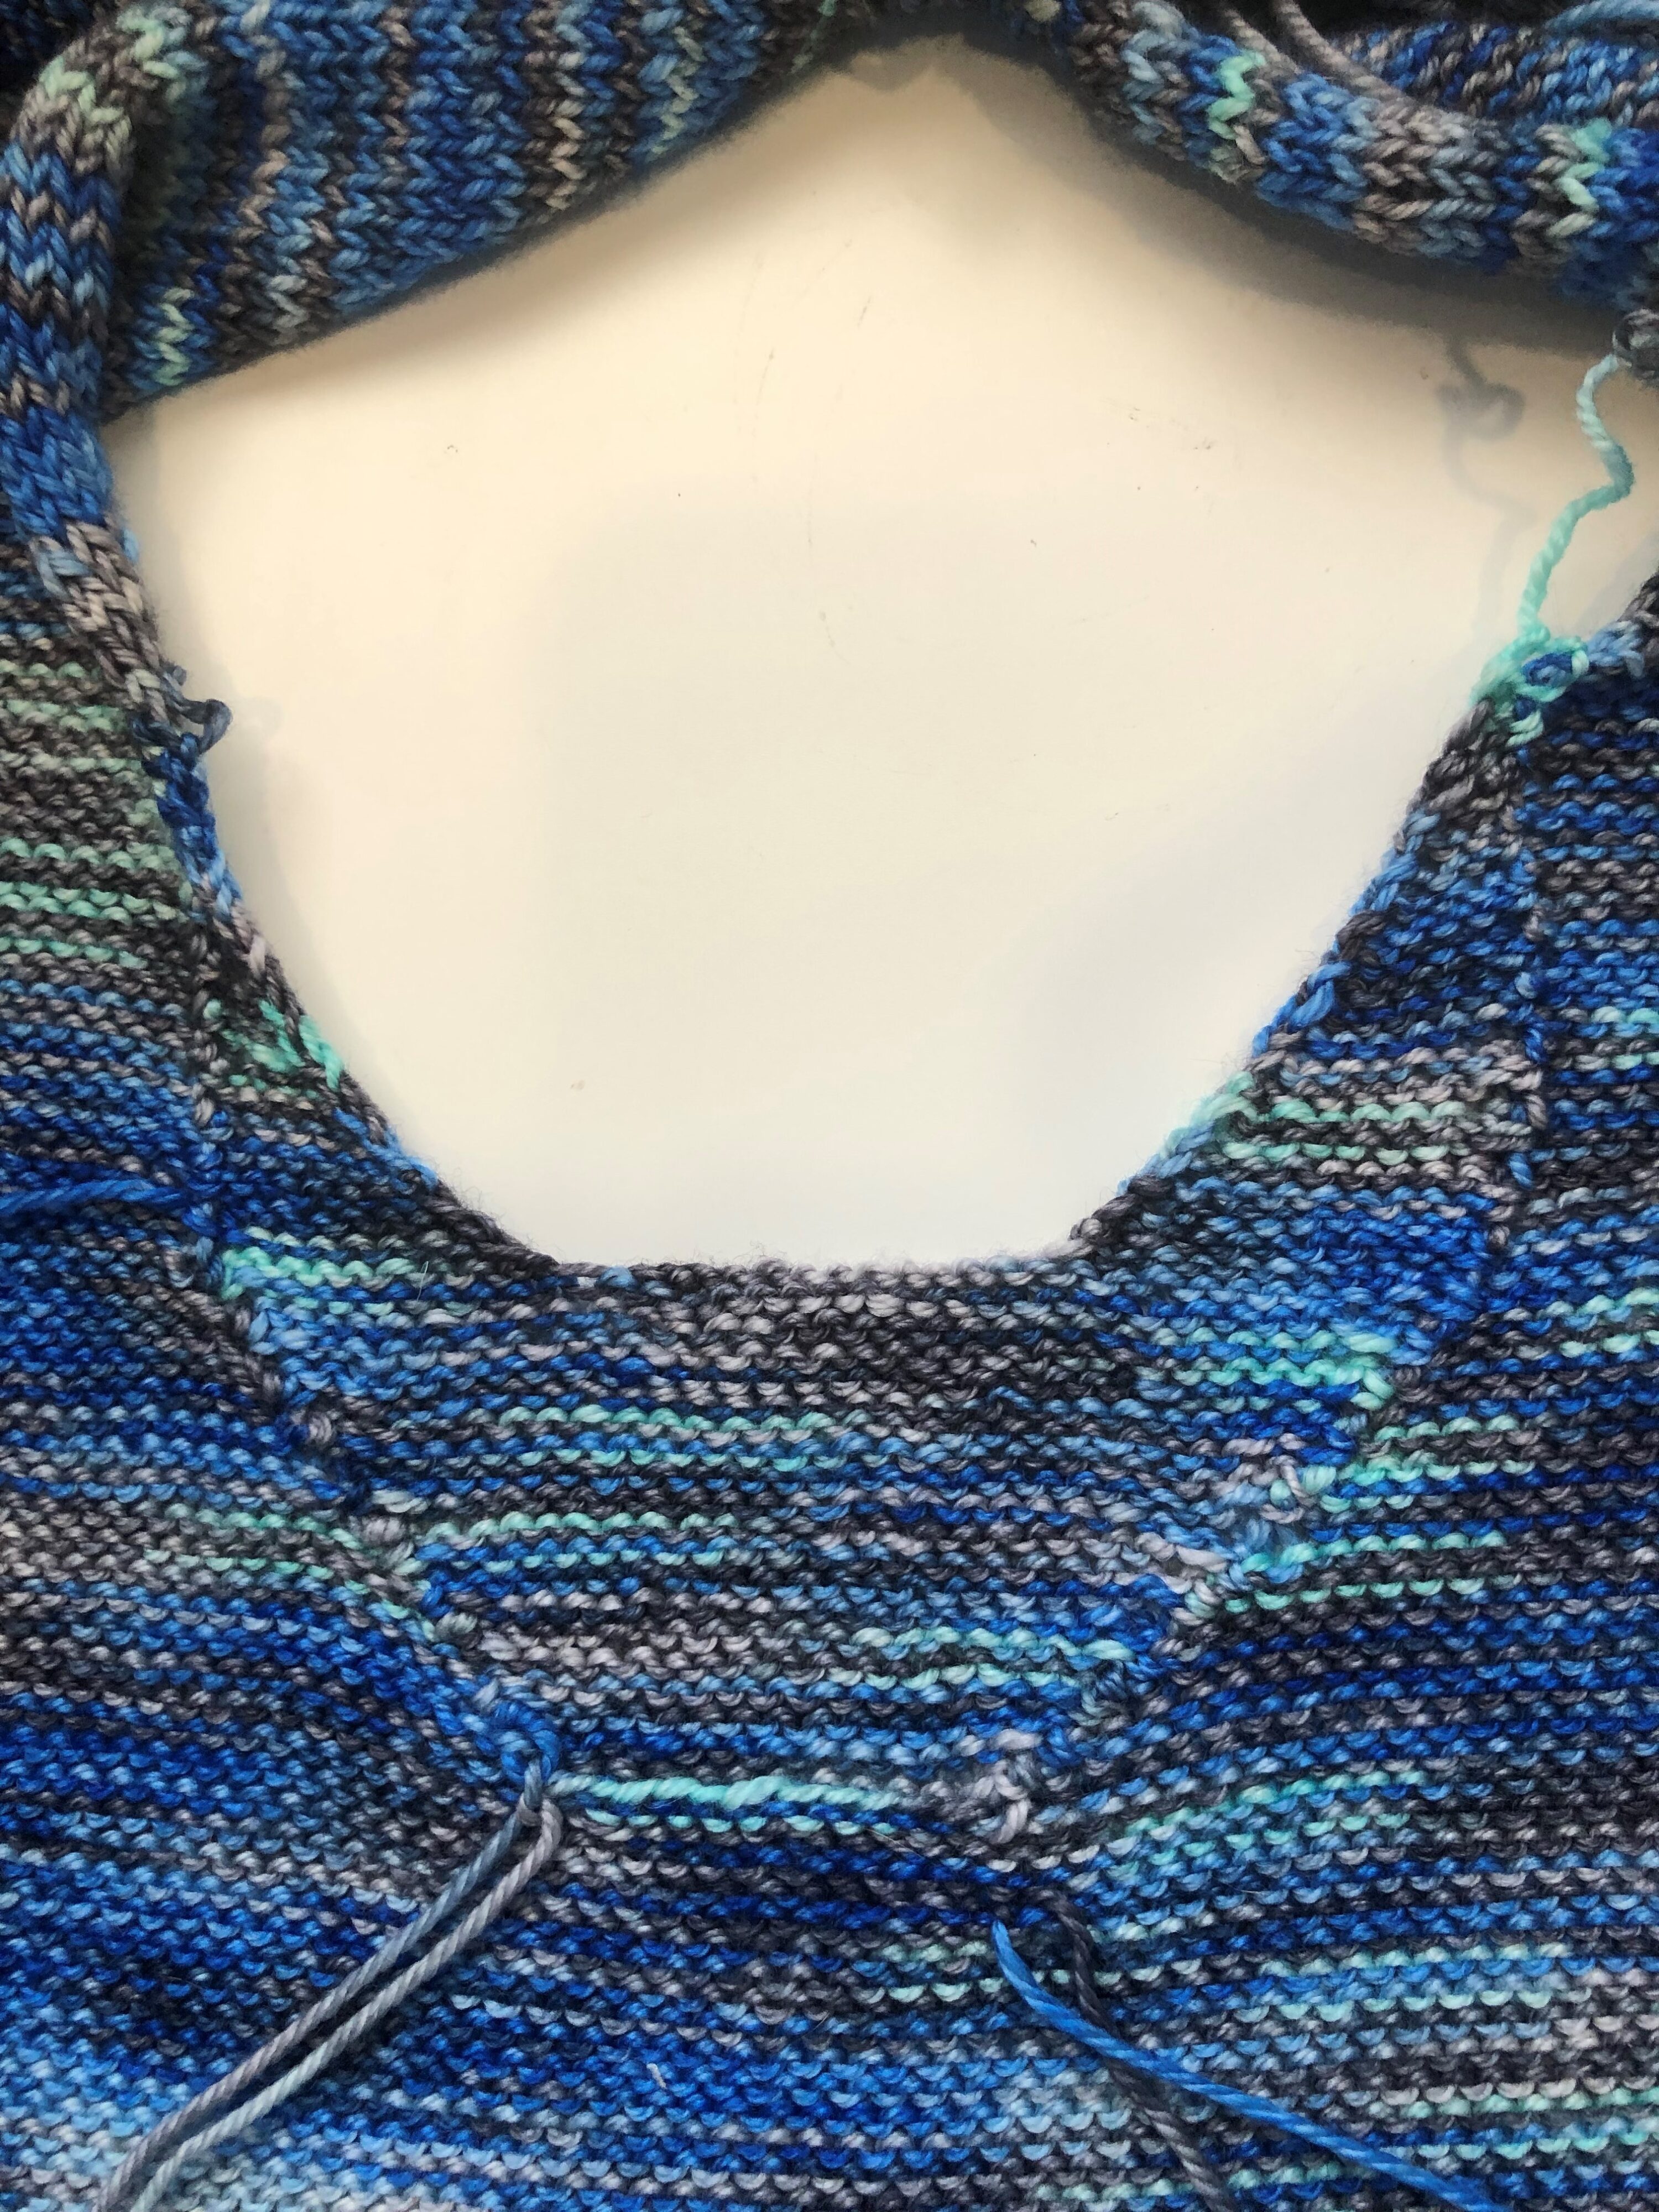
The Armhole Problem
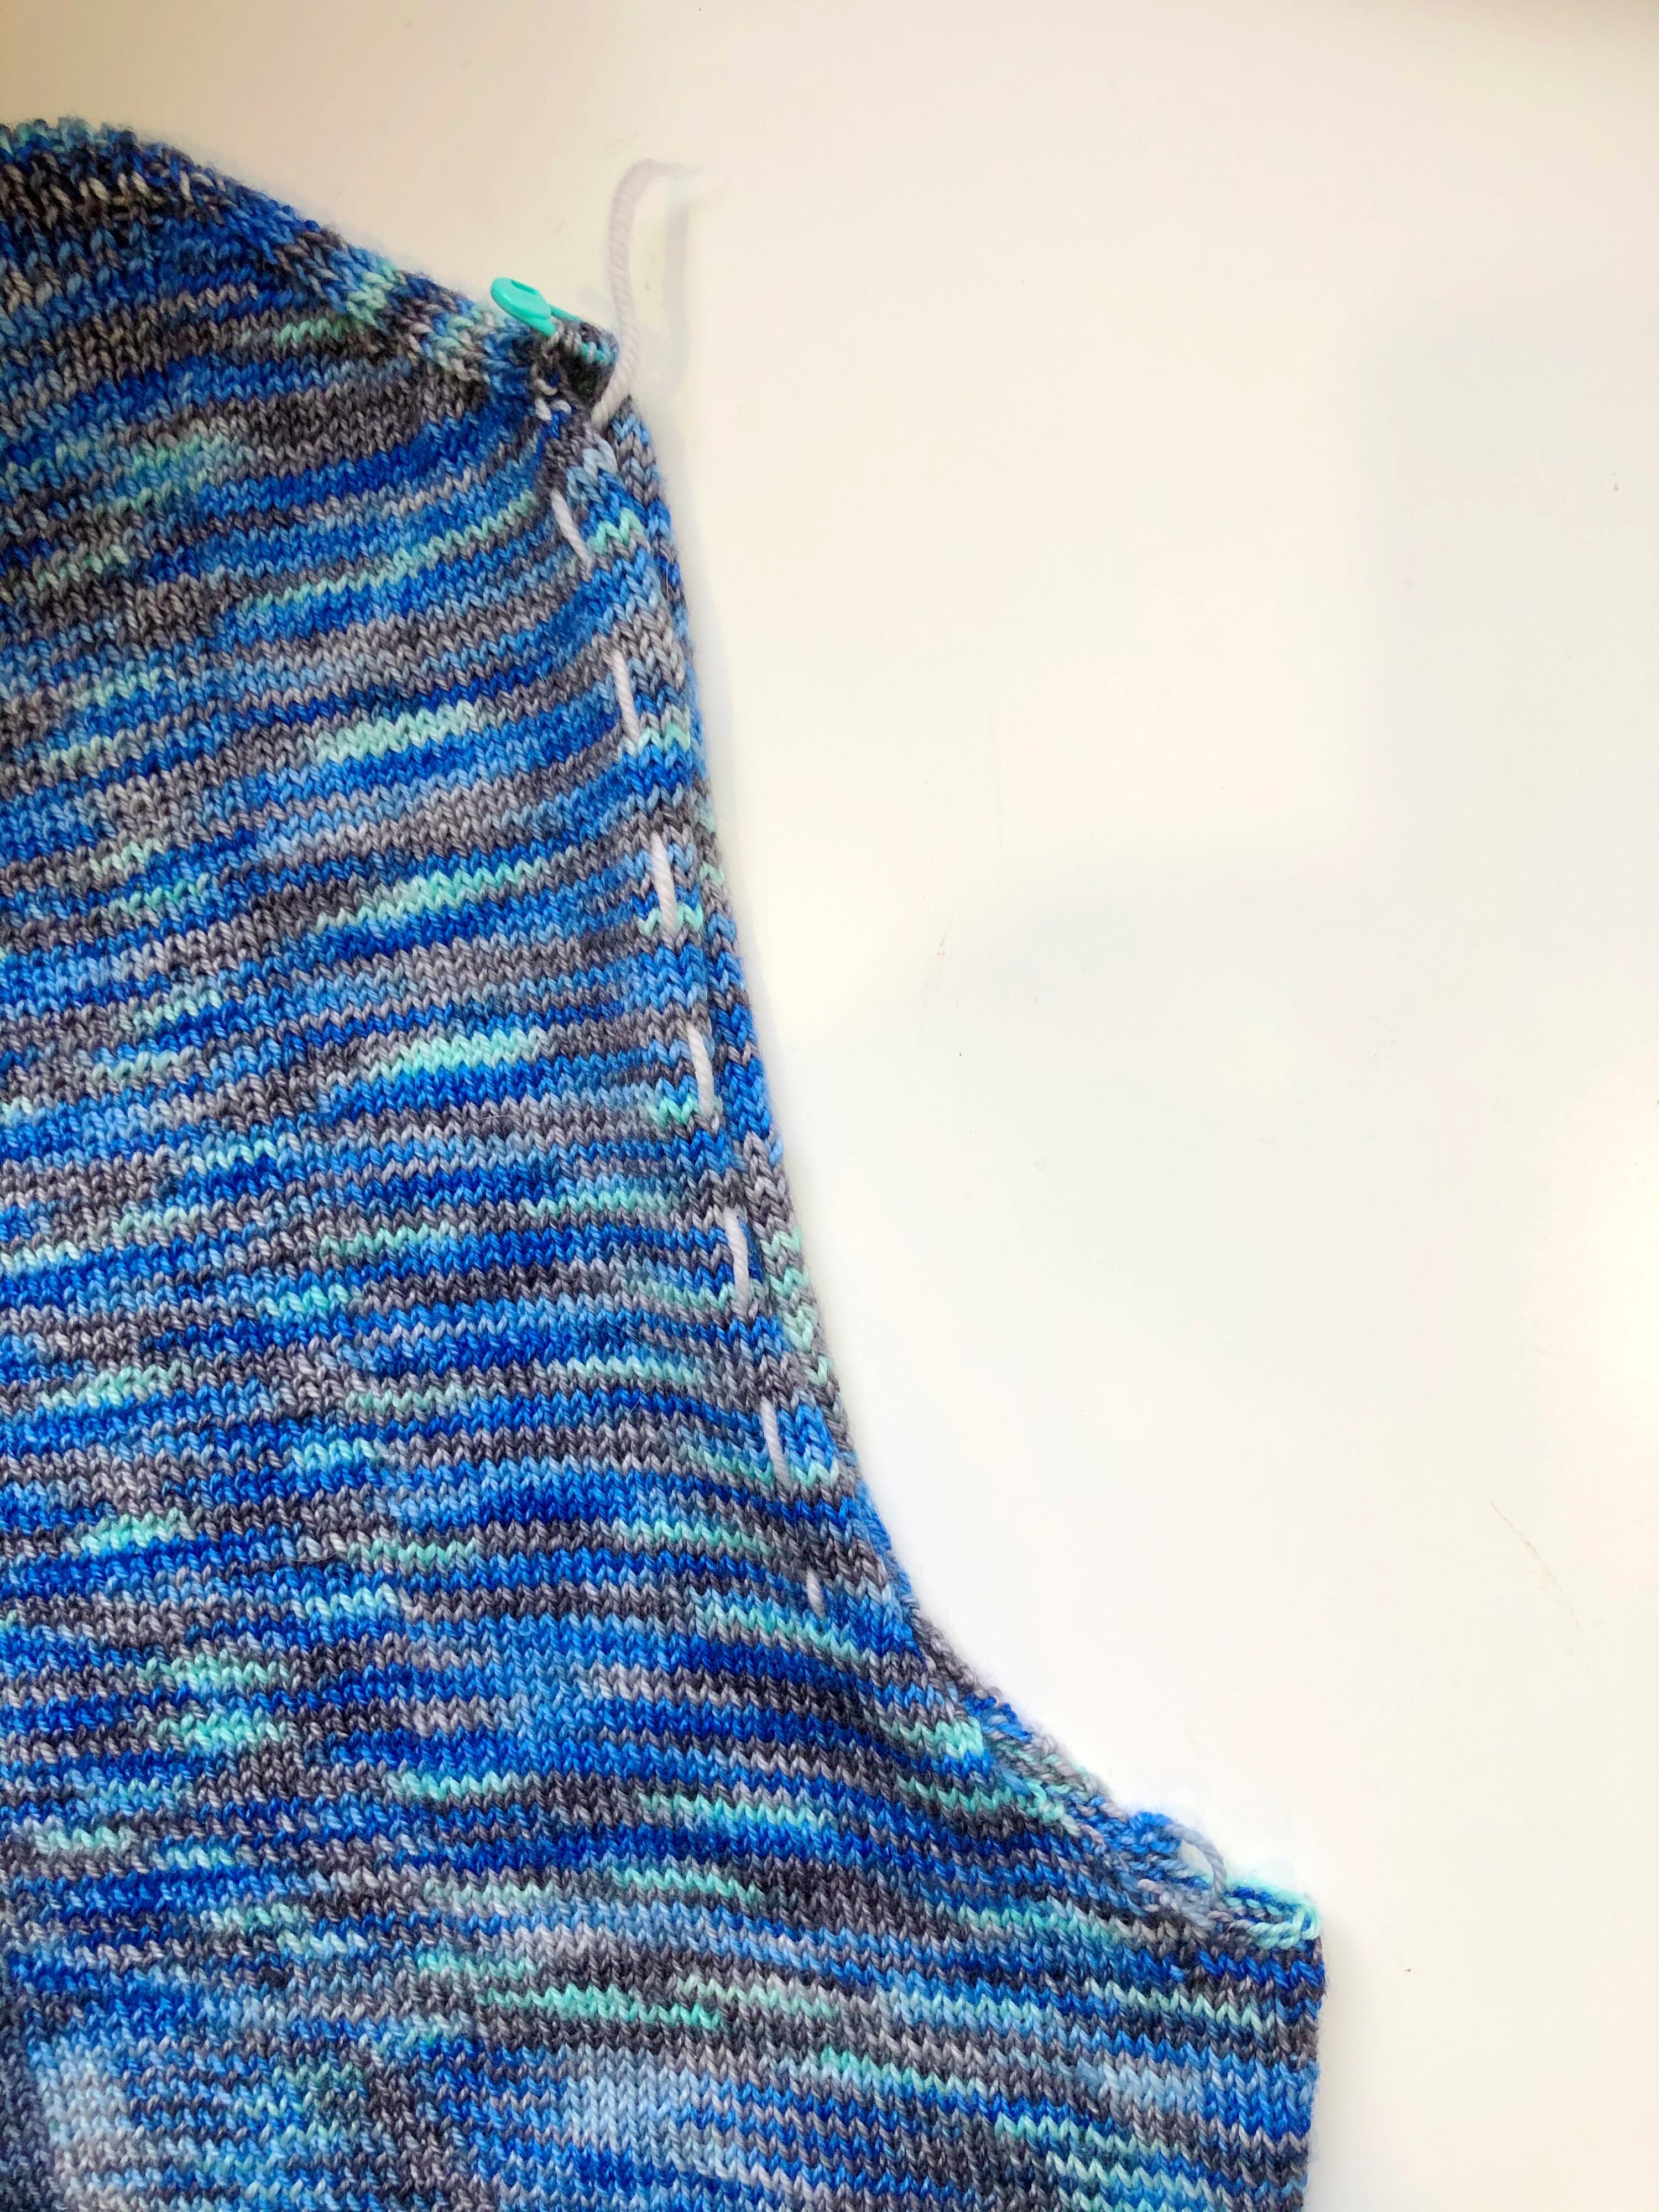
See that armhole depth? It’s waaaaaaaay too deep. I knew that I don’t like deep armholes. Deep armholes are not flattering on me. Deep armholes mean wide upper sleeves, which means less “space” between my bust and arms, which tends to make me look even shorter and wider than I already am. Yup, I noticed that the armholes were too deep, but my lazy-ass brain insisted that I could correct for that when I picked up the sleeve stitches. That armhole would cinch up just fine, right? Wrong. I struggled and struggled with picking up the correct number of armhole stitches. In the end, I had to pick up more stitches than required and try to decrease the sleeve width more quickly than instructed so it wouldn’t end up too baggy.
Not only did this not work, but as I worked the sleeve cap, grumbling all the way because I knew it wasn’t working, a new and exasperating issue arose.
Pooling. Wacky, spiral-y, pooling. Now, not that there’s anything inherently wrong with pooling, generally. It’s something that happens with multi and space-dyed yarns – it’s a bit inevitable that the same color will keep stacking on itself in random places. I don’t normally concern myself with it, because I don’t mind a bit of organic color pooling here and there. The problem in this instance is that the way the colors were pooling in the sleeve was way way WAY different than the body of the sweater. Of course, it was going to be different – the much smaller circumference of the sleeve, which is knit in the round, compared to the much larger circumference of the body, which is knit back and forth, was inevitably going to create a different “pattern” in the fabric. The pooling only started at the underarm, because that’s where the knitting changes from back and forth of building the sleeve cap to knitting in the round. So, I had to frog back to the underarm and figure out how to deal with this issue.
A well-known solution for unwanted pooling is to swap out two skeins of yarn every row or two. This helps break up the color stacking. This is really the only workable option when knitting in the round, so I joined a second ball and started the sleeve again, swapping out the yarns using the helix method, which leaves no visible line and doesn’t require twisting the two yarns. The result was okay, but I could still see the pooling. The only difference was that there was now a small contrast stripe running through the color blobs. Close enough for jazz, but not for my fussy, persnickety, knitter-self.
This was the moment when I got mad…so mad…really really very mad. The armhole was too deep. The upper arm was too wide. The sleeve was pooling like a weirdy weirdo. I’d had it. This project was not working and it didn’t deserve to live on. A trip to the dreaded frog pond was imminent…imminent I tell you!!
Fortunately, before succumbing to my angry angriness, I had the good sense to try the sweater on and see if it felt worth the effort to solve all the stupid, annoying, aggravating stupidness.
I put it on. It looked good. No, really, it looked really quite nice and good. Okay, so be it. It was worth fixing. You win, Longline – back to the drawing board with my knitty butt. I had already figured out how to deal with the sleeve pooling – I needed to knit the sleeve back and forth and seam it from the cuff to the armhole. But how was I going to solve the deep armhole issue without frogging it all back (including my groovy cool pockets) to the proper armhole depth and starting over? The only thing I could come up with was adding a gusset to the lower part of the armhole opening. I hadn’t a clue how to do it, so I just winged it. I’ll tell ya, thank goodness for busy yarn because there’s no way I would have gotten away with this in a solid or even semi-solid. I won’t even try to describe how I did this, because I’m not sure I would recommend it as a solution and I hope I never have to do it again. Never. Again.
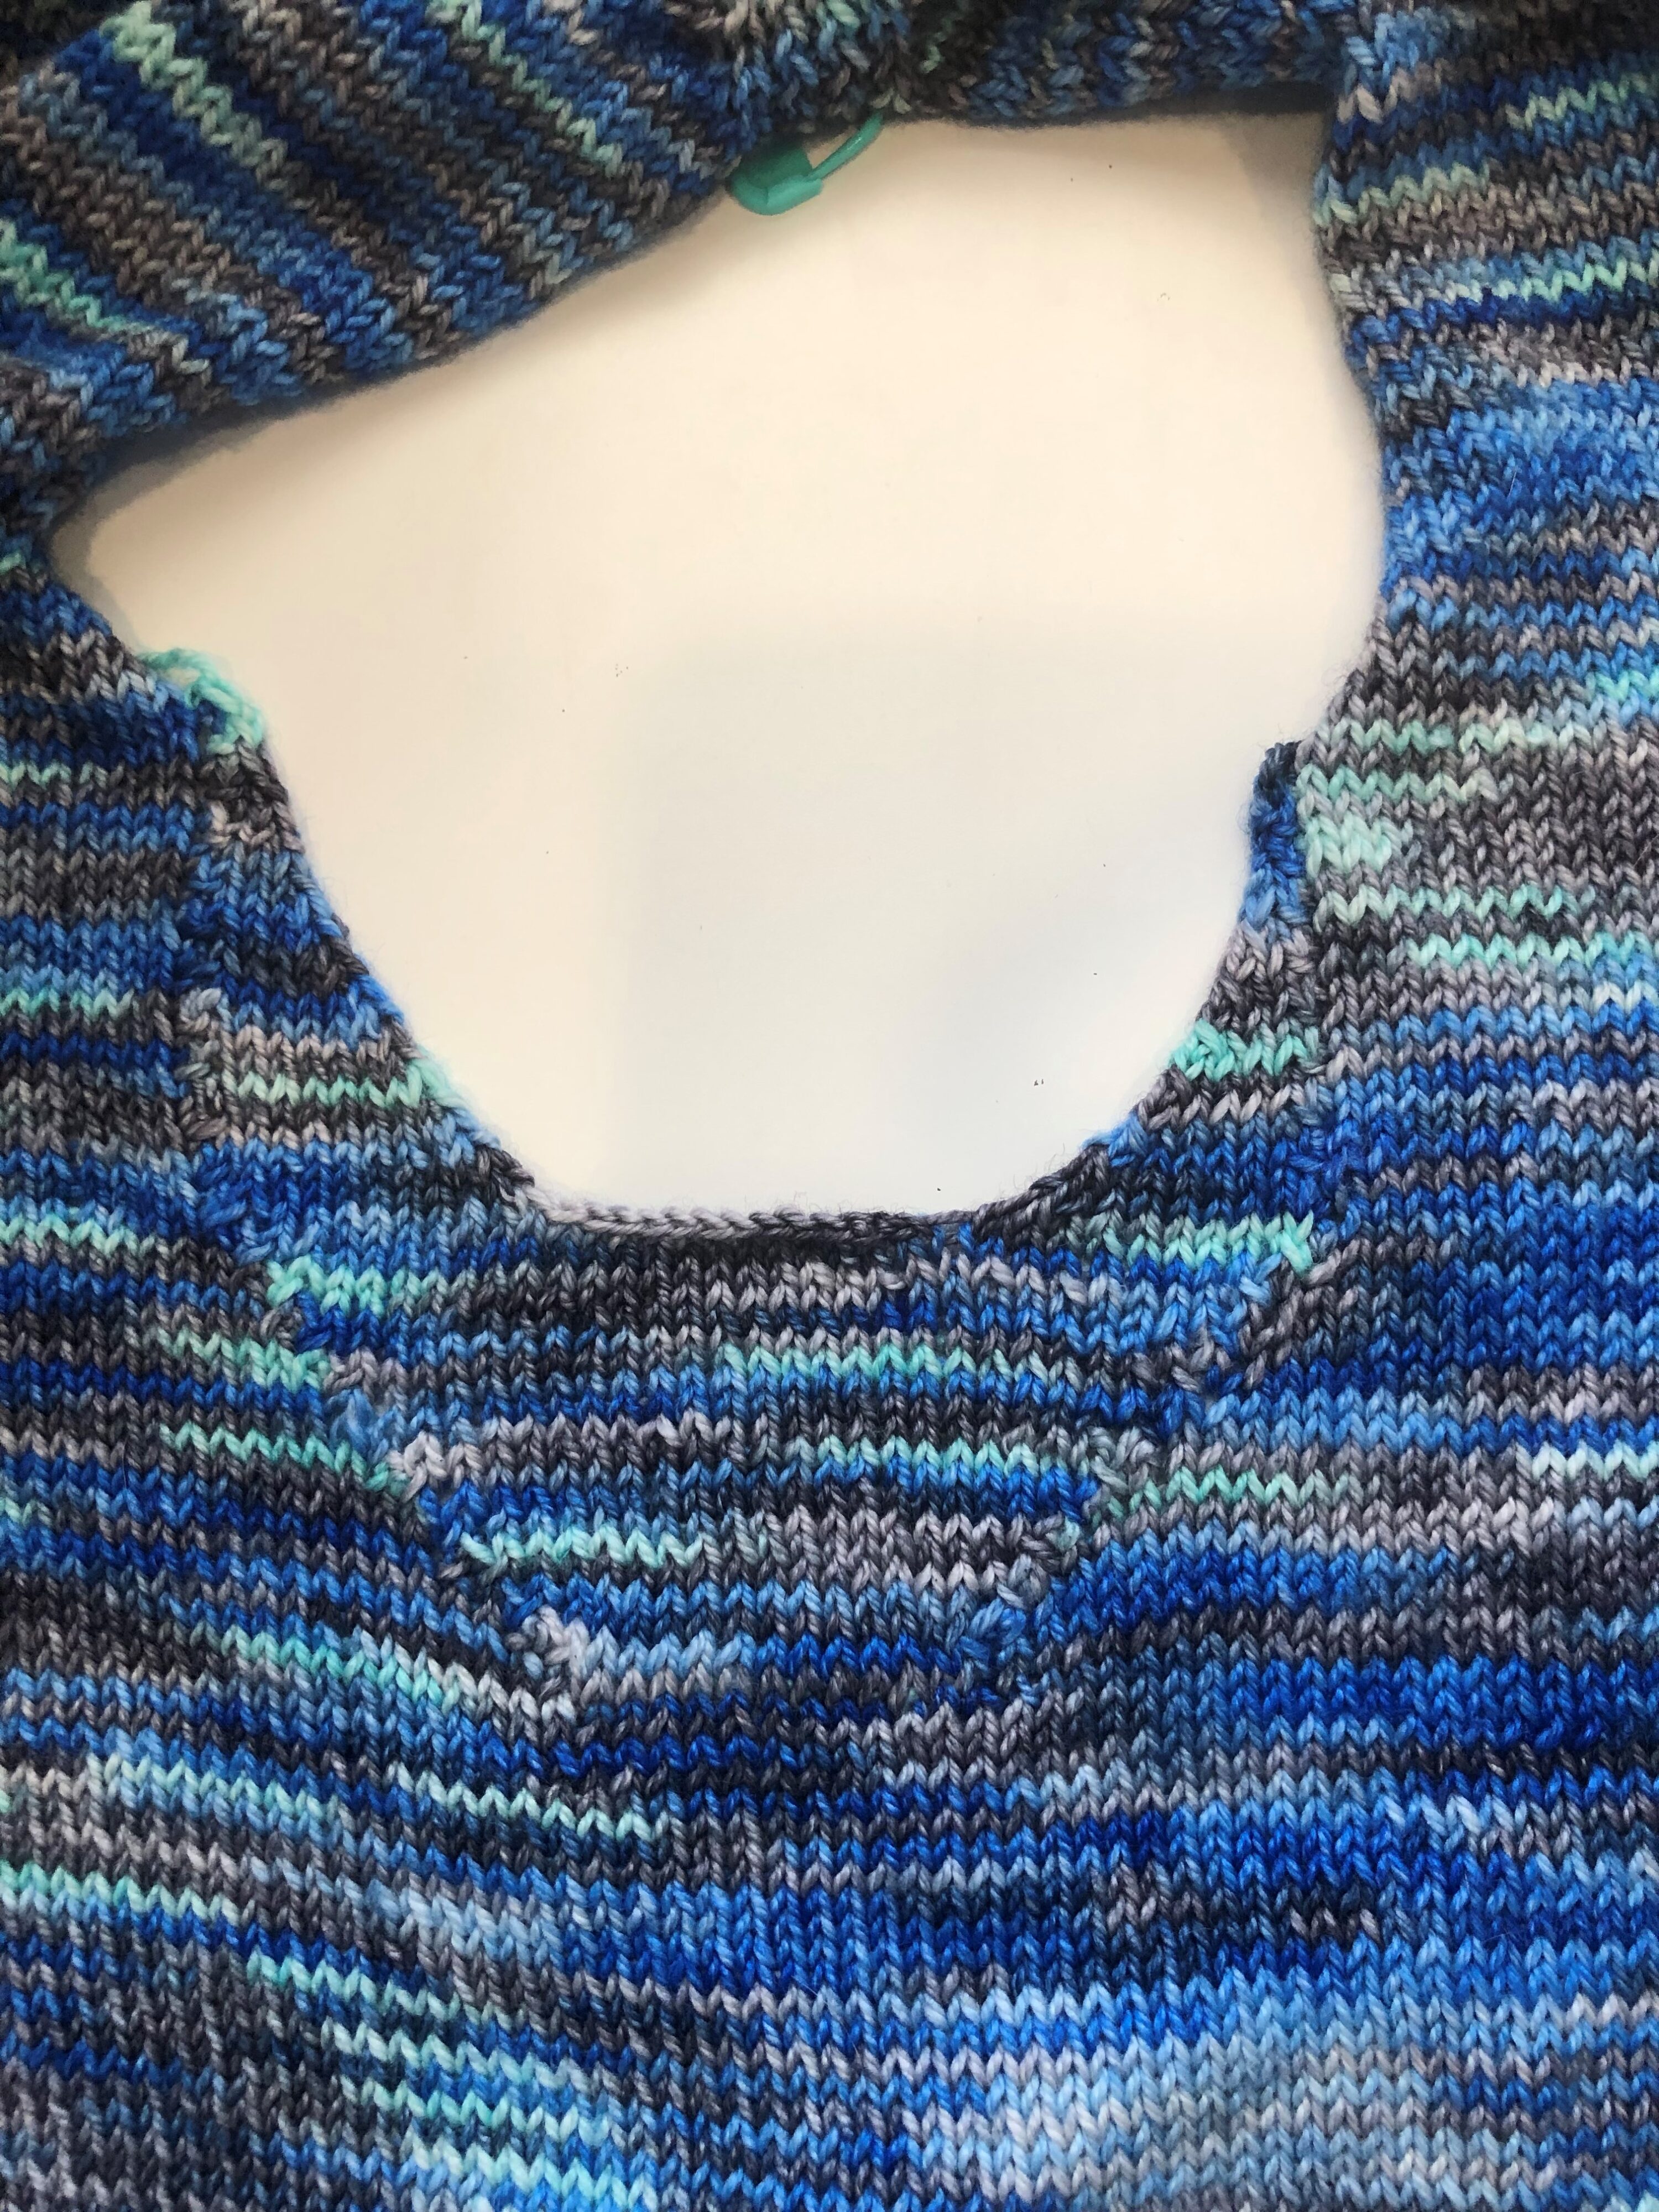
You can hardly see it, right? If you didn’t know it was there, etc, etc…Yeah, it’s not ideal, but I was able to raise the armhole depth by a couple inches, pick up the correct number of armhole stitches, and create a significantly better looking sleeve width.
After completing my drastically improved sleeve cap, I was ready to work the rest of the sleeve flat, which, thank the deity of your choice, corrected the pooling issue easy-peasy.
No languishing on sleeve island for me. I needed this WIP out of my life. I knitknitknit until both sleeves were my signature 3/4 length, sewed them up, gave everything a nifty steam block, and…Voila!
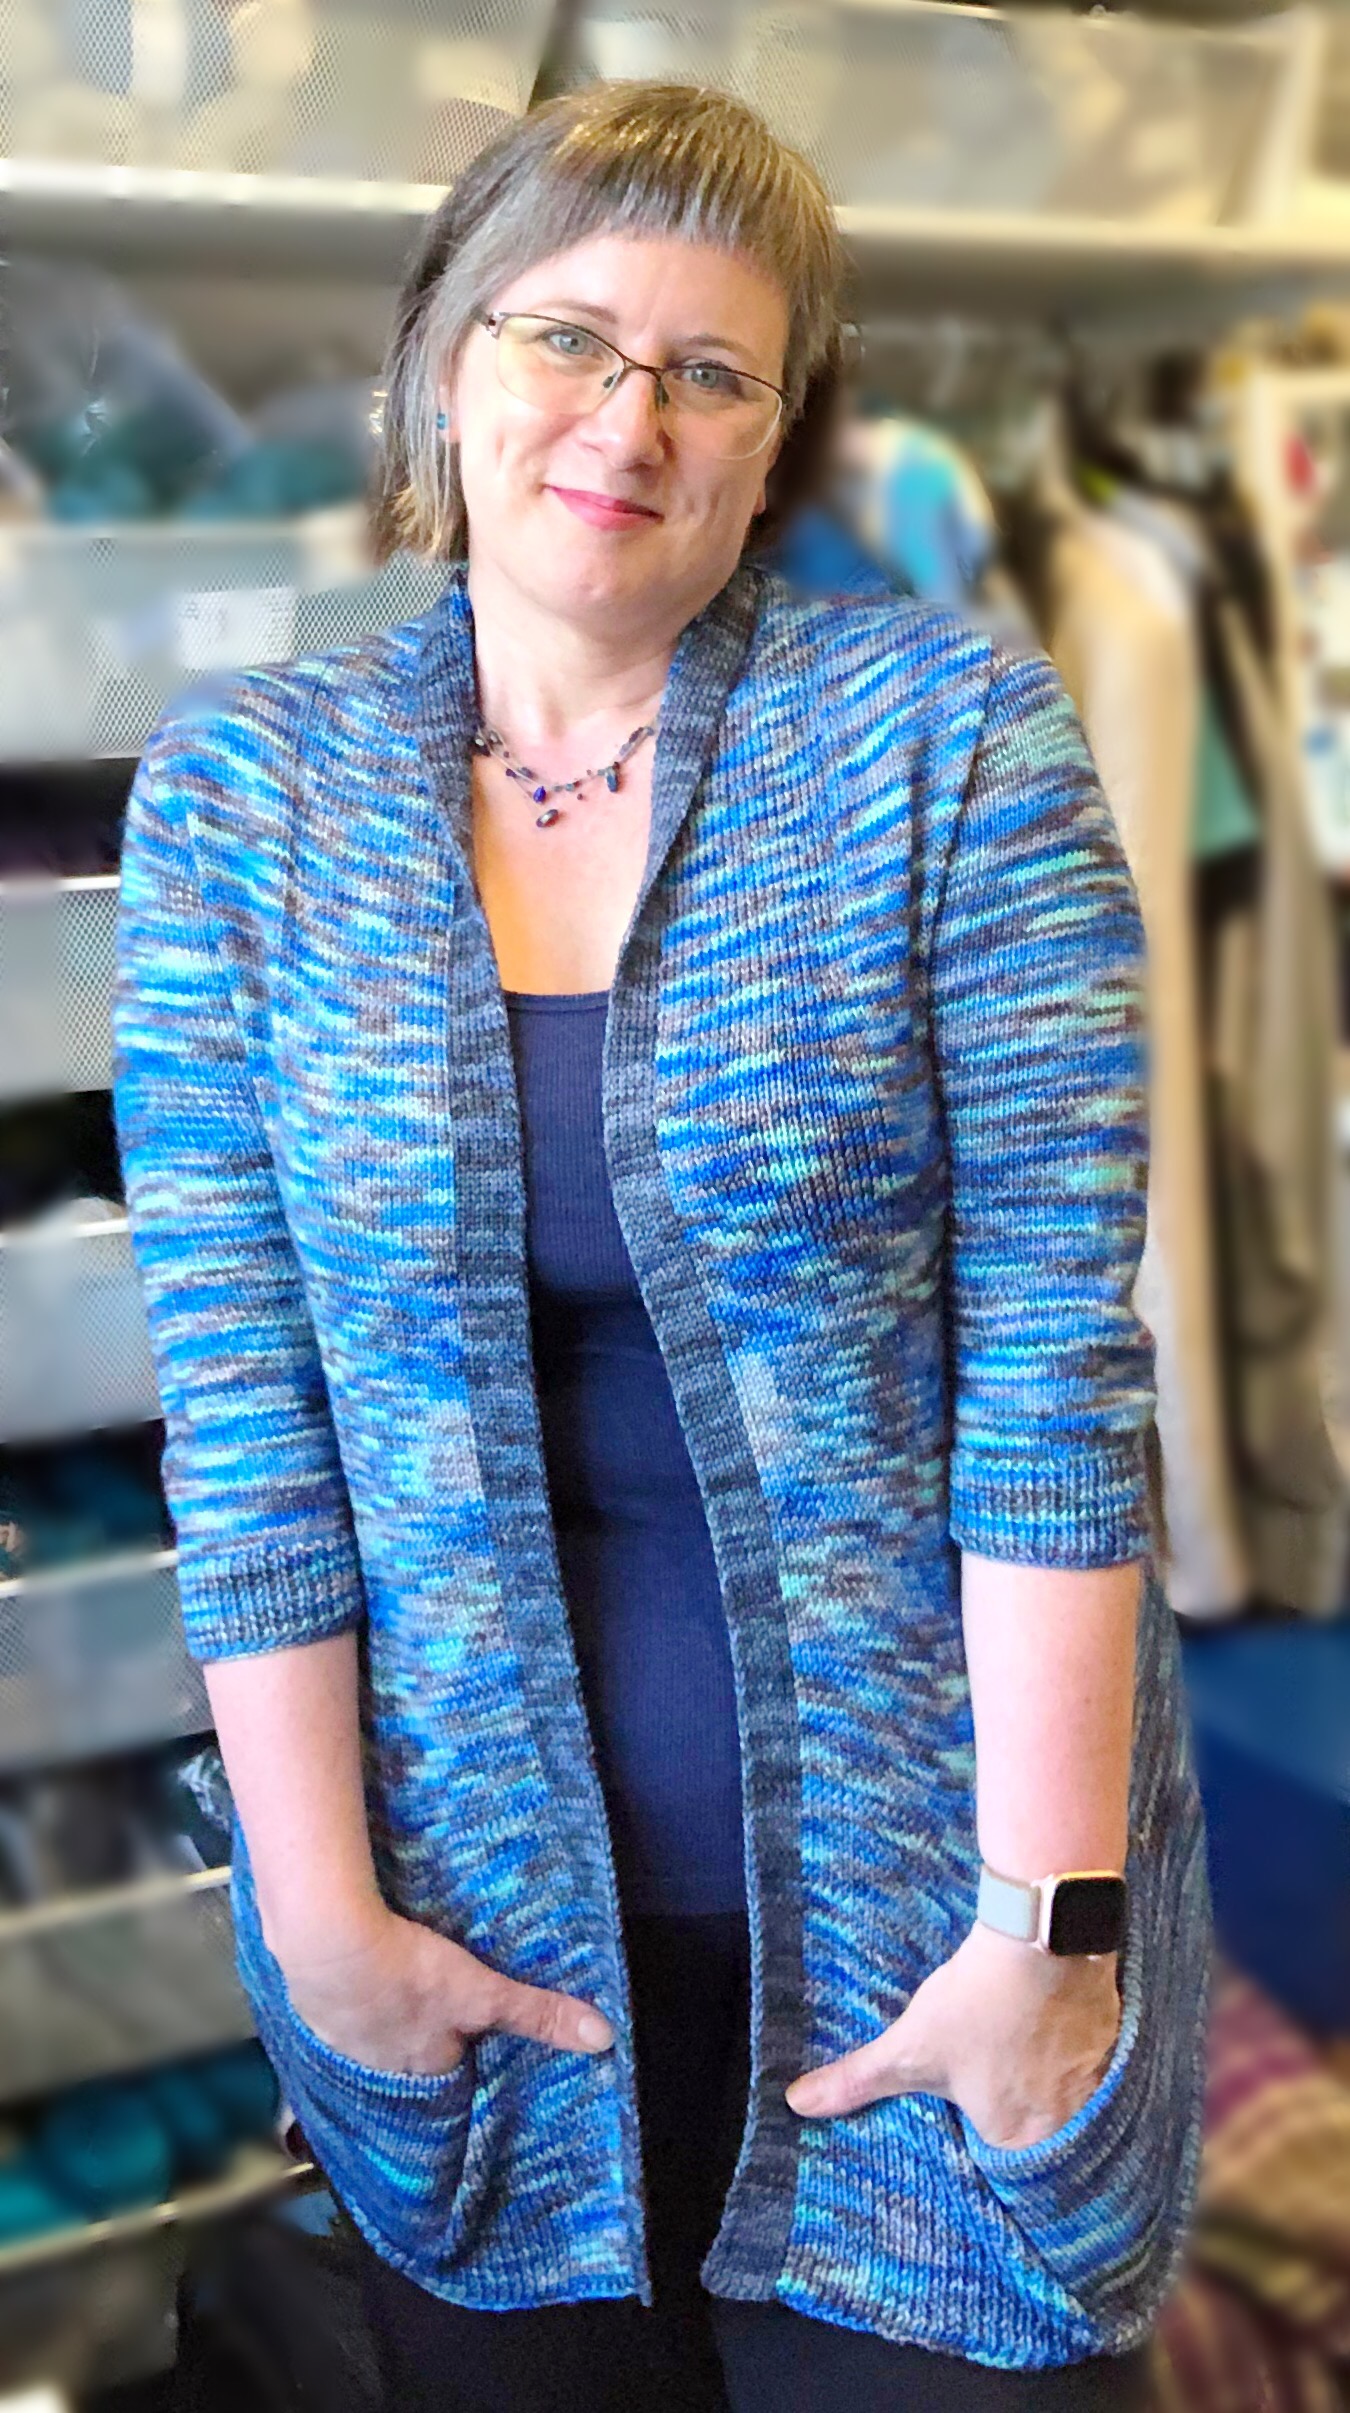

One painfully knit, but pretty darn cute cardigan.
Here’s the moral of this story: WHEN YOU FIRST NOTICE AN ISSUE WITH YOUR KNITTING, FROG IT BACK AND FIX IT! JUST. FROG. IT.
I’m completely serious. Let’s hope I can follow my own advice next time.
Knit well, and frog when you need to. You got this.
Knicoleknits
Whew! In the end you look happy and the sweater looks great! You’d never know the issues you had with the arms from looking at it. The pockets are a great idea (thanks for the visuals), and the darker border gives great definition and a long line. So many stitches – I’m glad it worked out without frogging. It looks great on you!
I love this. Was looking at this pattern on Ravelry and saw your pocket mod and swoop, I was down the rabbit hole. I liked the pattern, but I LOVE pockets. The armhole issue is one I fight with as well. Is there a way to see that before you get 6 inches down the body??? I have the same, “It will be fine, just forge ahead” mindset and it doesn’t always work out well. Any recommendations on how to change the pattern for the armhole. The color pooling is another whole kettle of fish.
Thanks, Mary!
The armhole depth issue is actually pretty evident as you’re knitting and it would have been easy enough to stop earlier and start the underarm shaping. I was just trusting the pattern, which was my big mistake:P
If you decide to make it and have any questions, just let me know on Rav 🙂