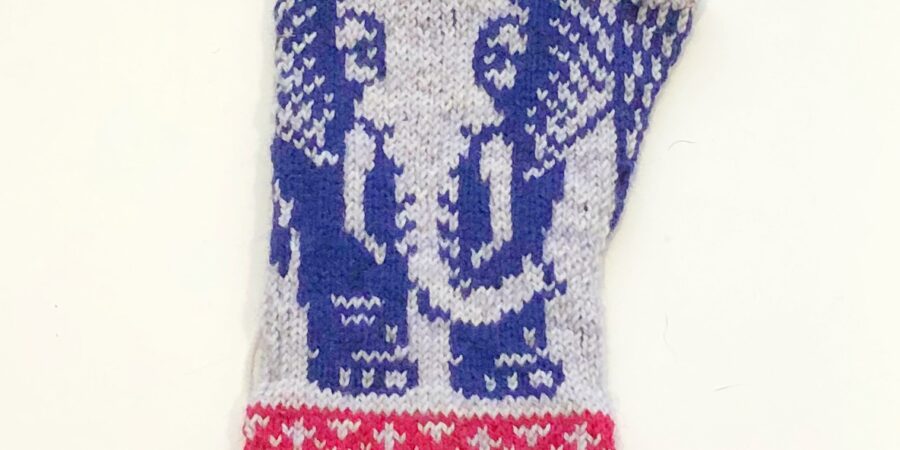
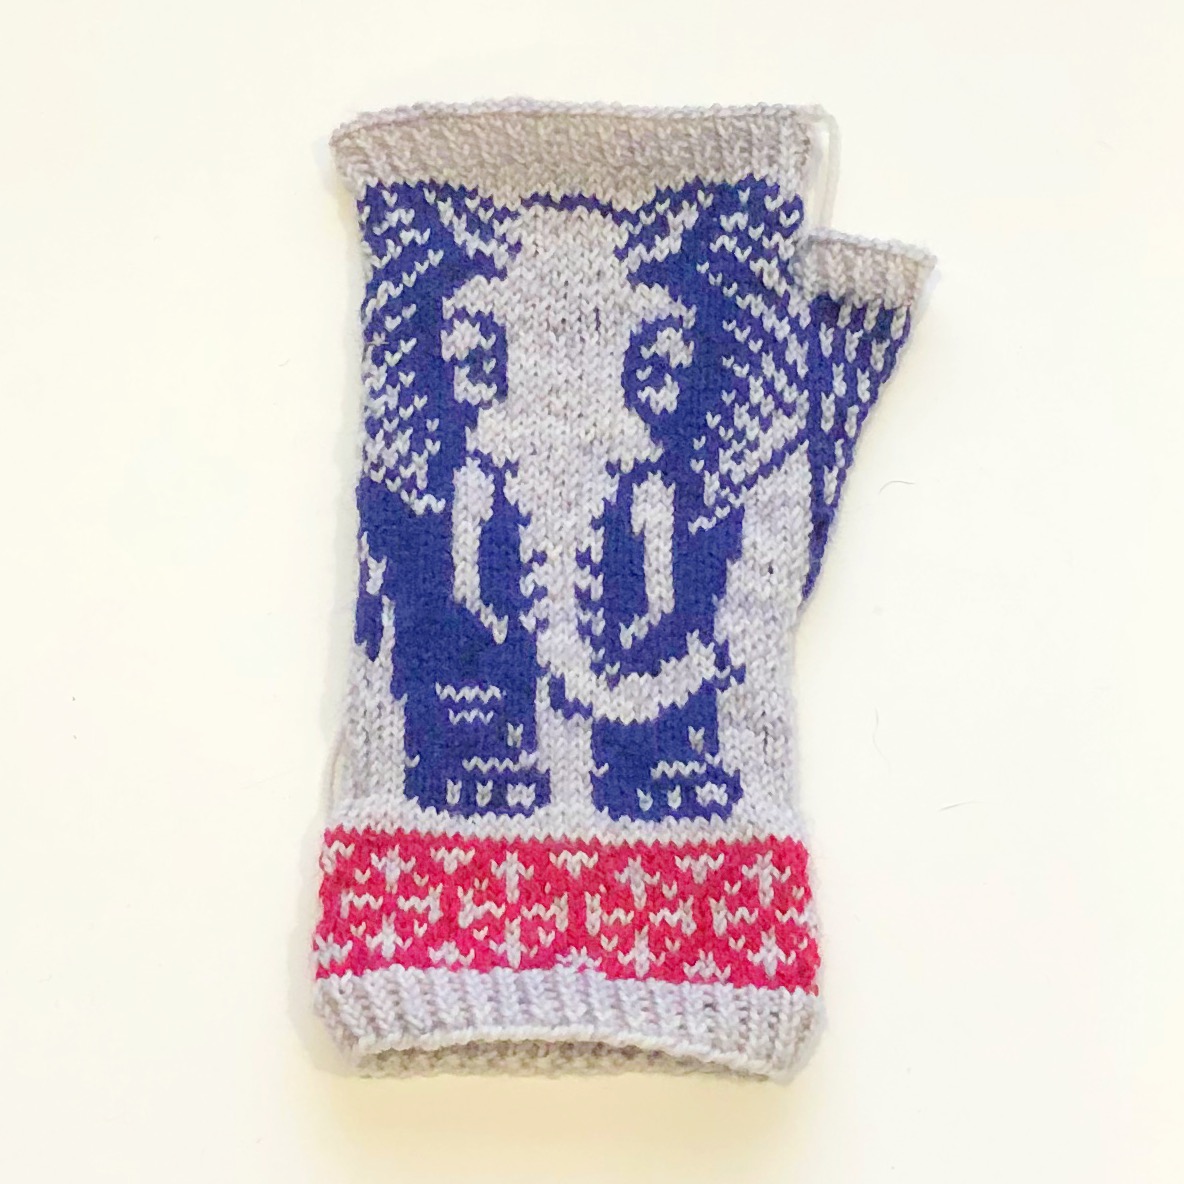
For an entire year it’s been starting me in the face…every…day. I can’t miss it. It’s right there on my swatch board. A beautiful failure. A deeply flawed elephant. No, really…totally an elephant, honest.
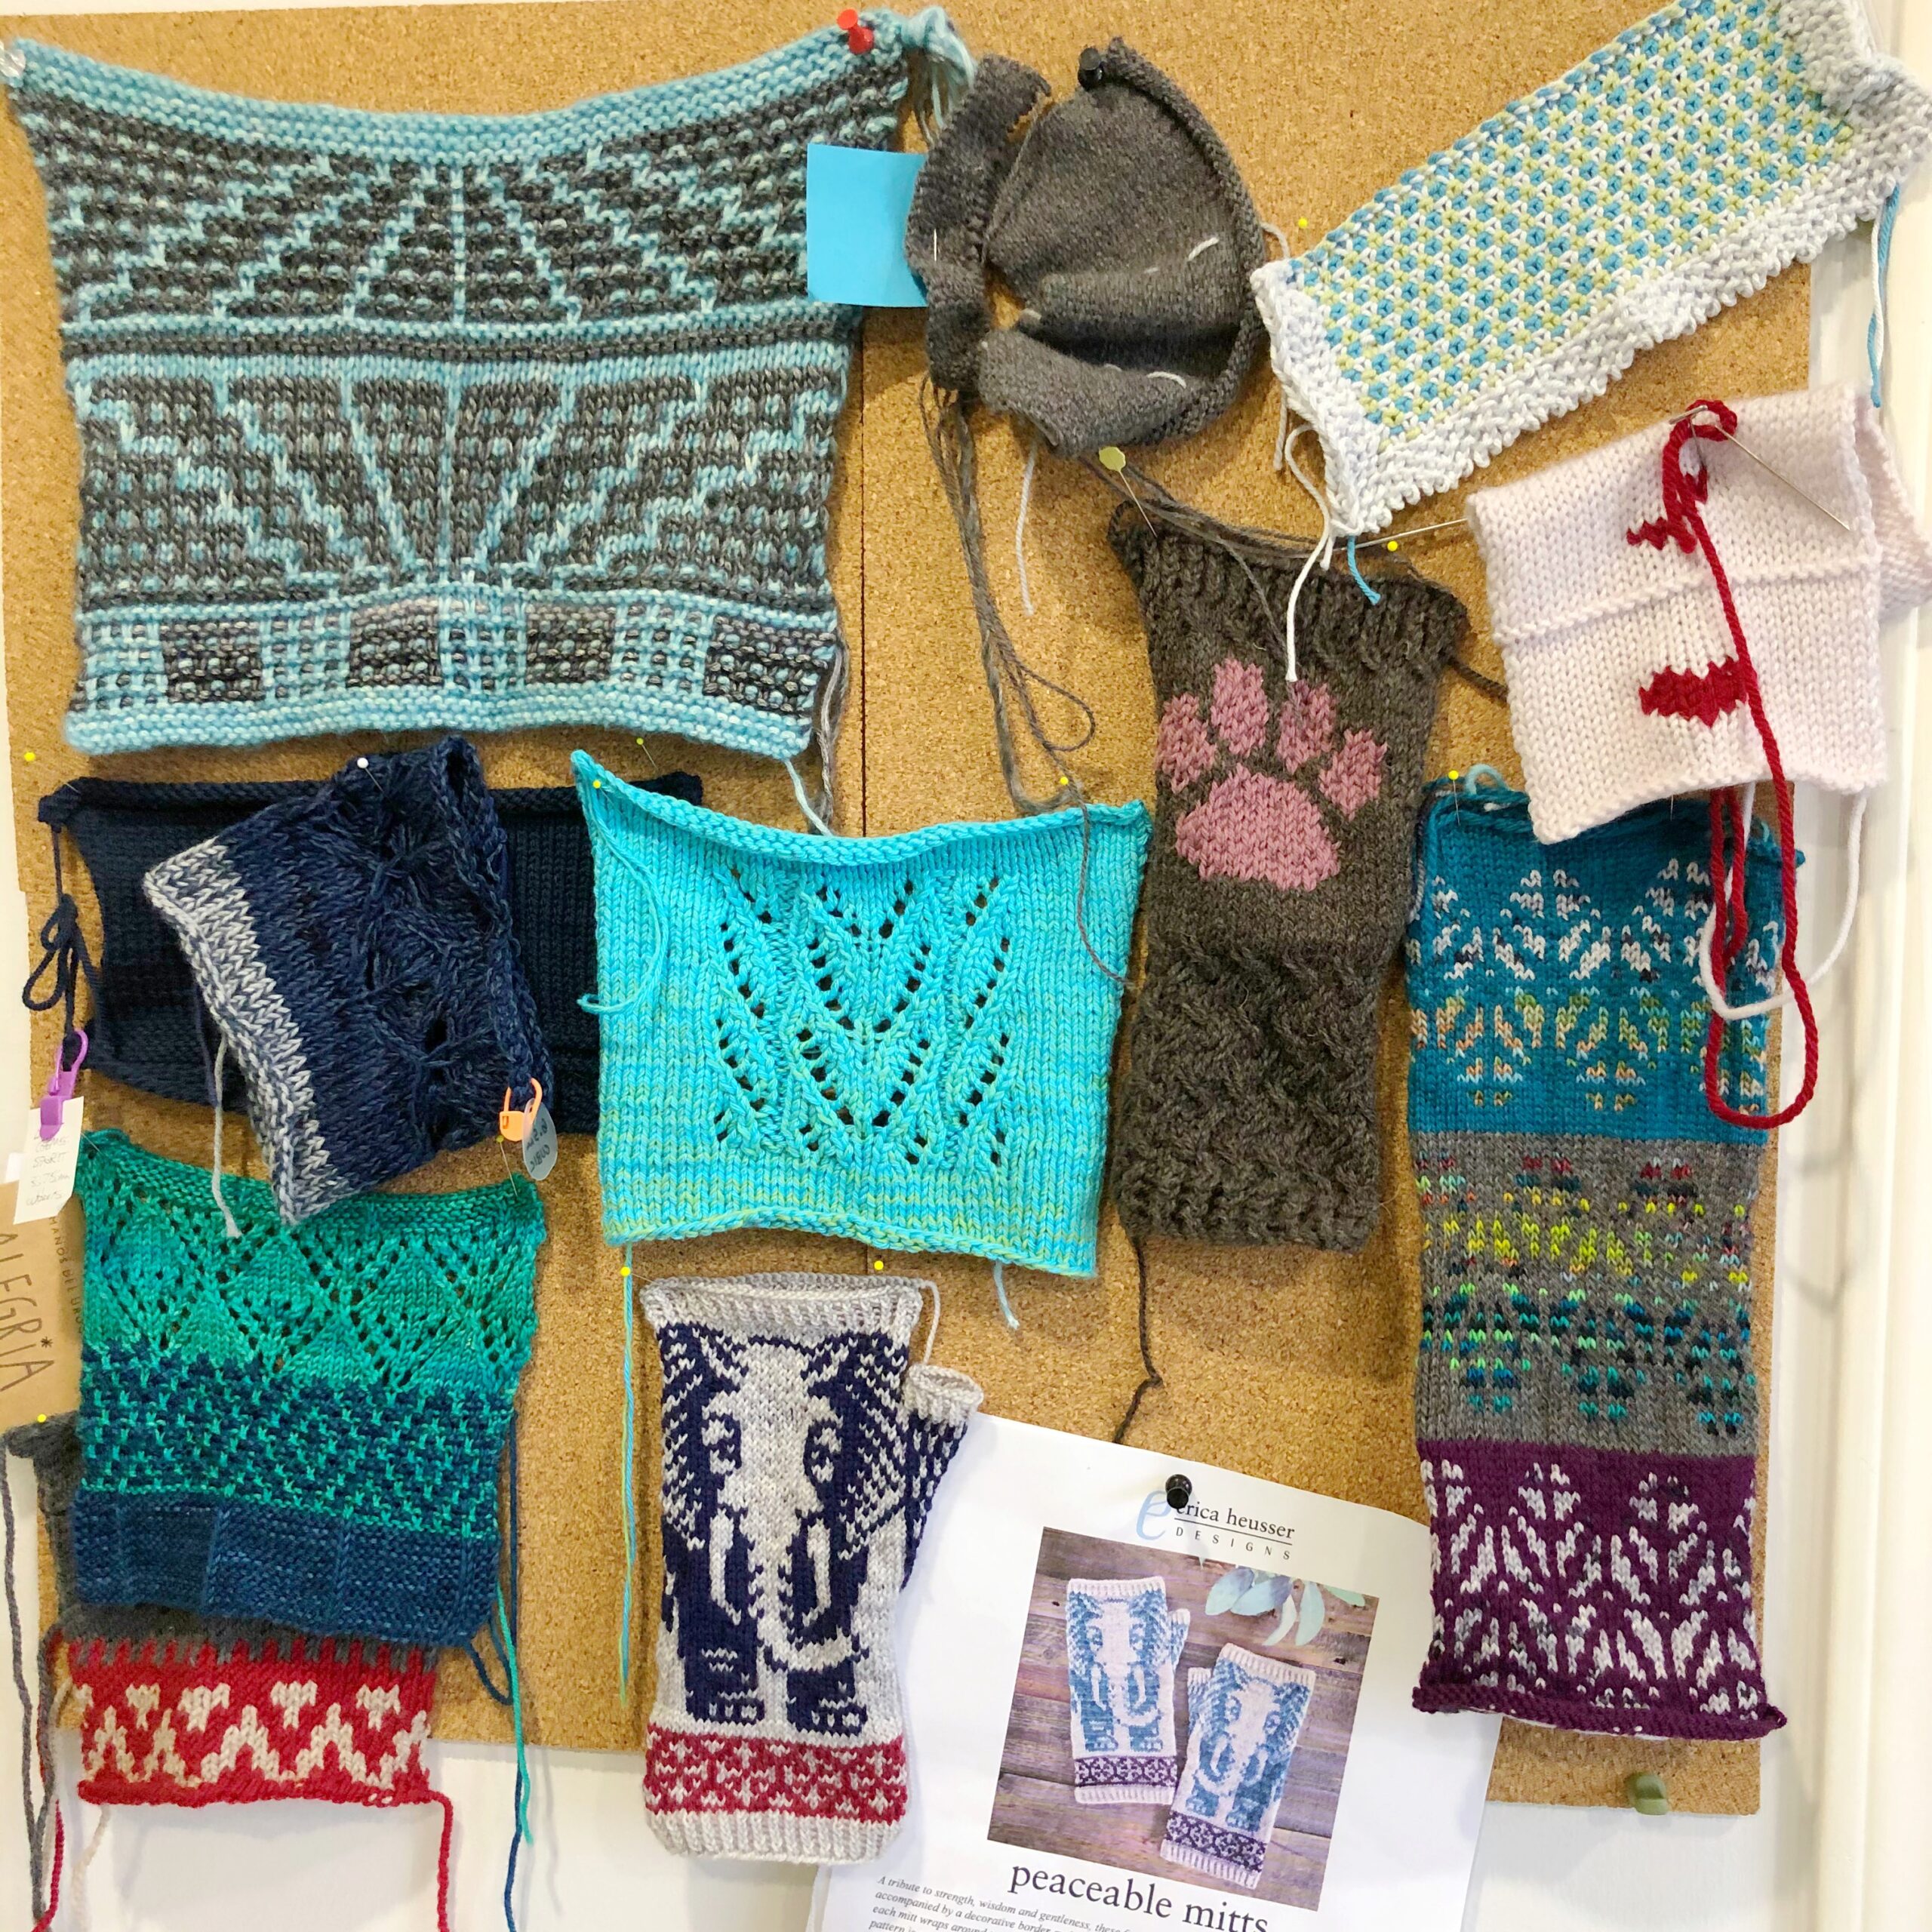
See it there – mocking me? Yeah, yeah, it looks kinda cool…from a distance. But lean in and discover the horrors that caused this lone mitt to be just that: lone, solo, single, solitary, partner-free.
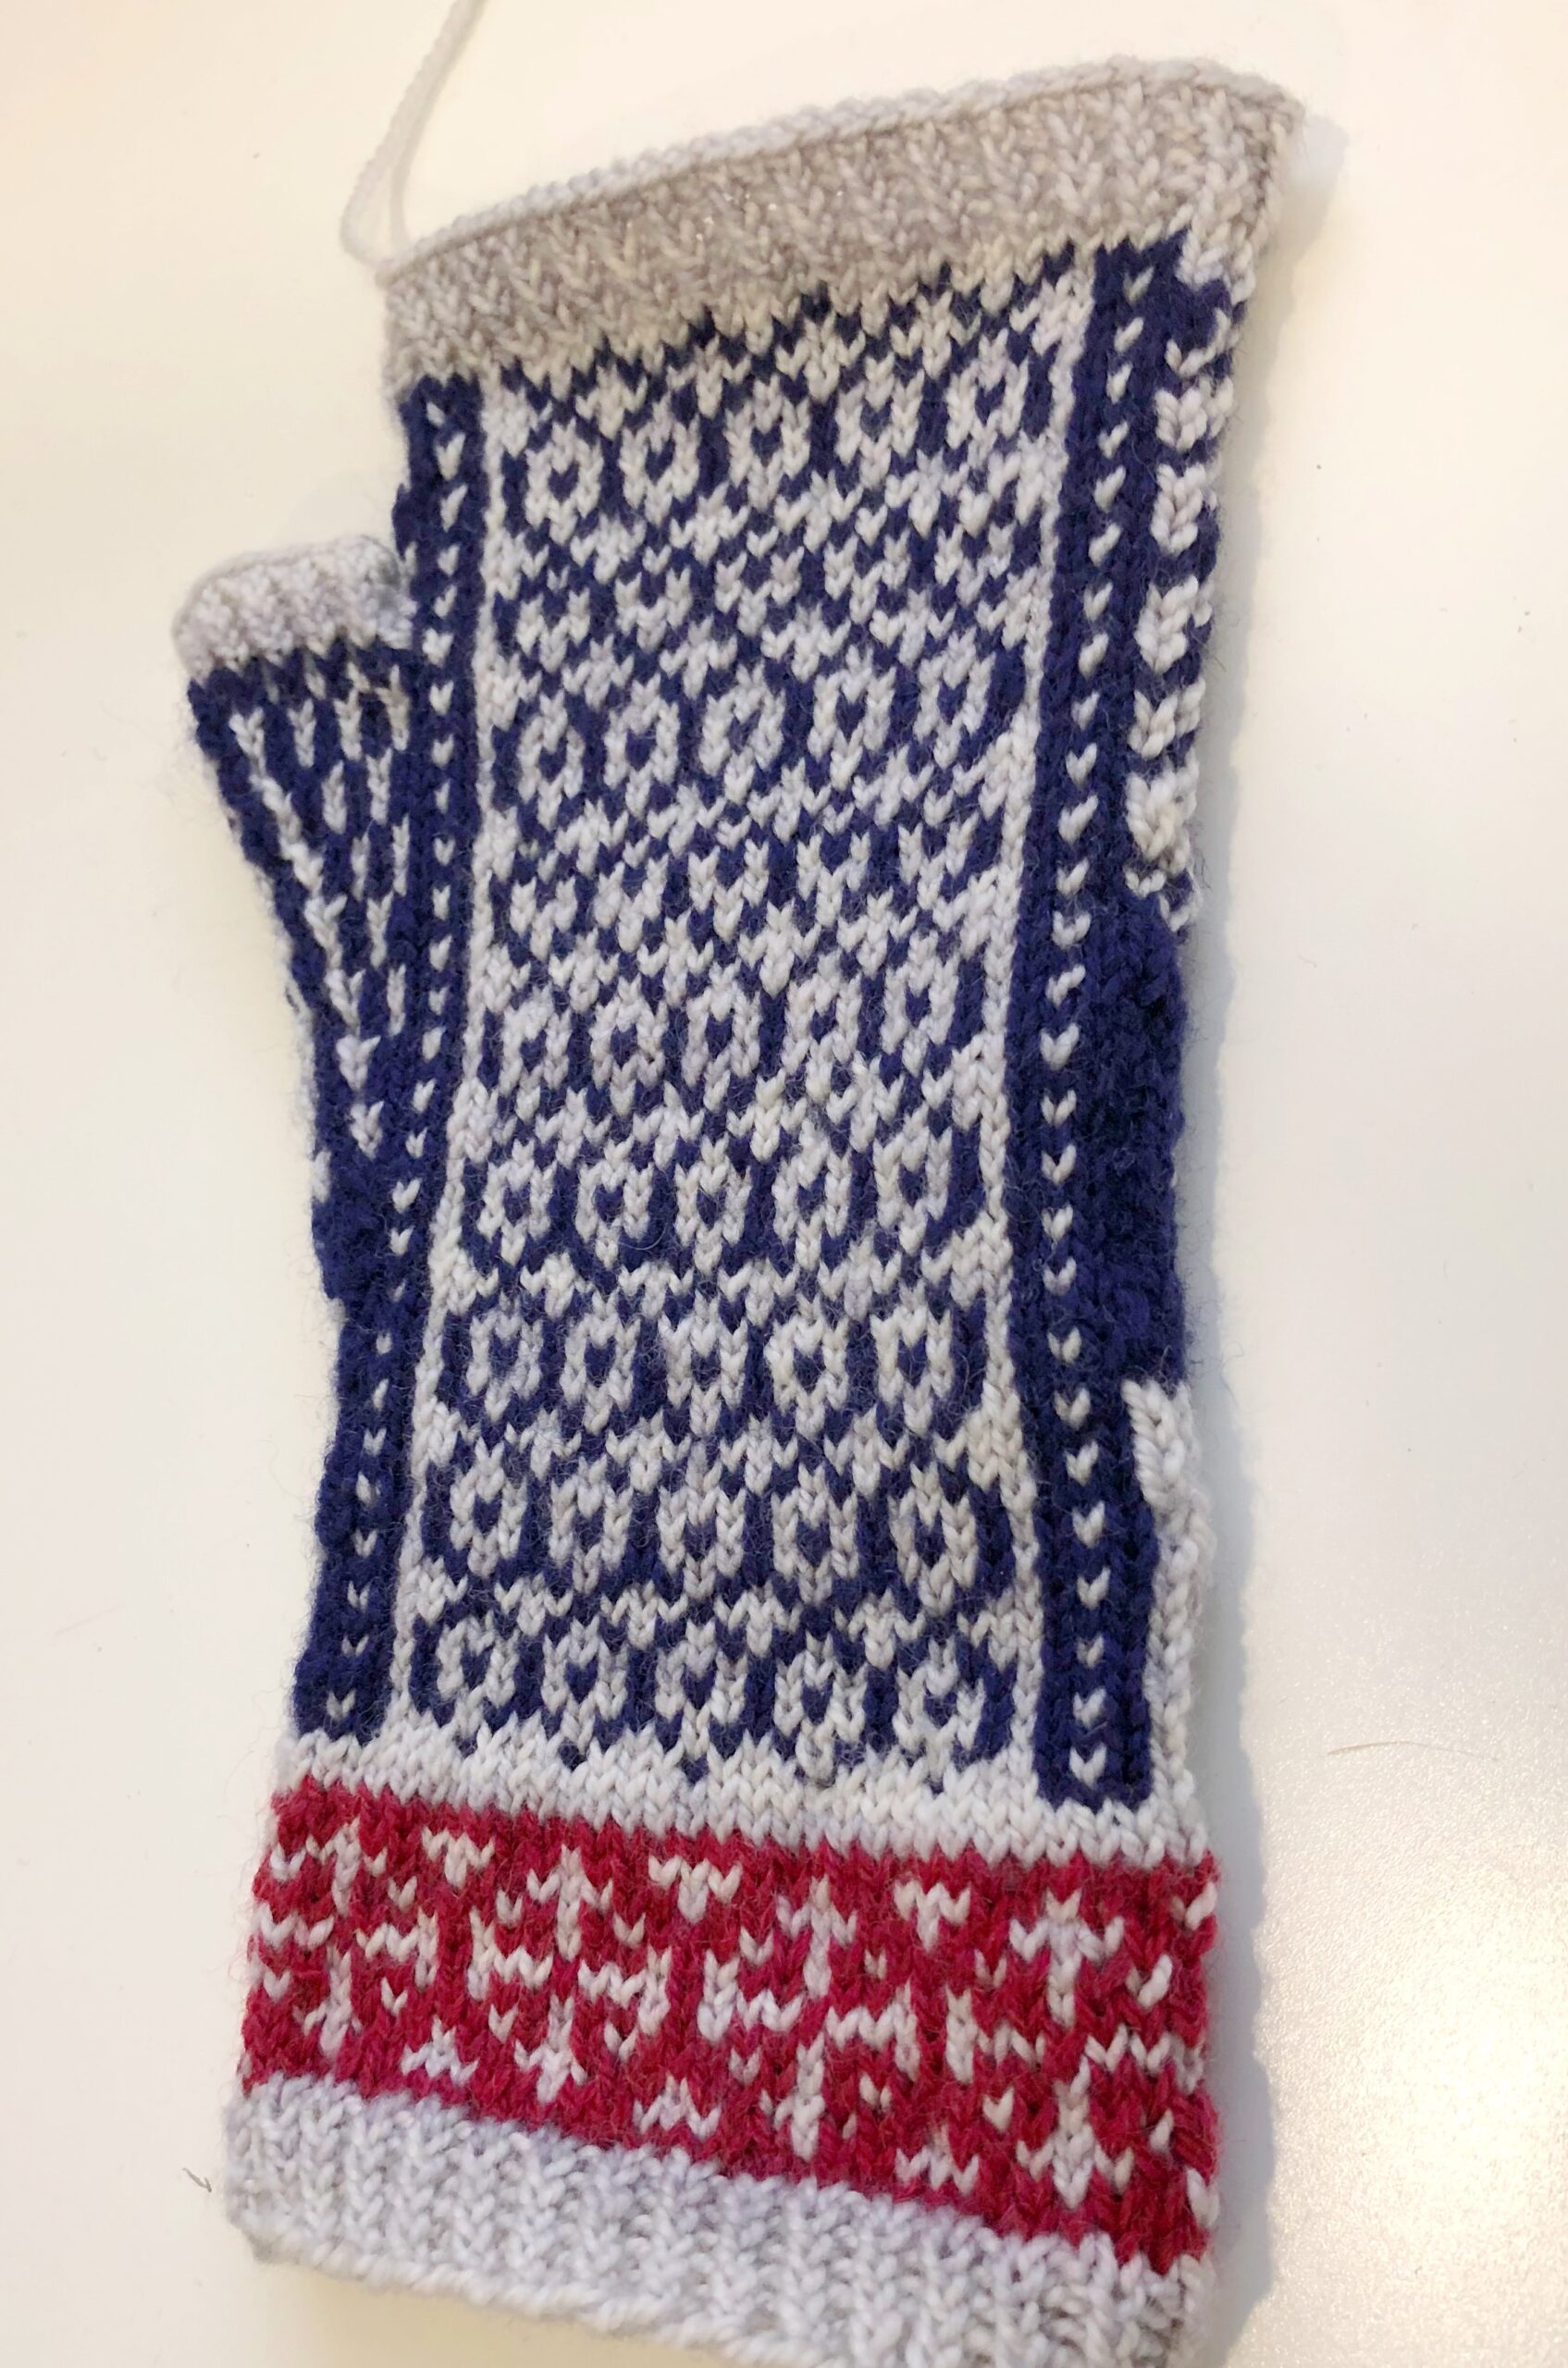

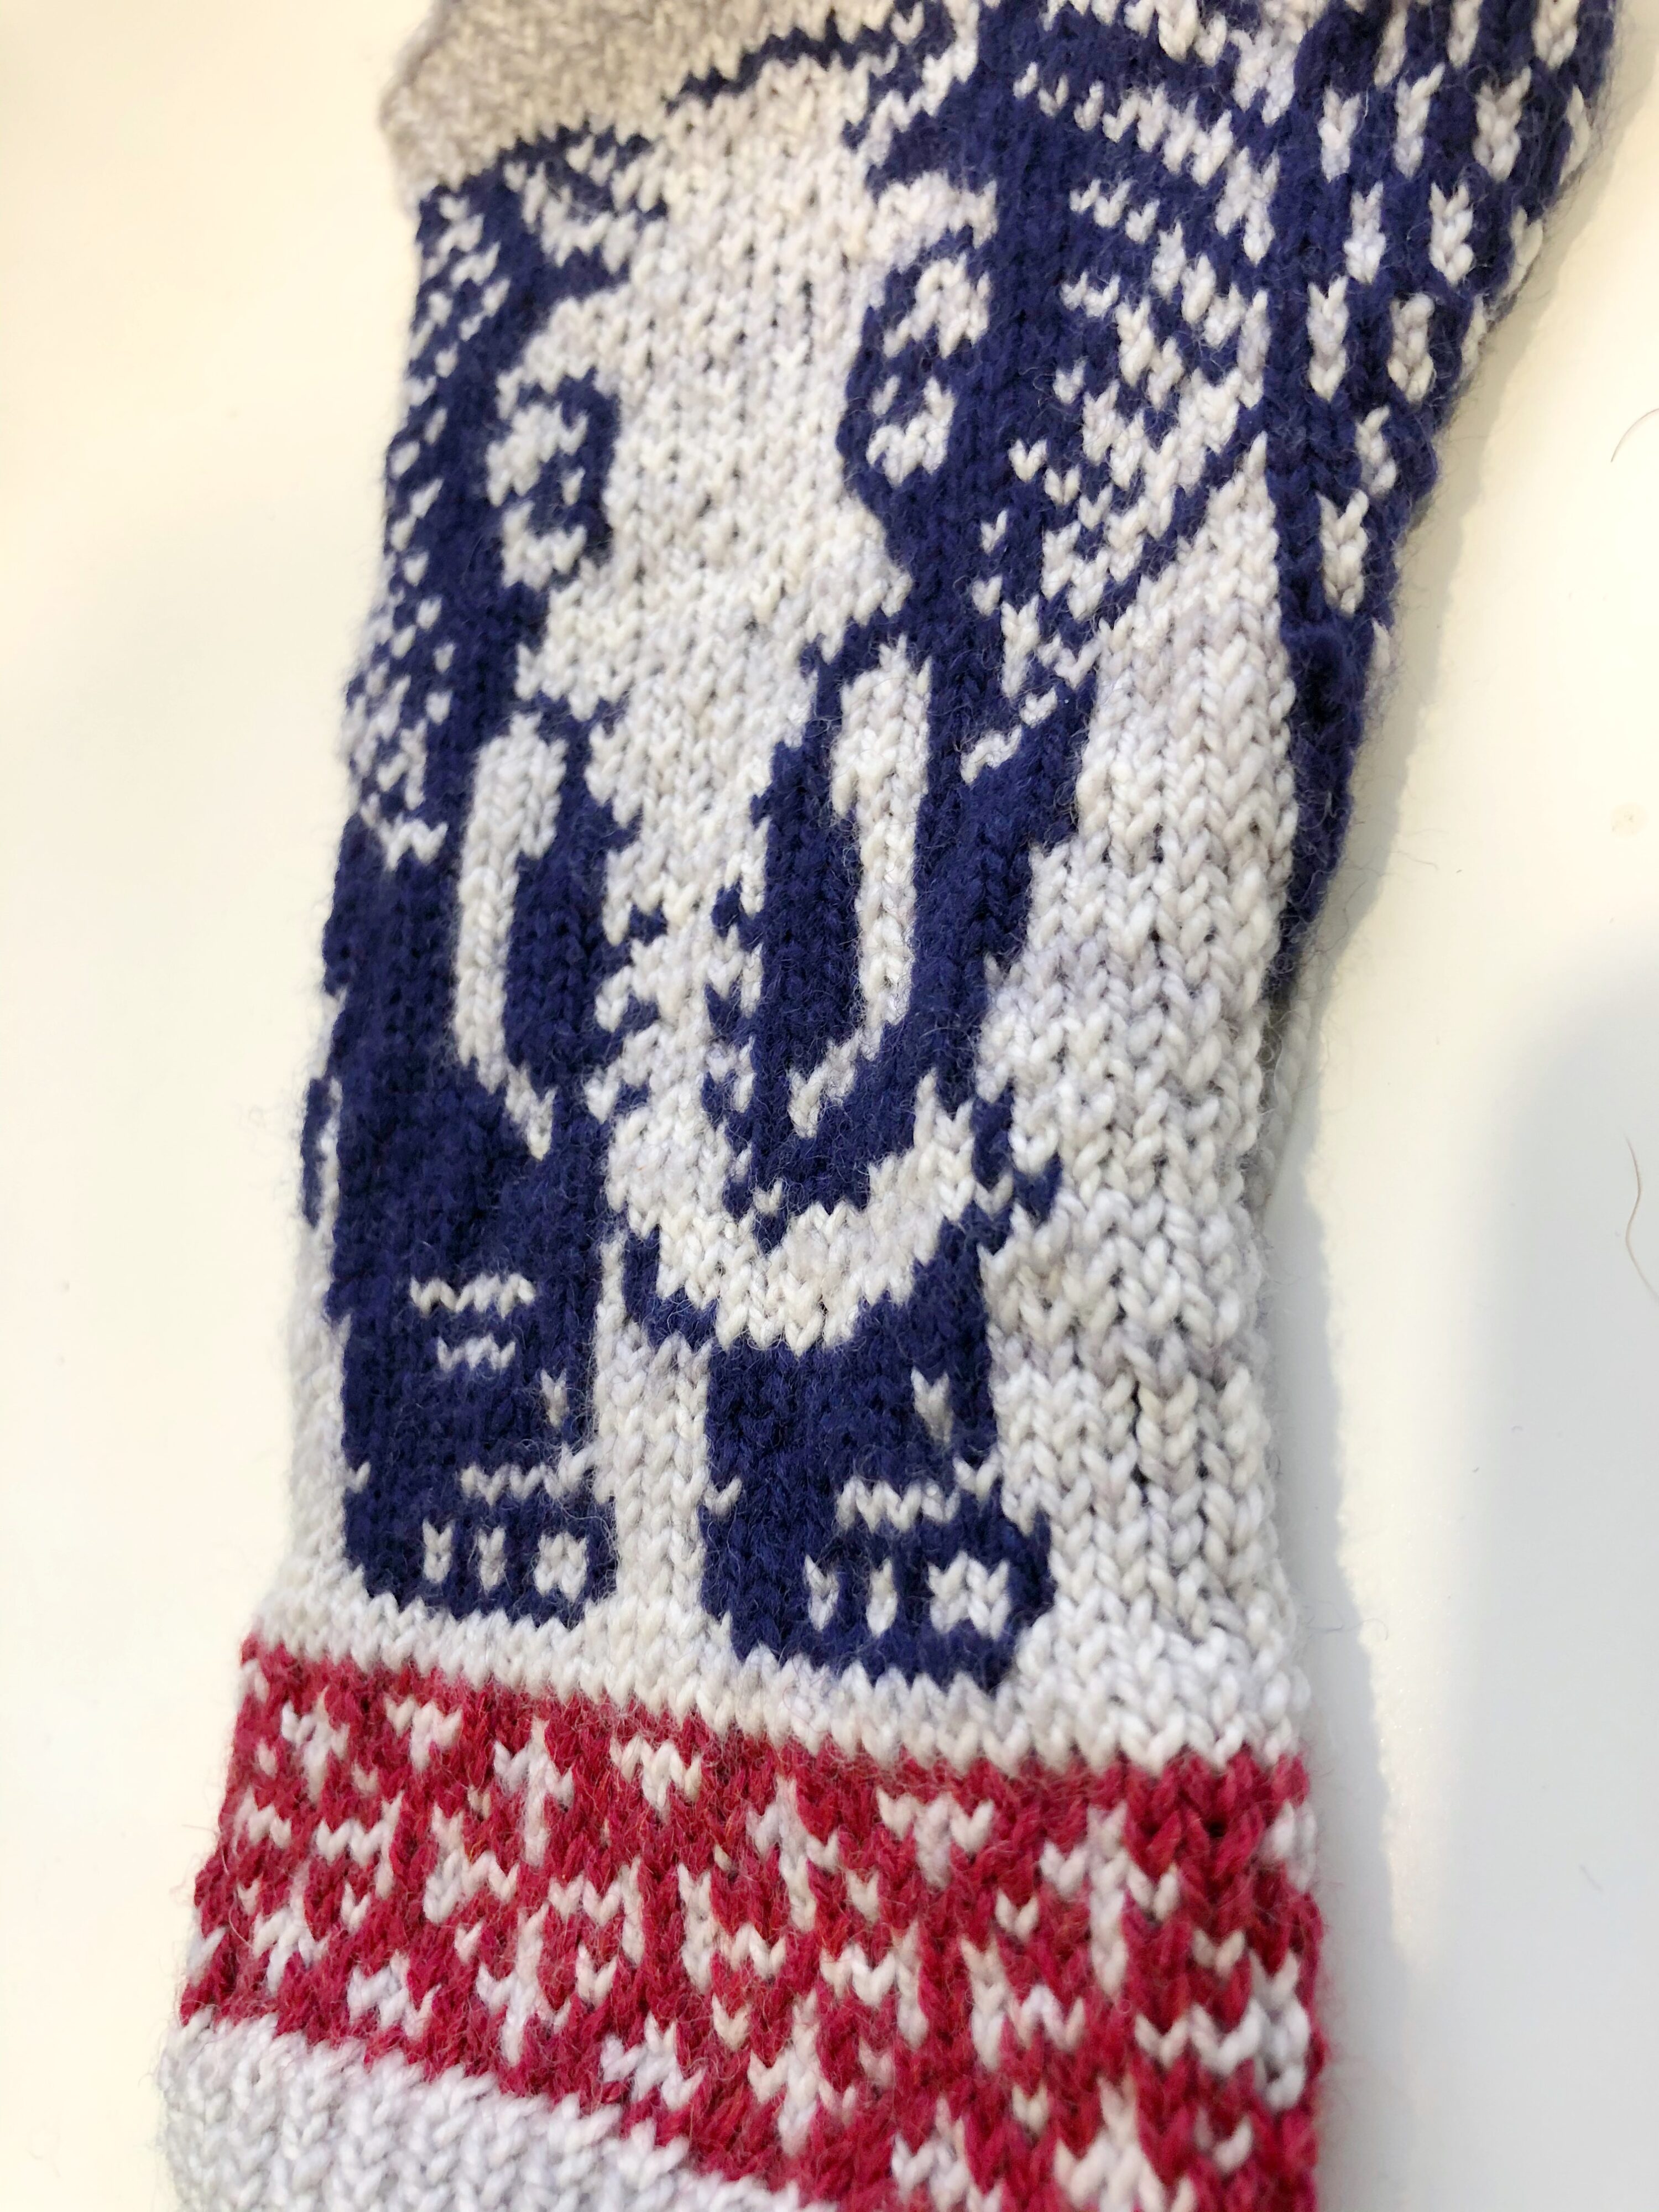
Lumpy, bumpy, pulled, tight, and bleeding (for the uninitiated, bleed through is when the color being carried across the back shows on the right side of the work). This is no fault of this pattern’s talented designer, Erica Heusser, who has created a whole collection of incredibly detailed colorwork mitts like this one, Peaceable Mitts. Peaceable, my foot…grrr.
Now, I know you’re going to tell me that I’m being a fuss-budget and overly concerned about the uneven stitching, pulling, and bleed-through, but my perfectionist tendencies aside, there’s a legit issue here: I can’t get my hand into it because there’s, like, zero stretch. This is NOT okay, no matter how sloppy-stitch tolerant you may be.
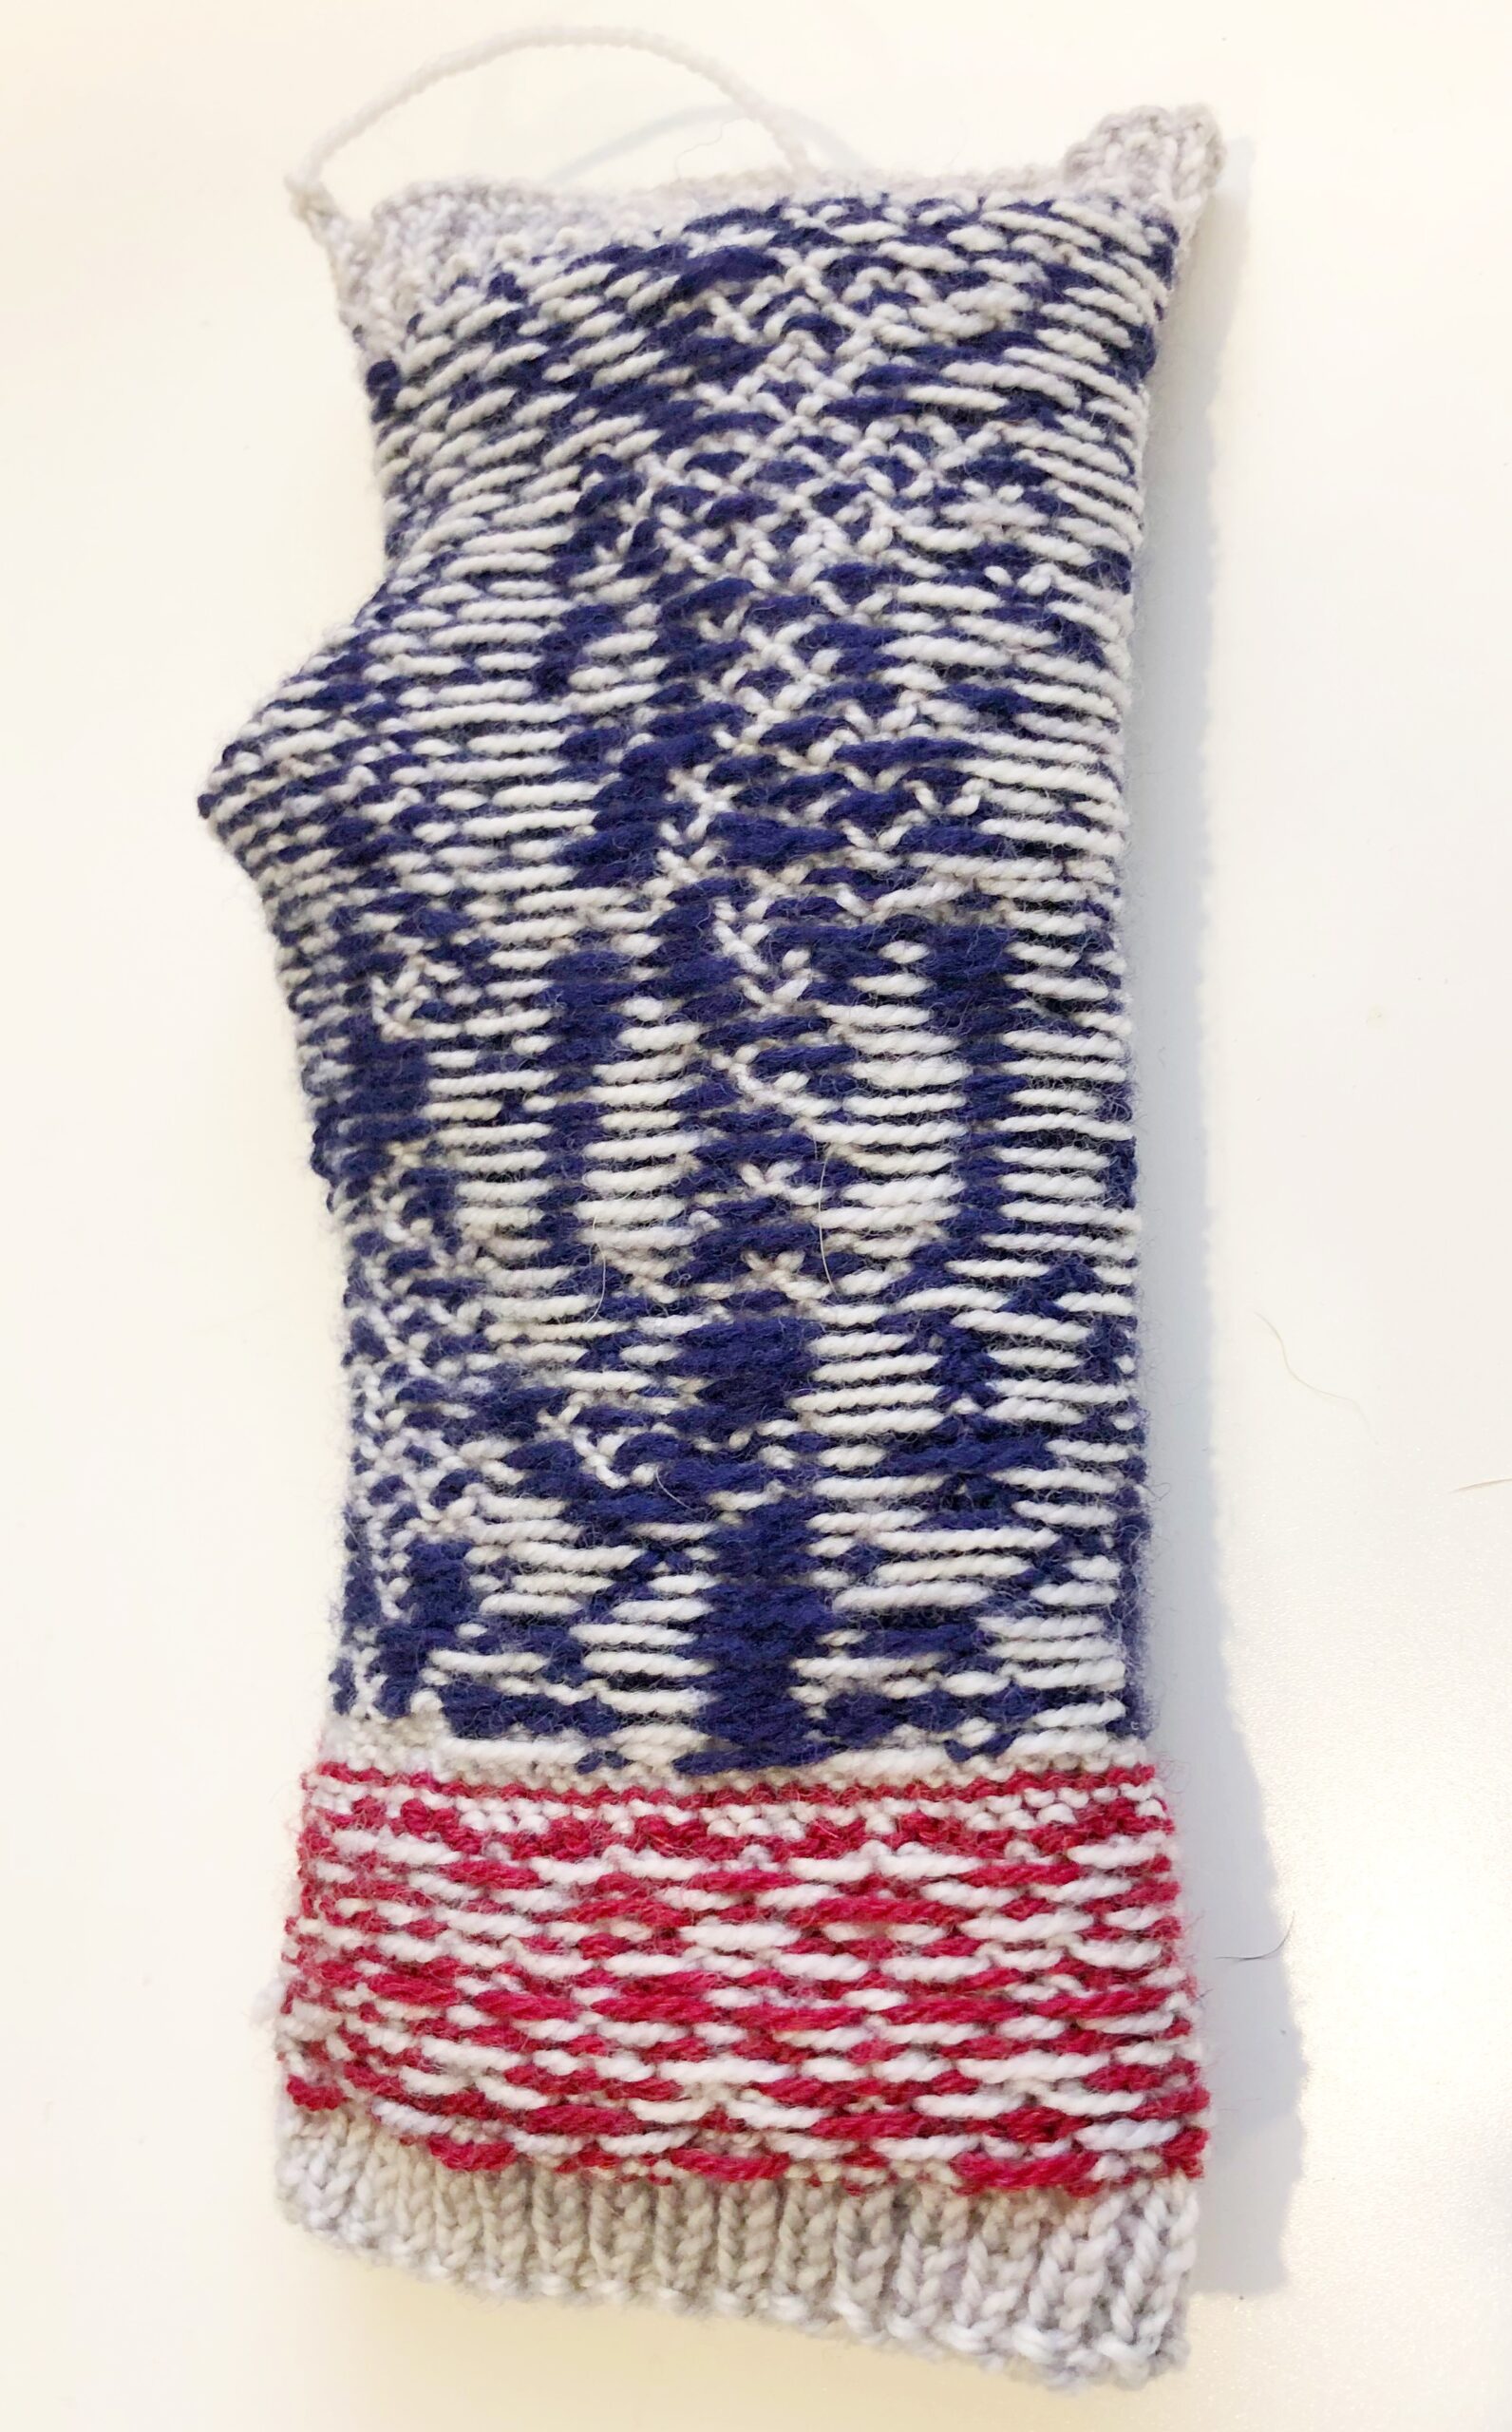
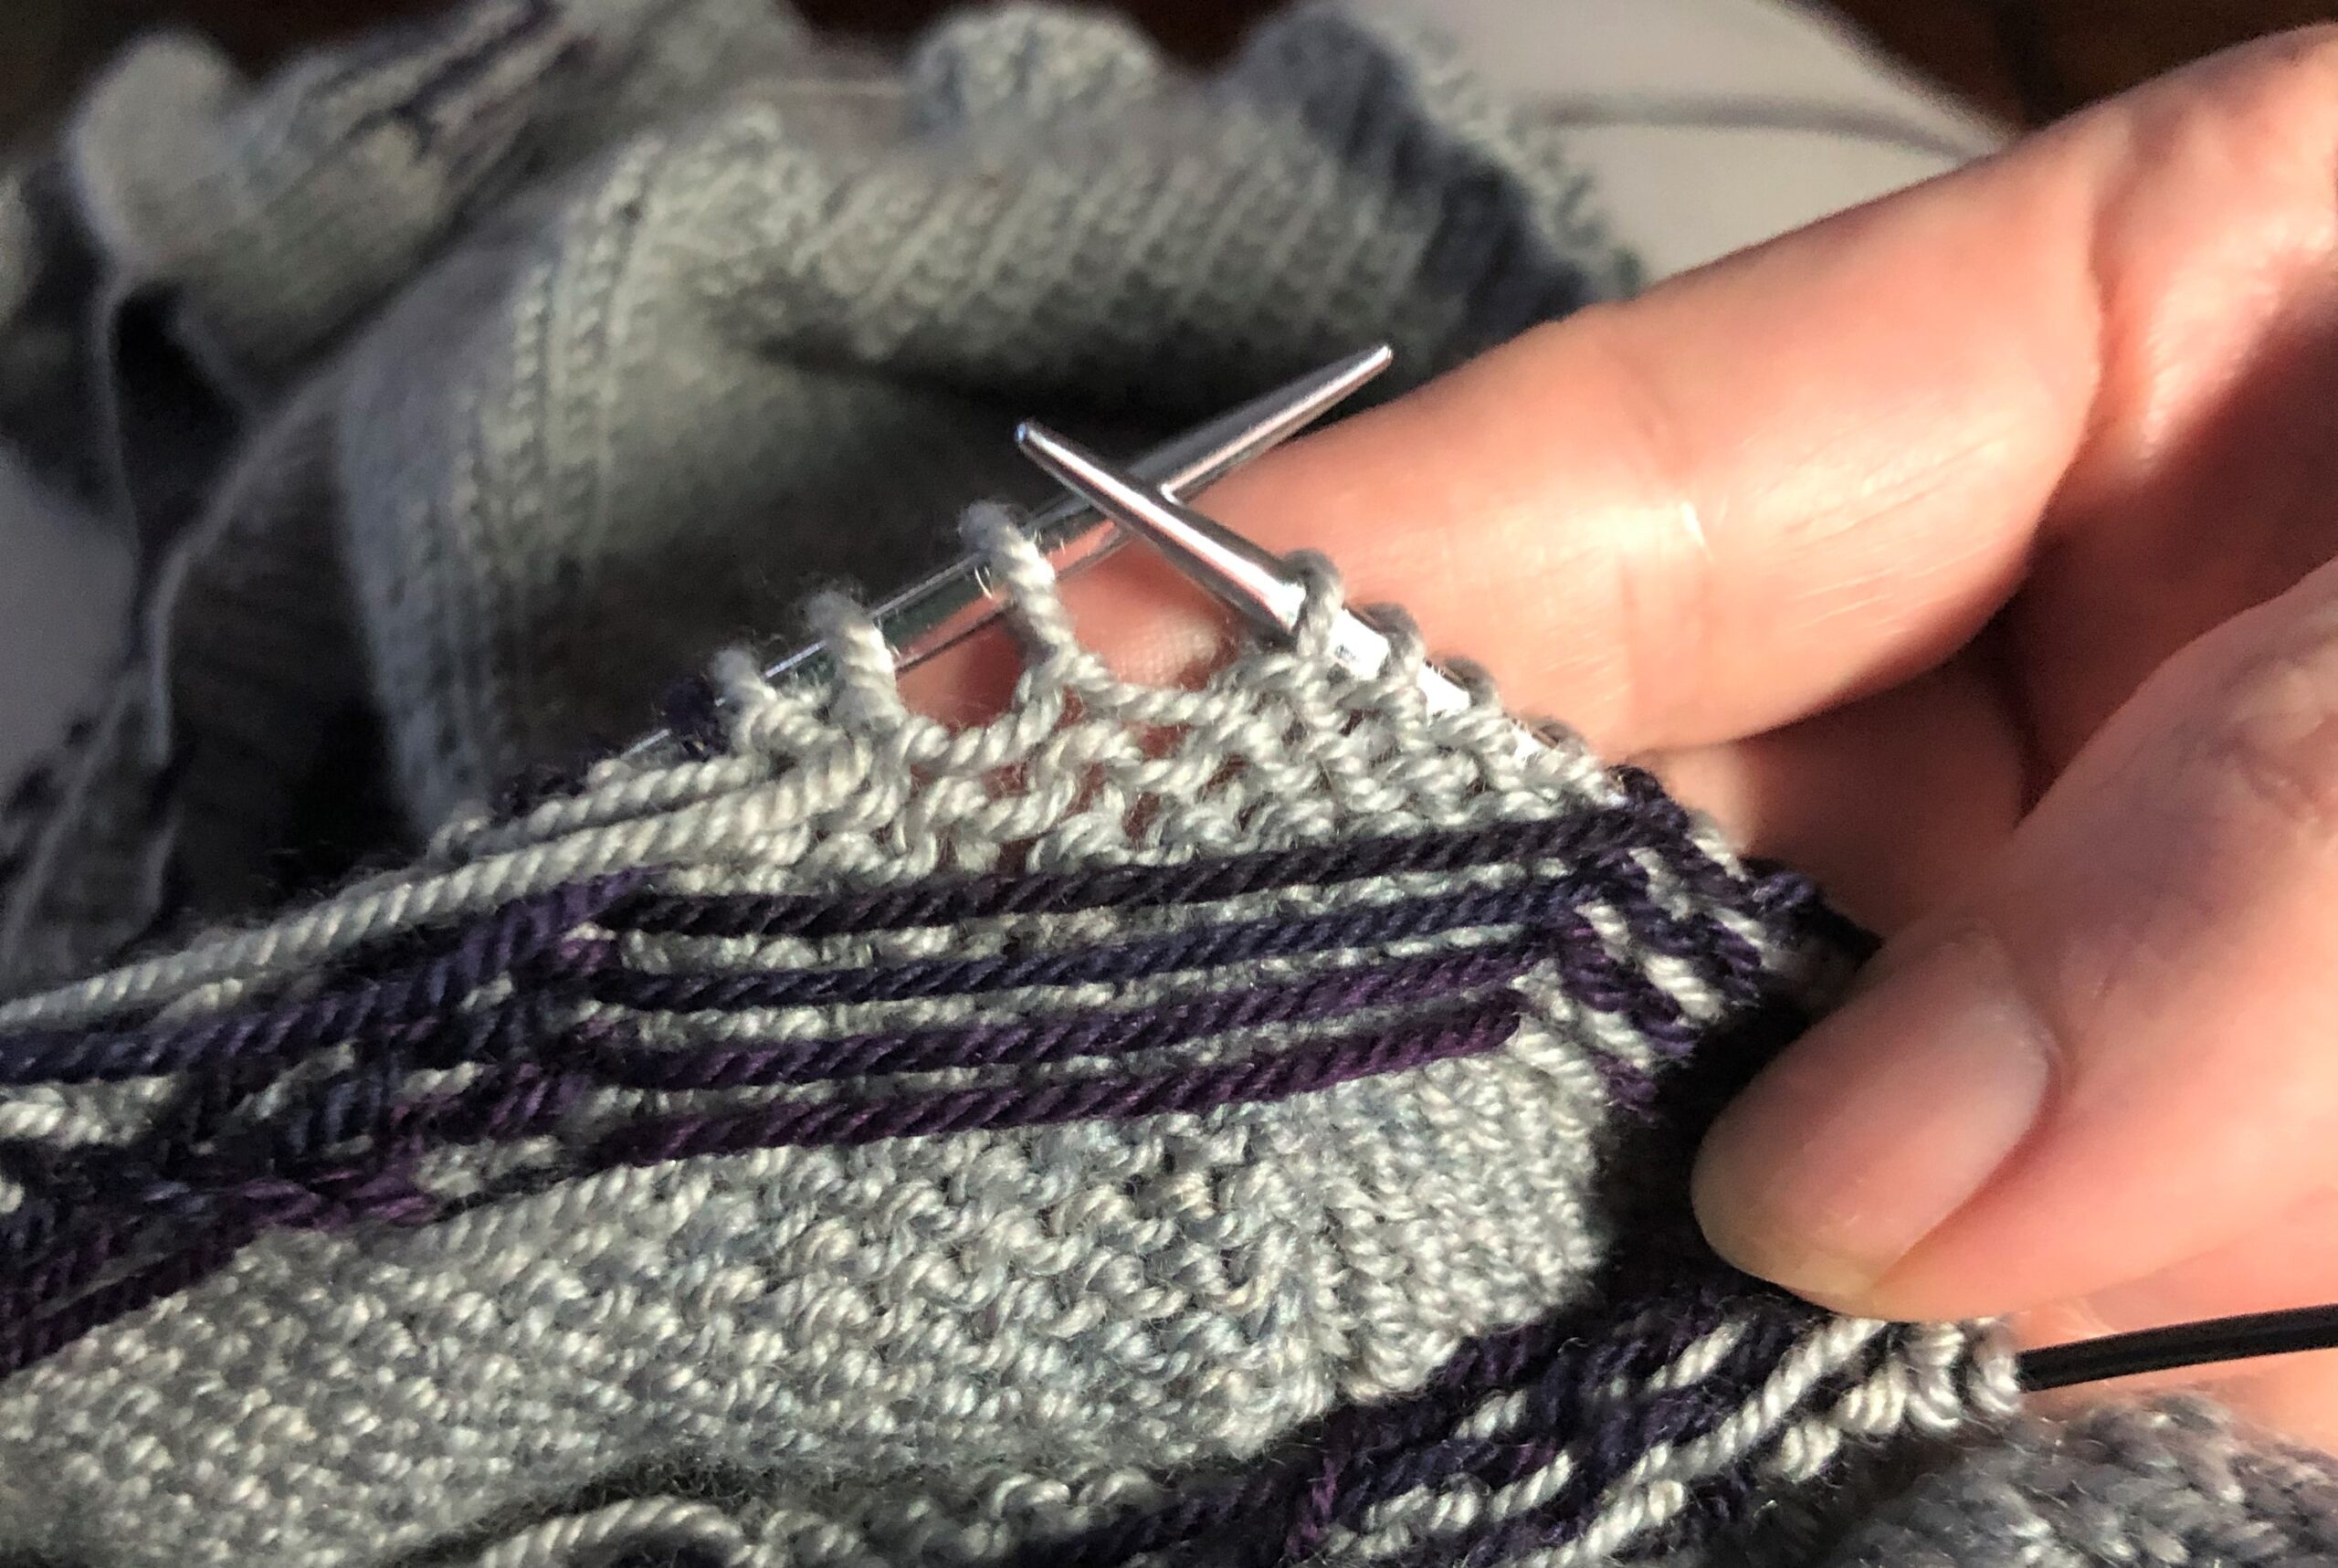
So, what’s the fix here? Good question. I’ve been asking myself the same thing for over 365 days. I thought I was practicing good stranded knitting practice – spreading the stitches as I knit and changed colors, using larger needles, making sure I staggered the spots where I was catching the floats (in the top right photo above, you can see what looks like crisscrosses where I was doing just that), but either I wasn’t doing these things correctly or it simply wasn’t enough.
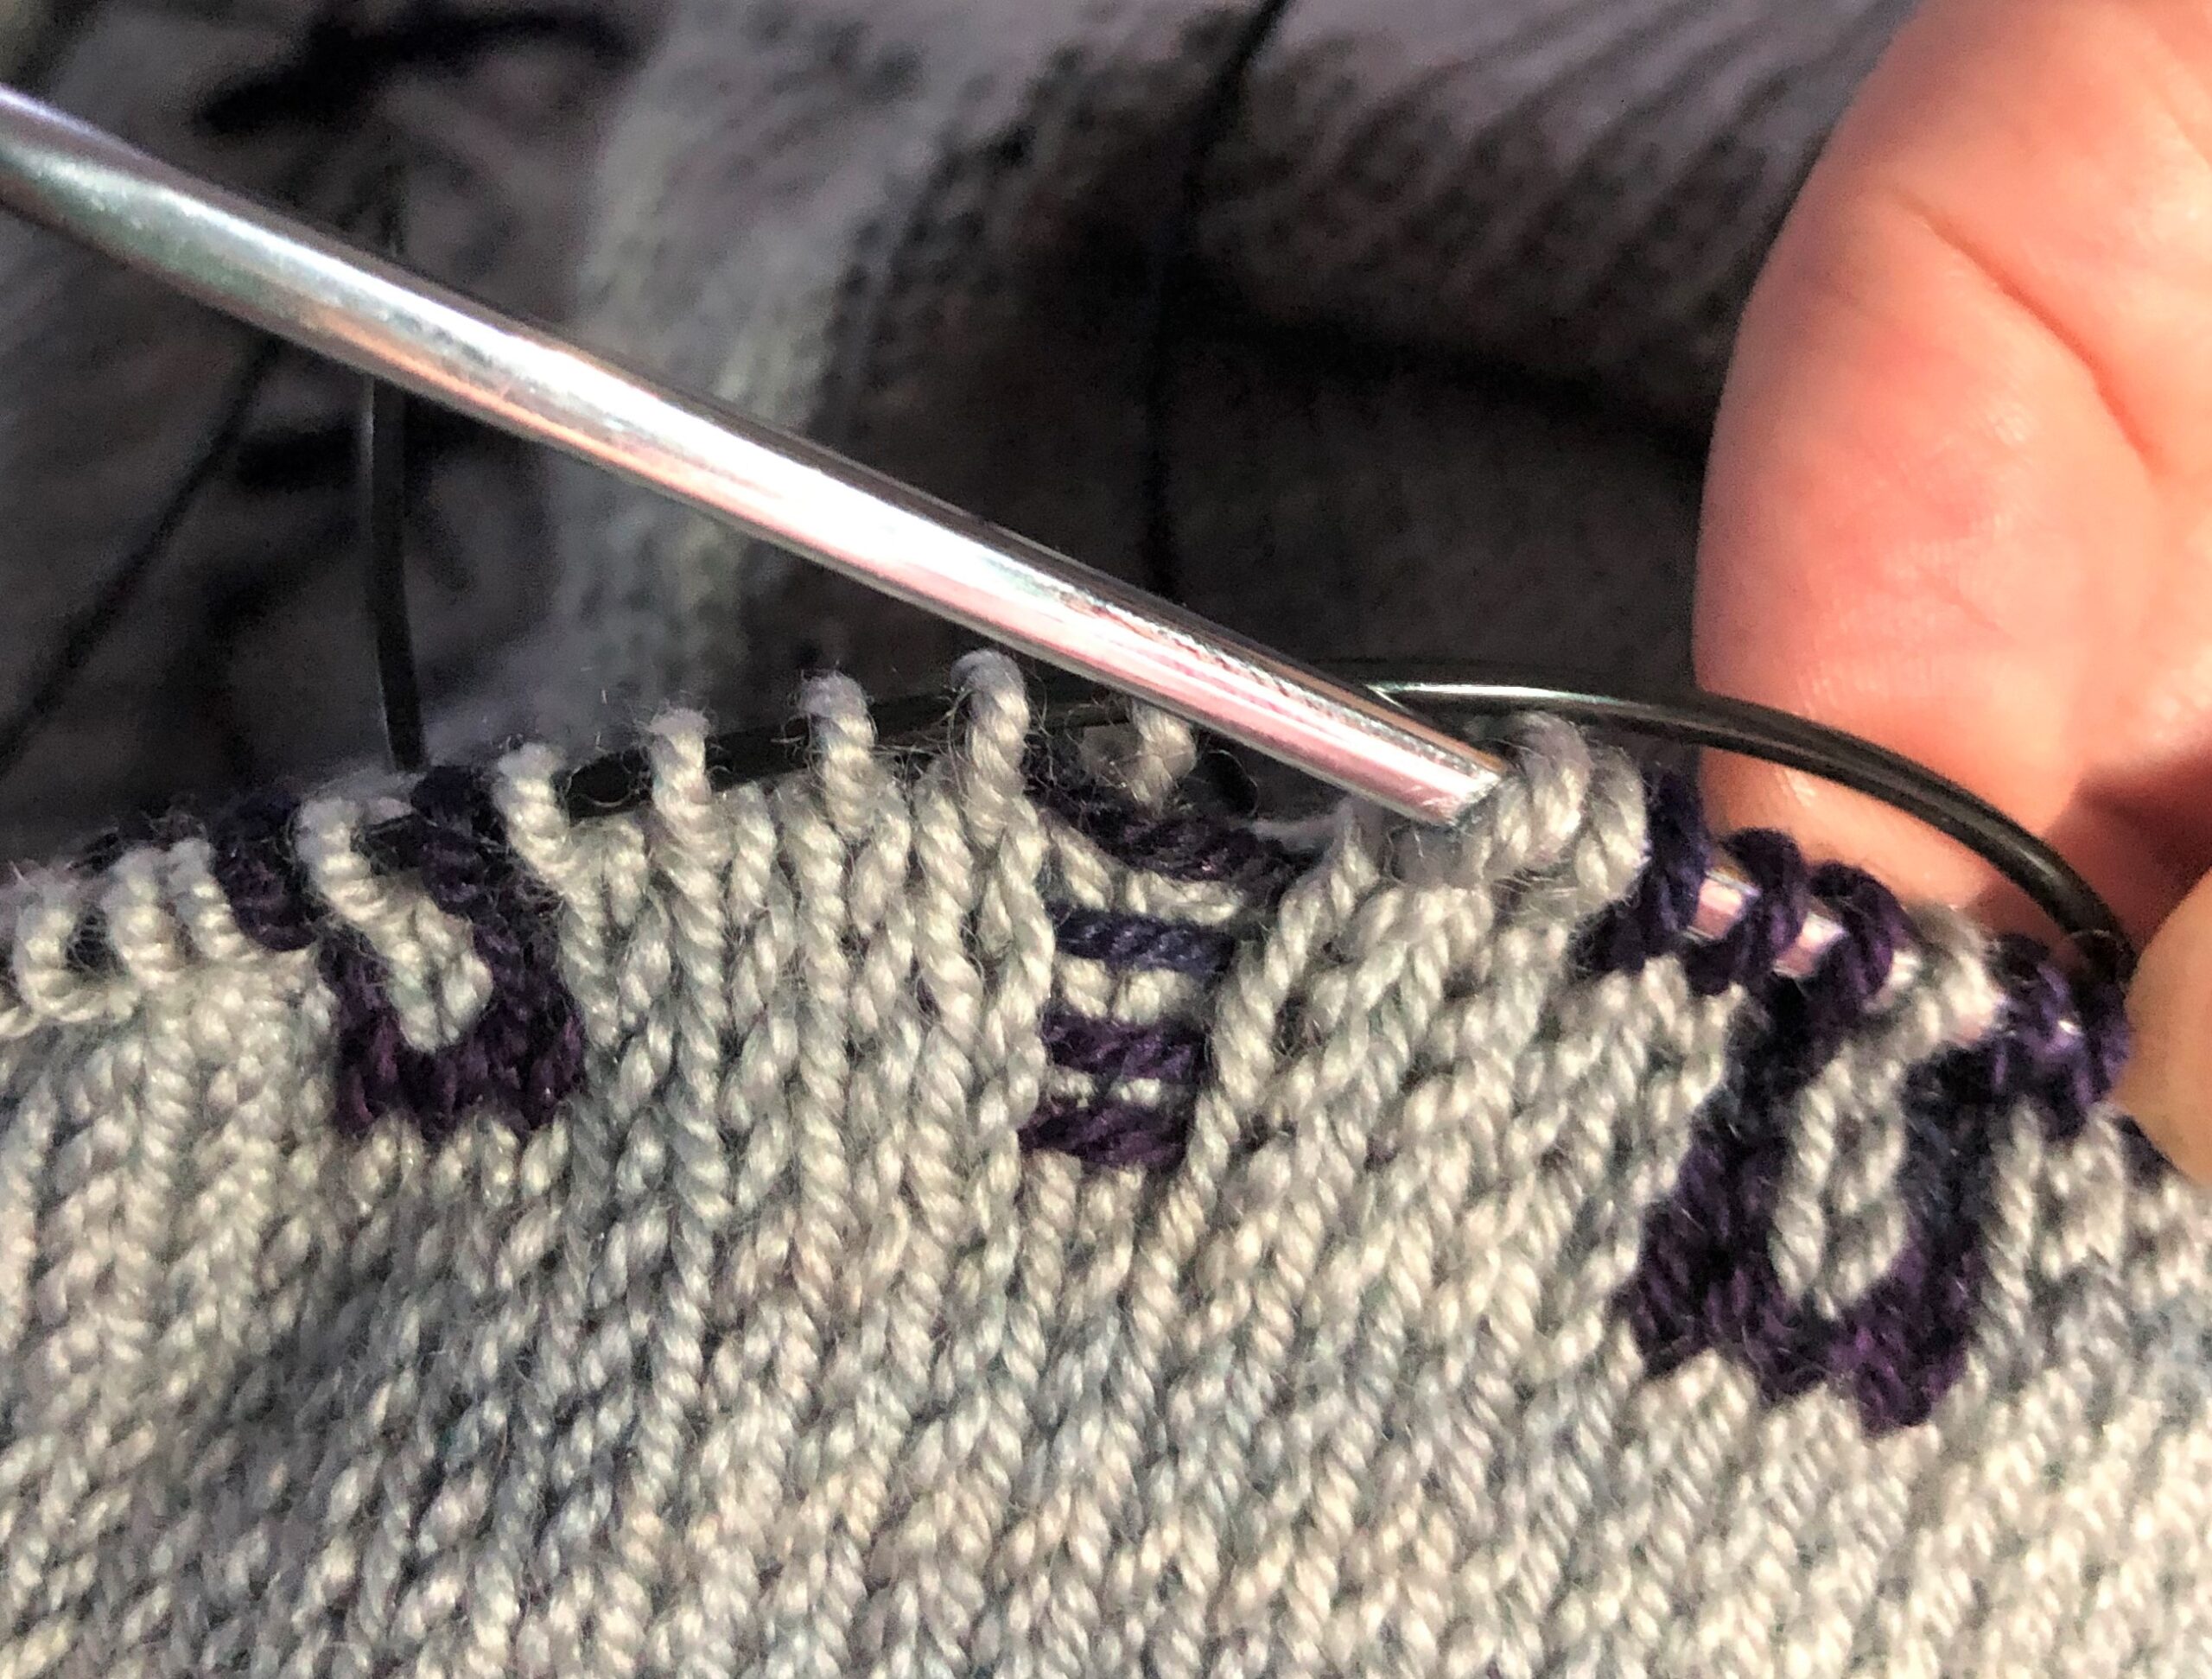
As I knit my Deco Pullover prototype last year, I researched many tips for better stranded knitting. I certainly didn’t want my beloved design to turn into another disappointing “elephant.” One of the methods I practiced quickly became a eureka! Turns out the key to effectively spreading the stitches as you change colors is to insert the right needle into the first stitch of the color change, THEN spread the stitches on the right needle BEFORE picking up and knitting the new color. It works like a charm. Honest and for true.
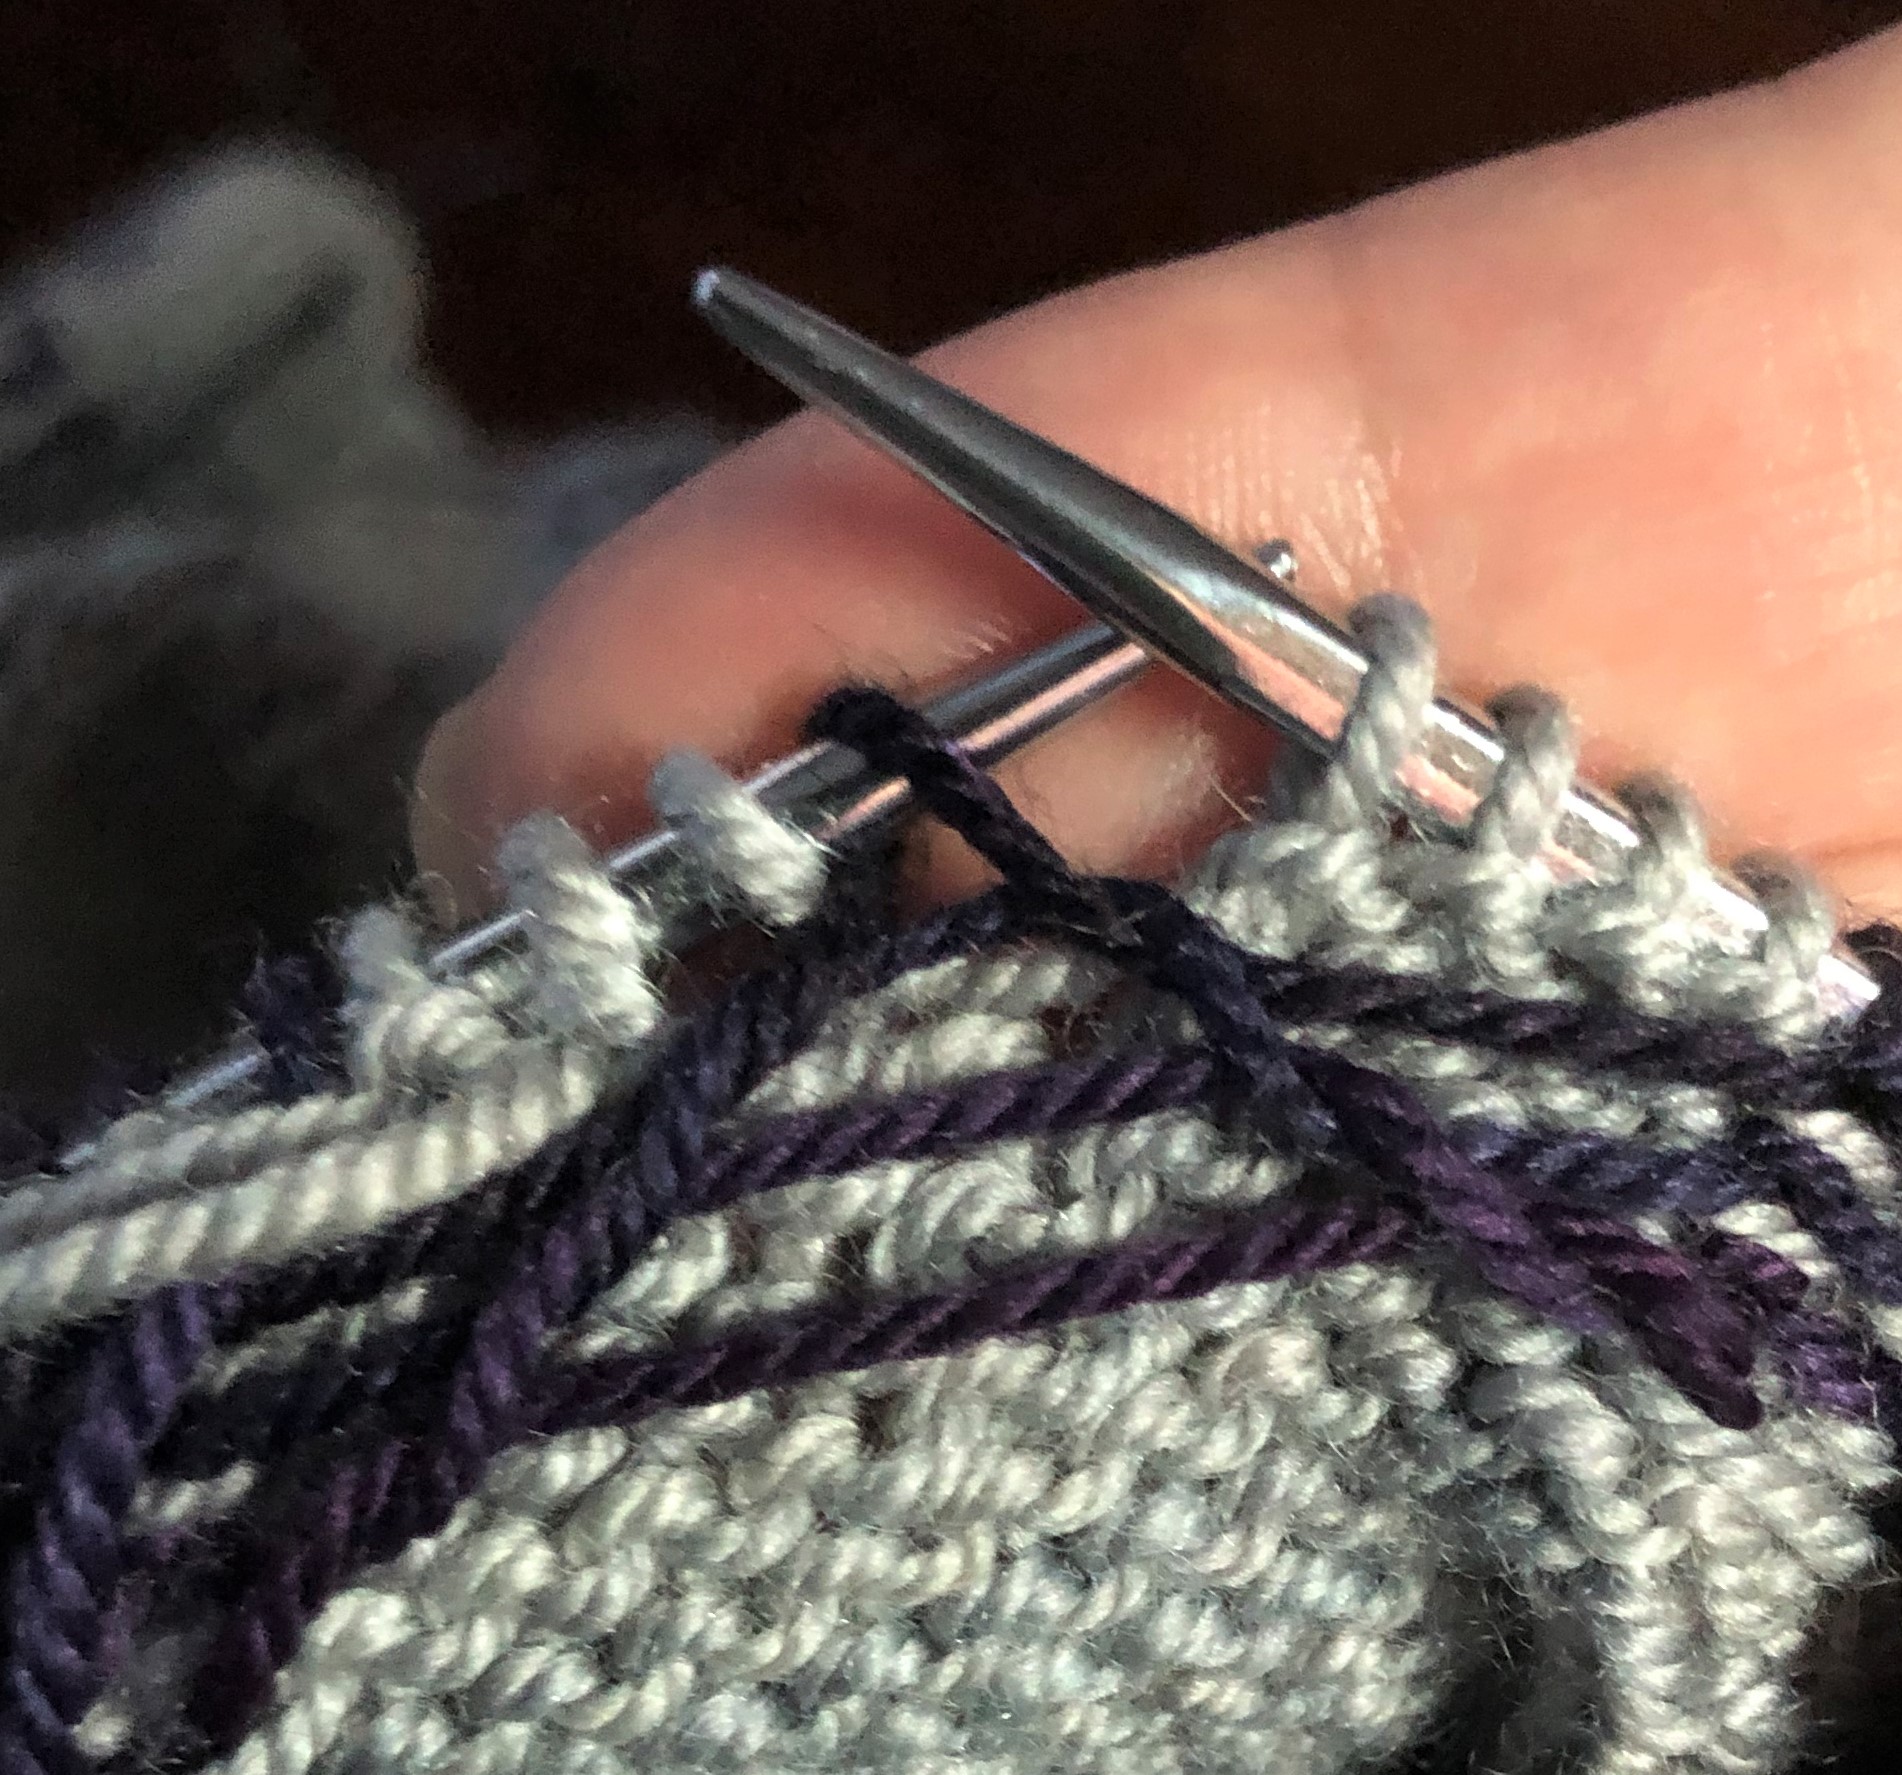
The other method I discovered is a replacement for catching long floats behind large areas between color changes. It’s called the STUART method: Slip, Then Unhook And Rehook Twice. It’s a bit fiddly and definitely time consuming, but boy oh boy does it do the trick. It effectively eliminates pulling and bleed-through in those long float areas.
Here’s me applying it to the cuff areas of my Deco Pullover:
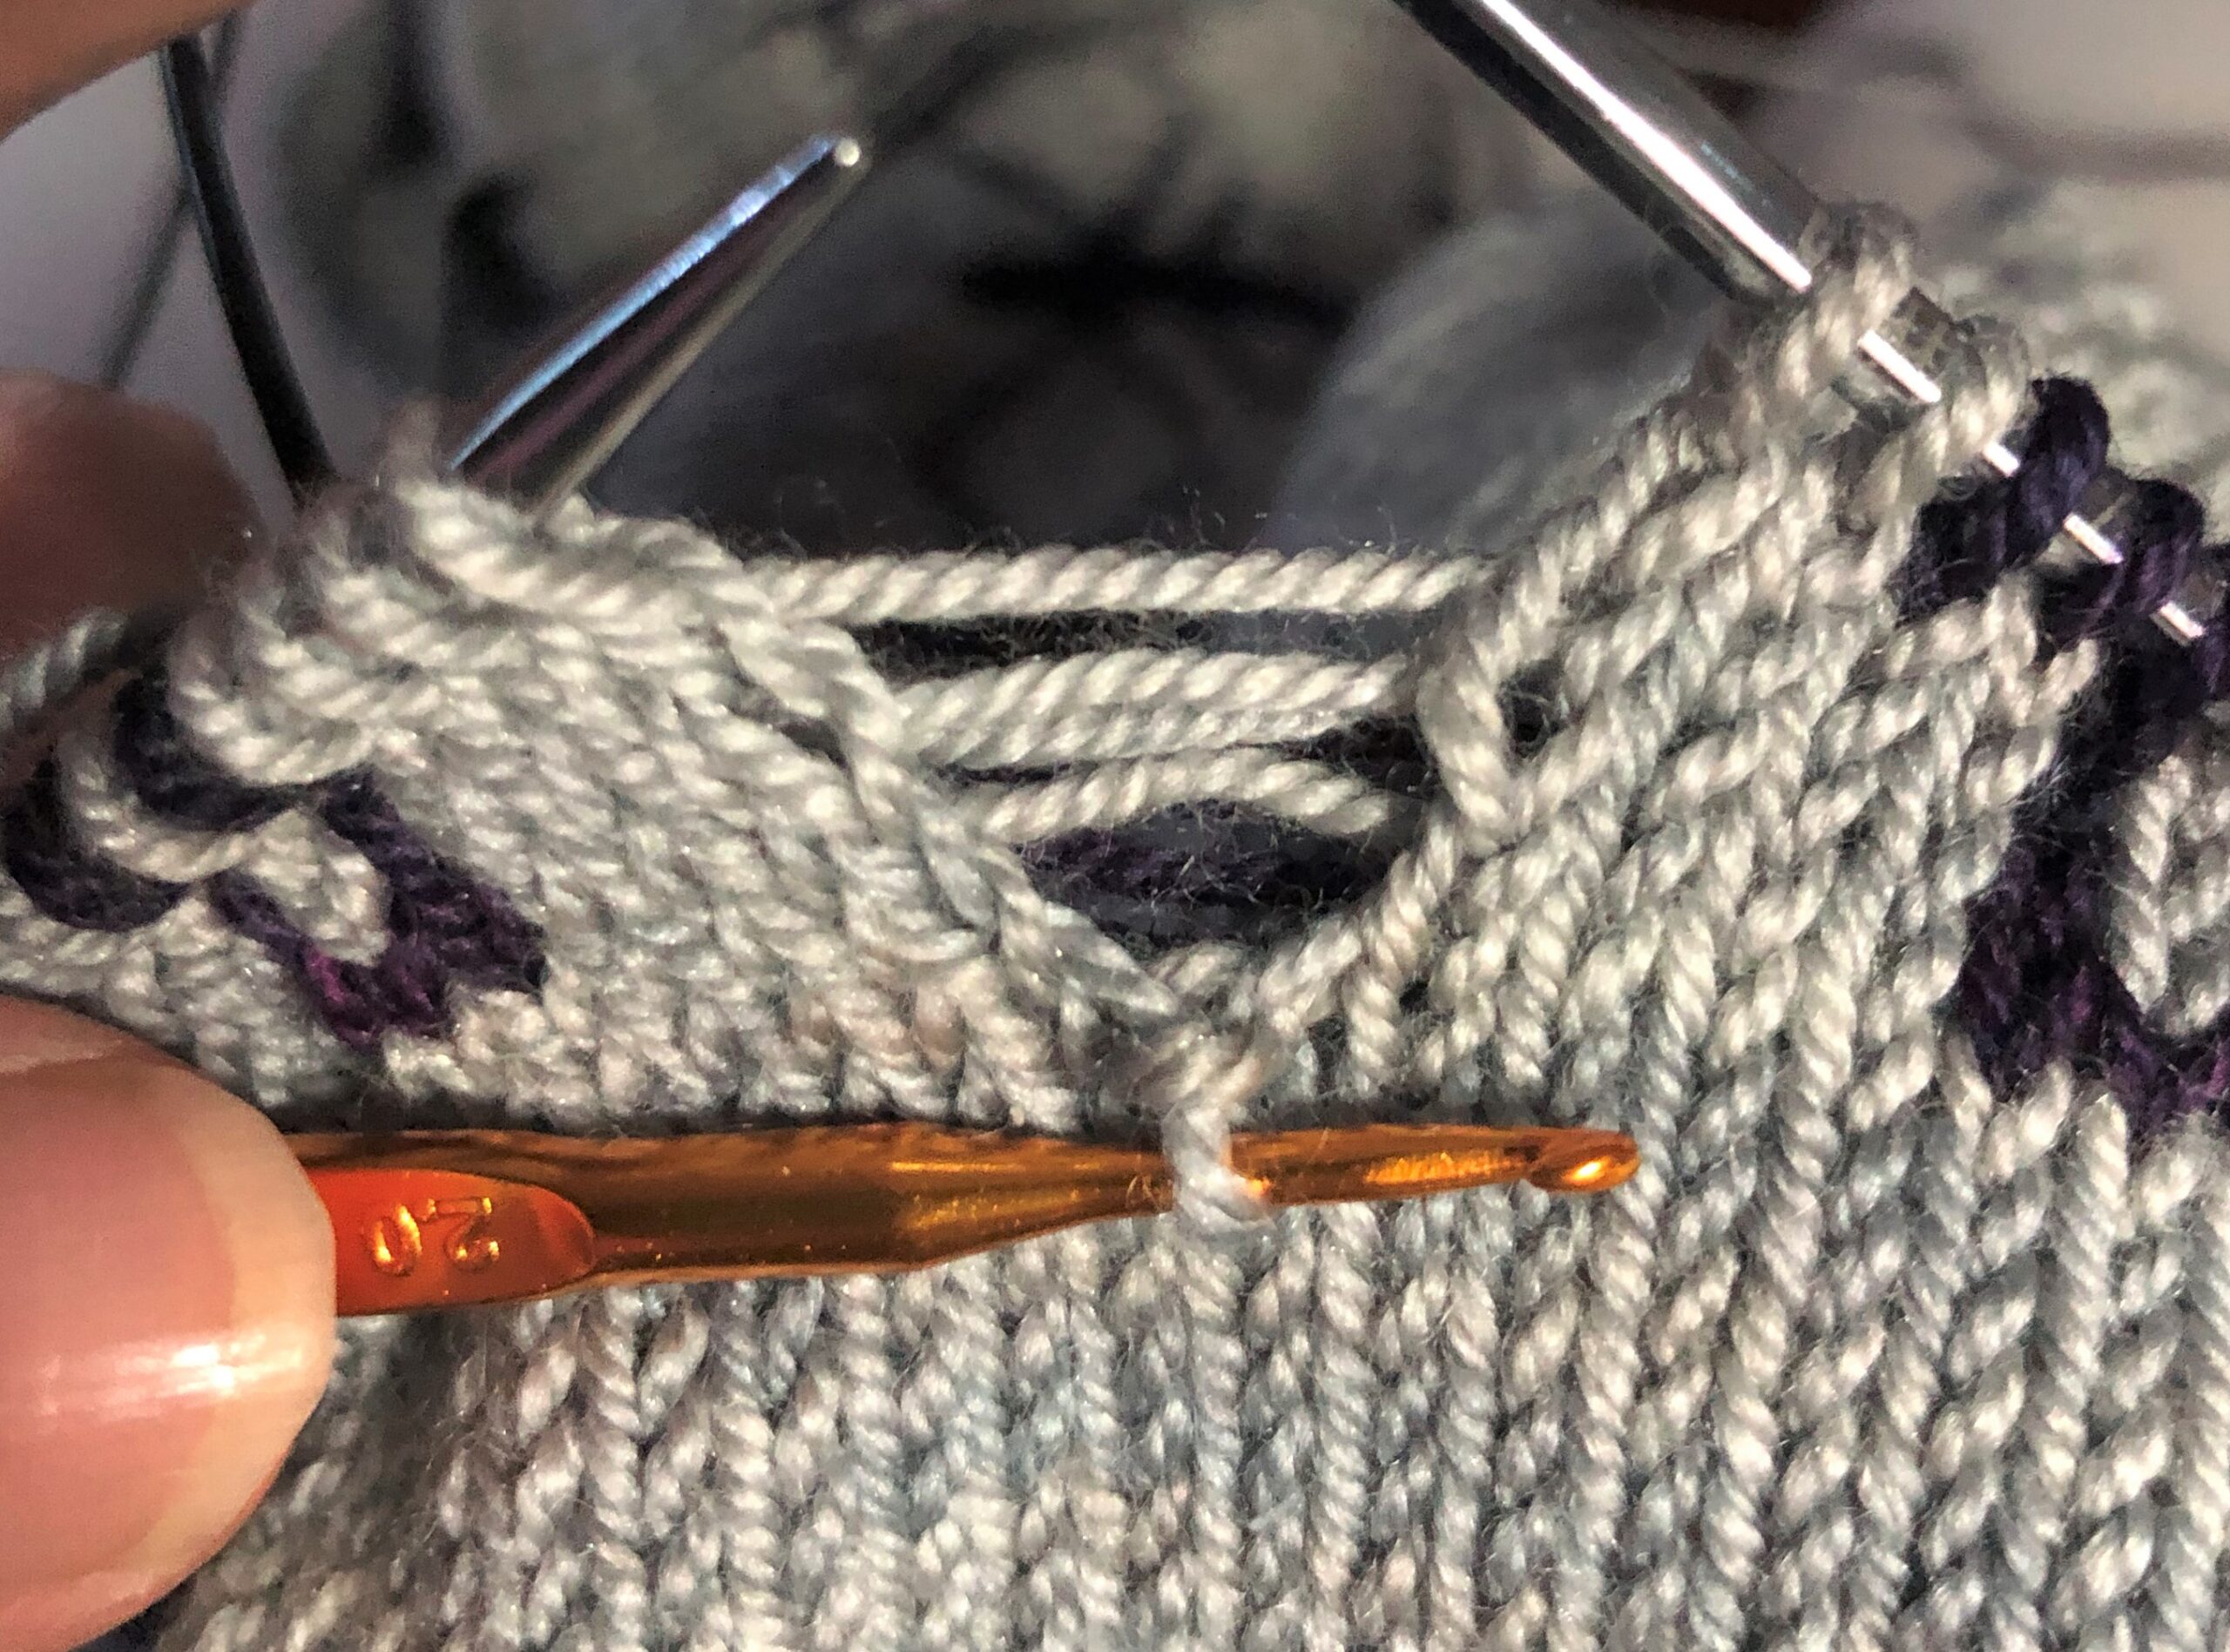
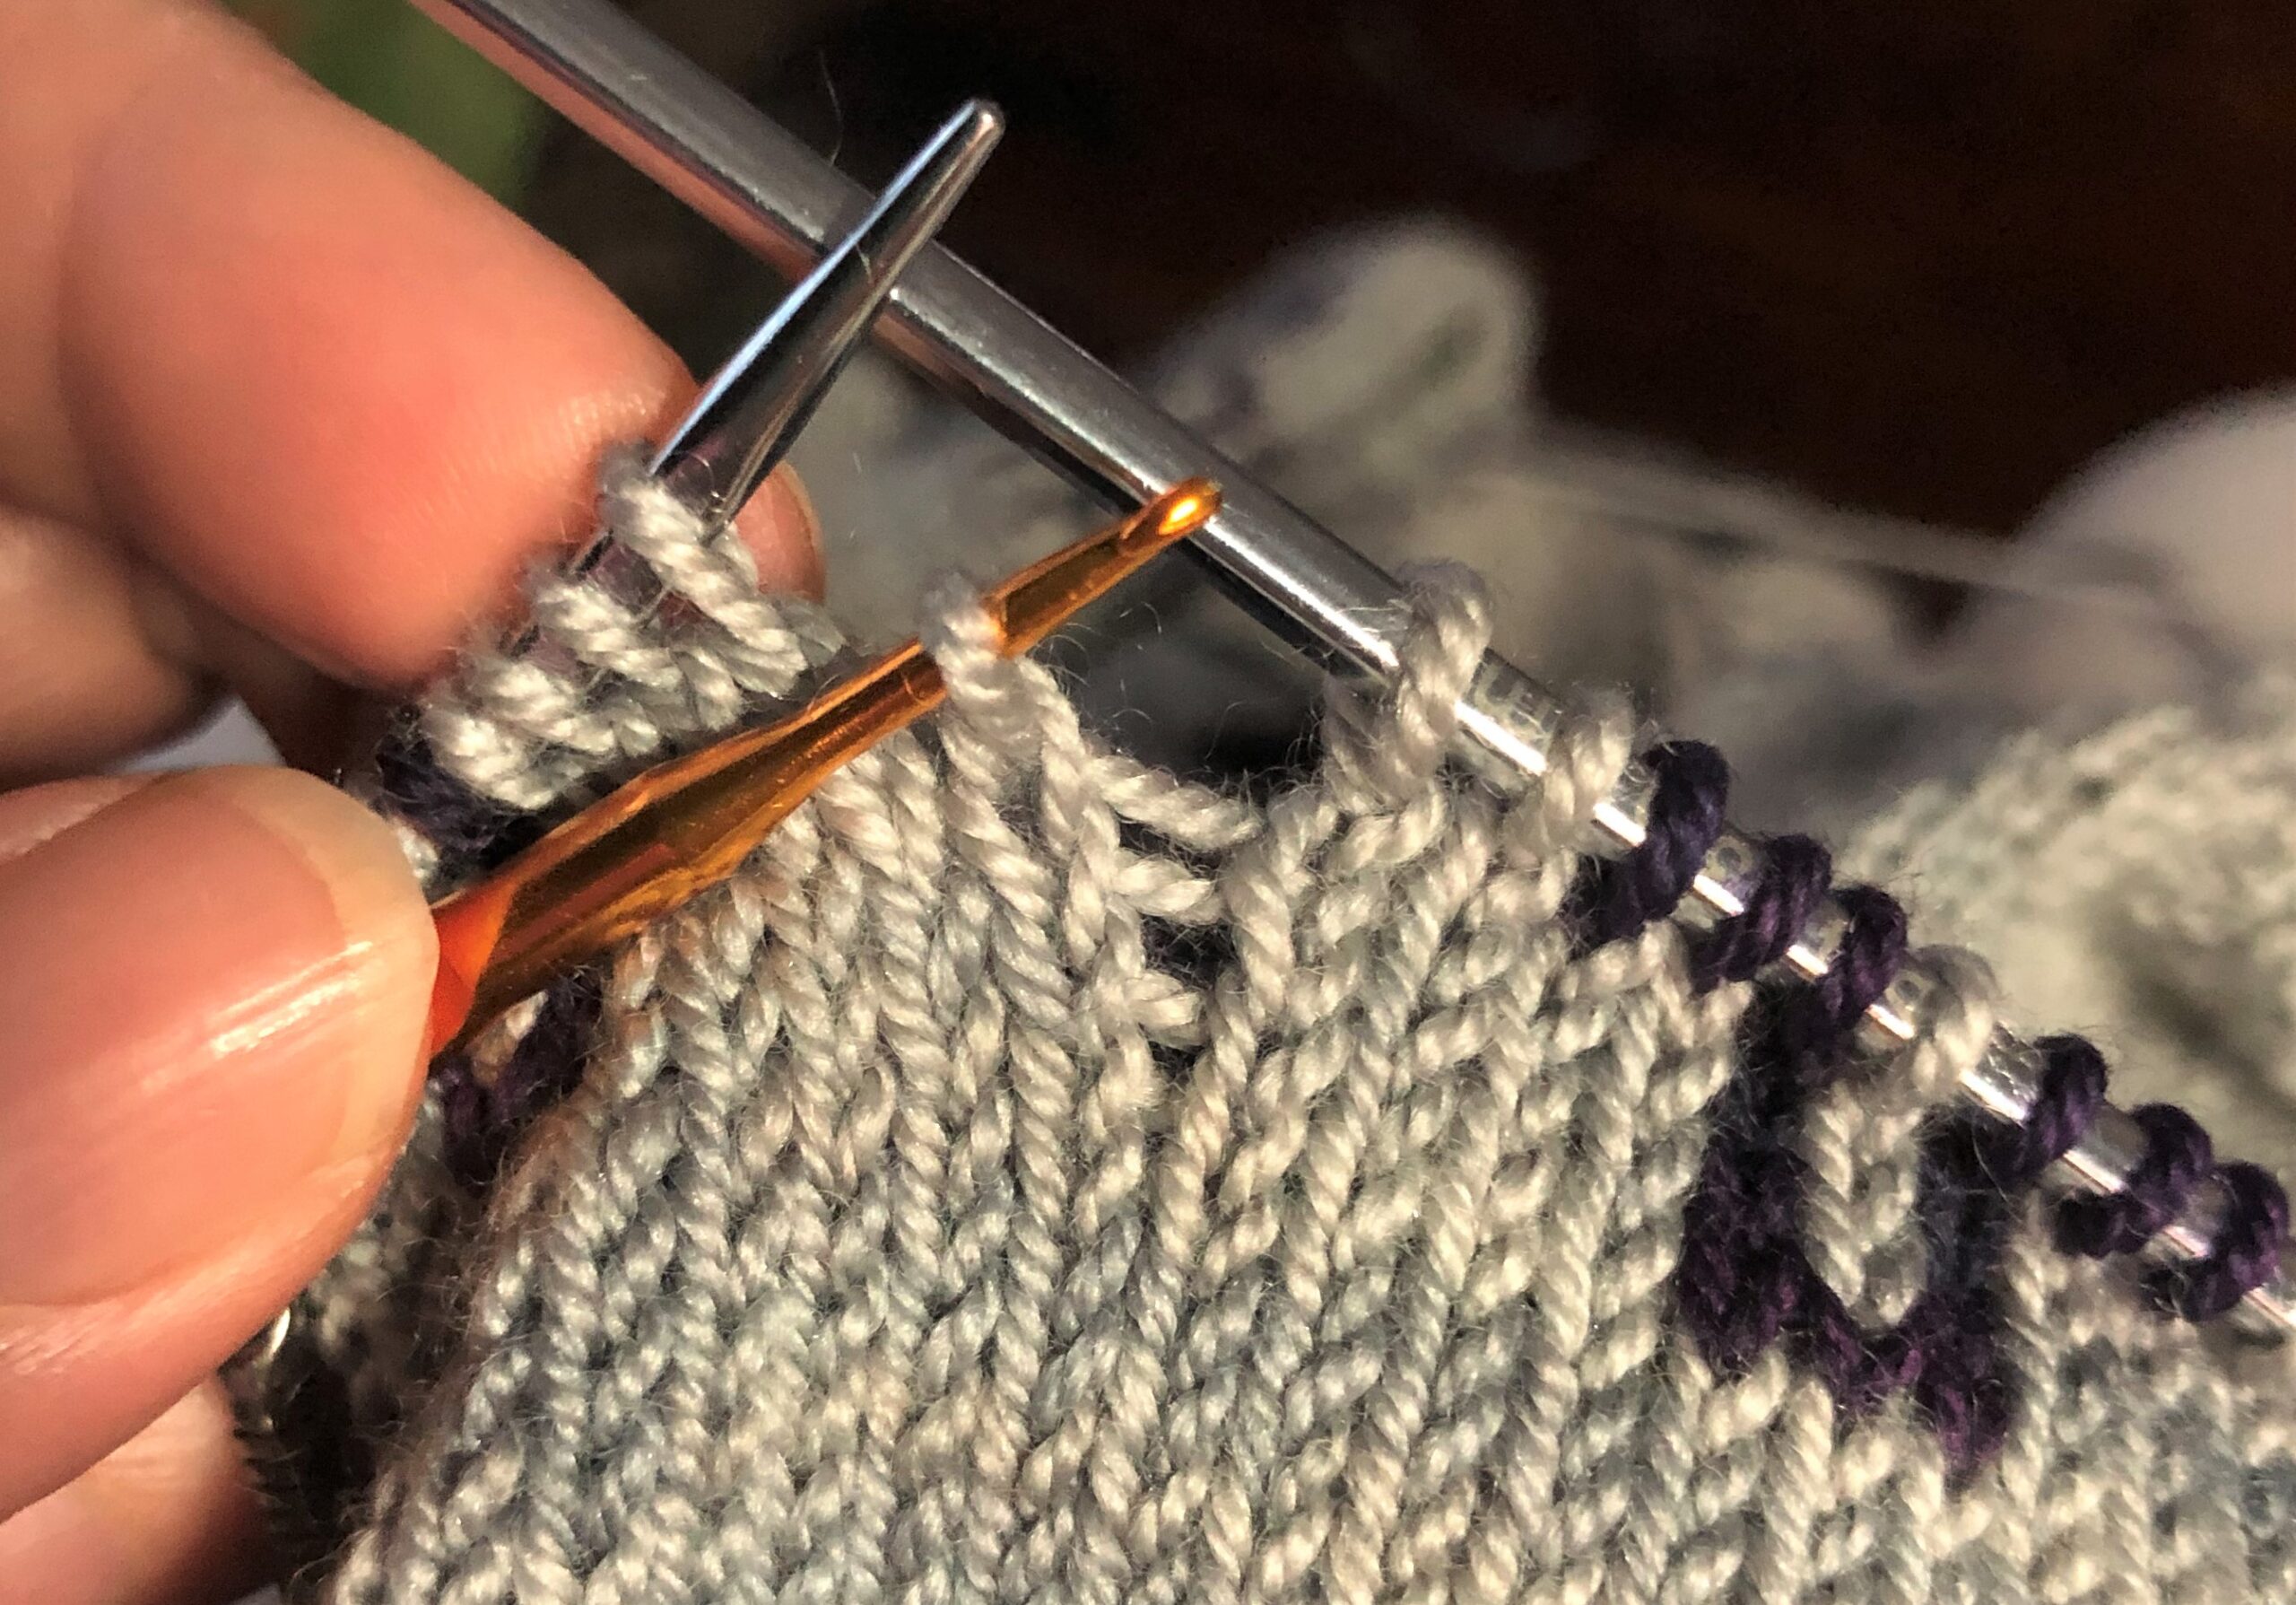

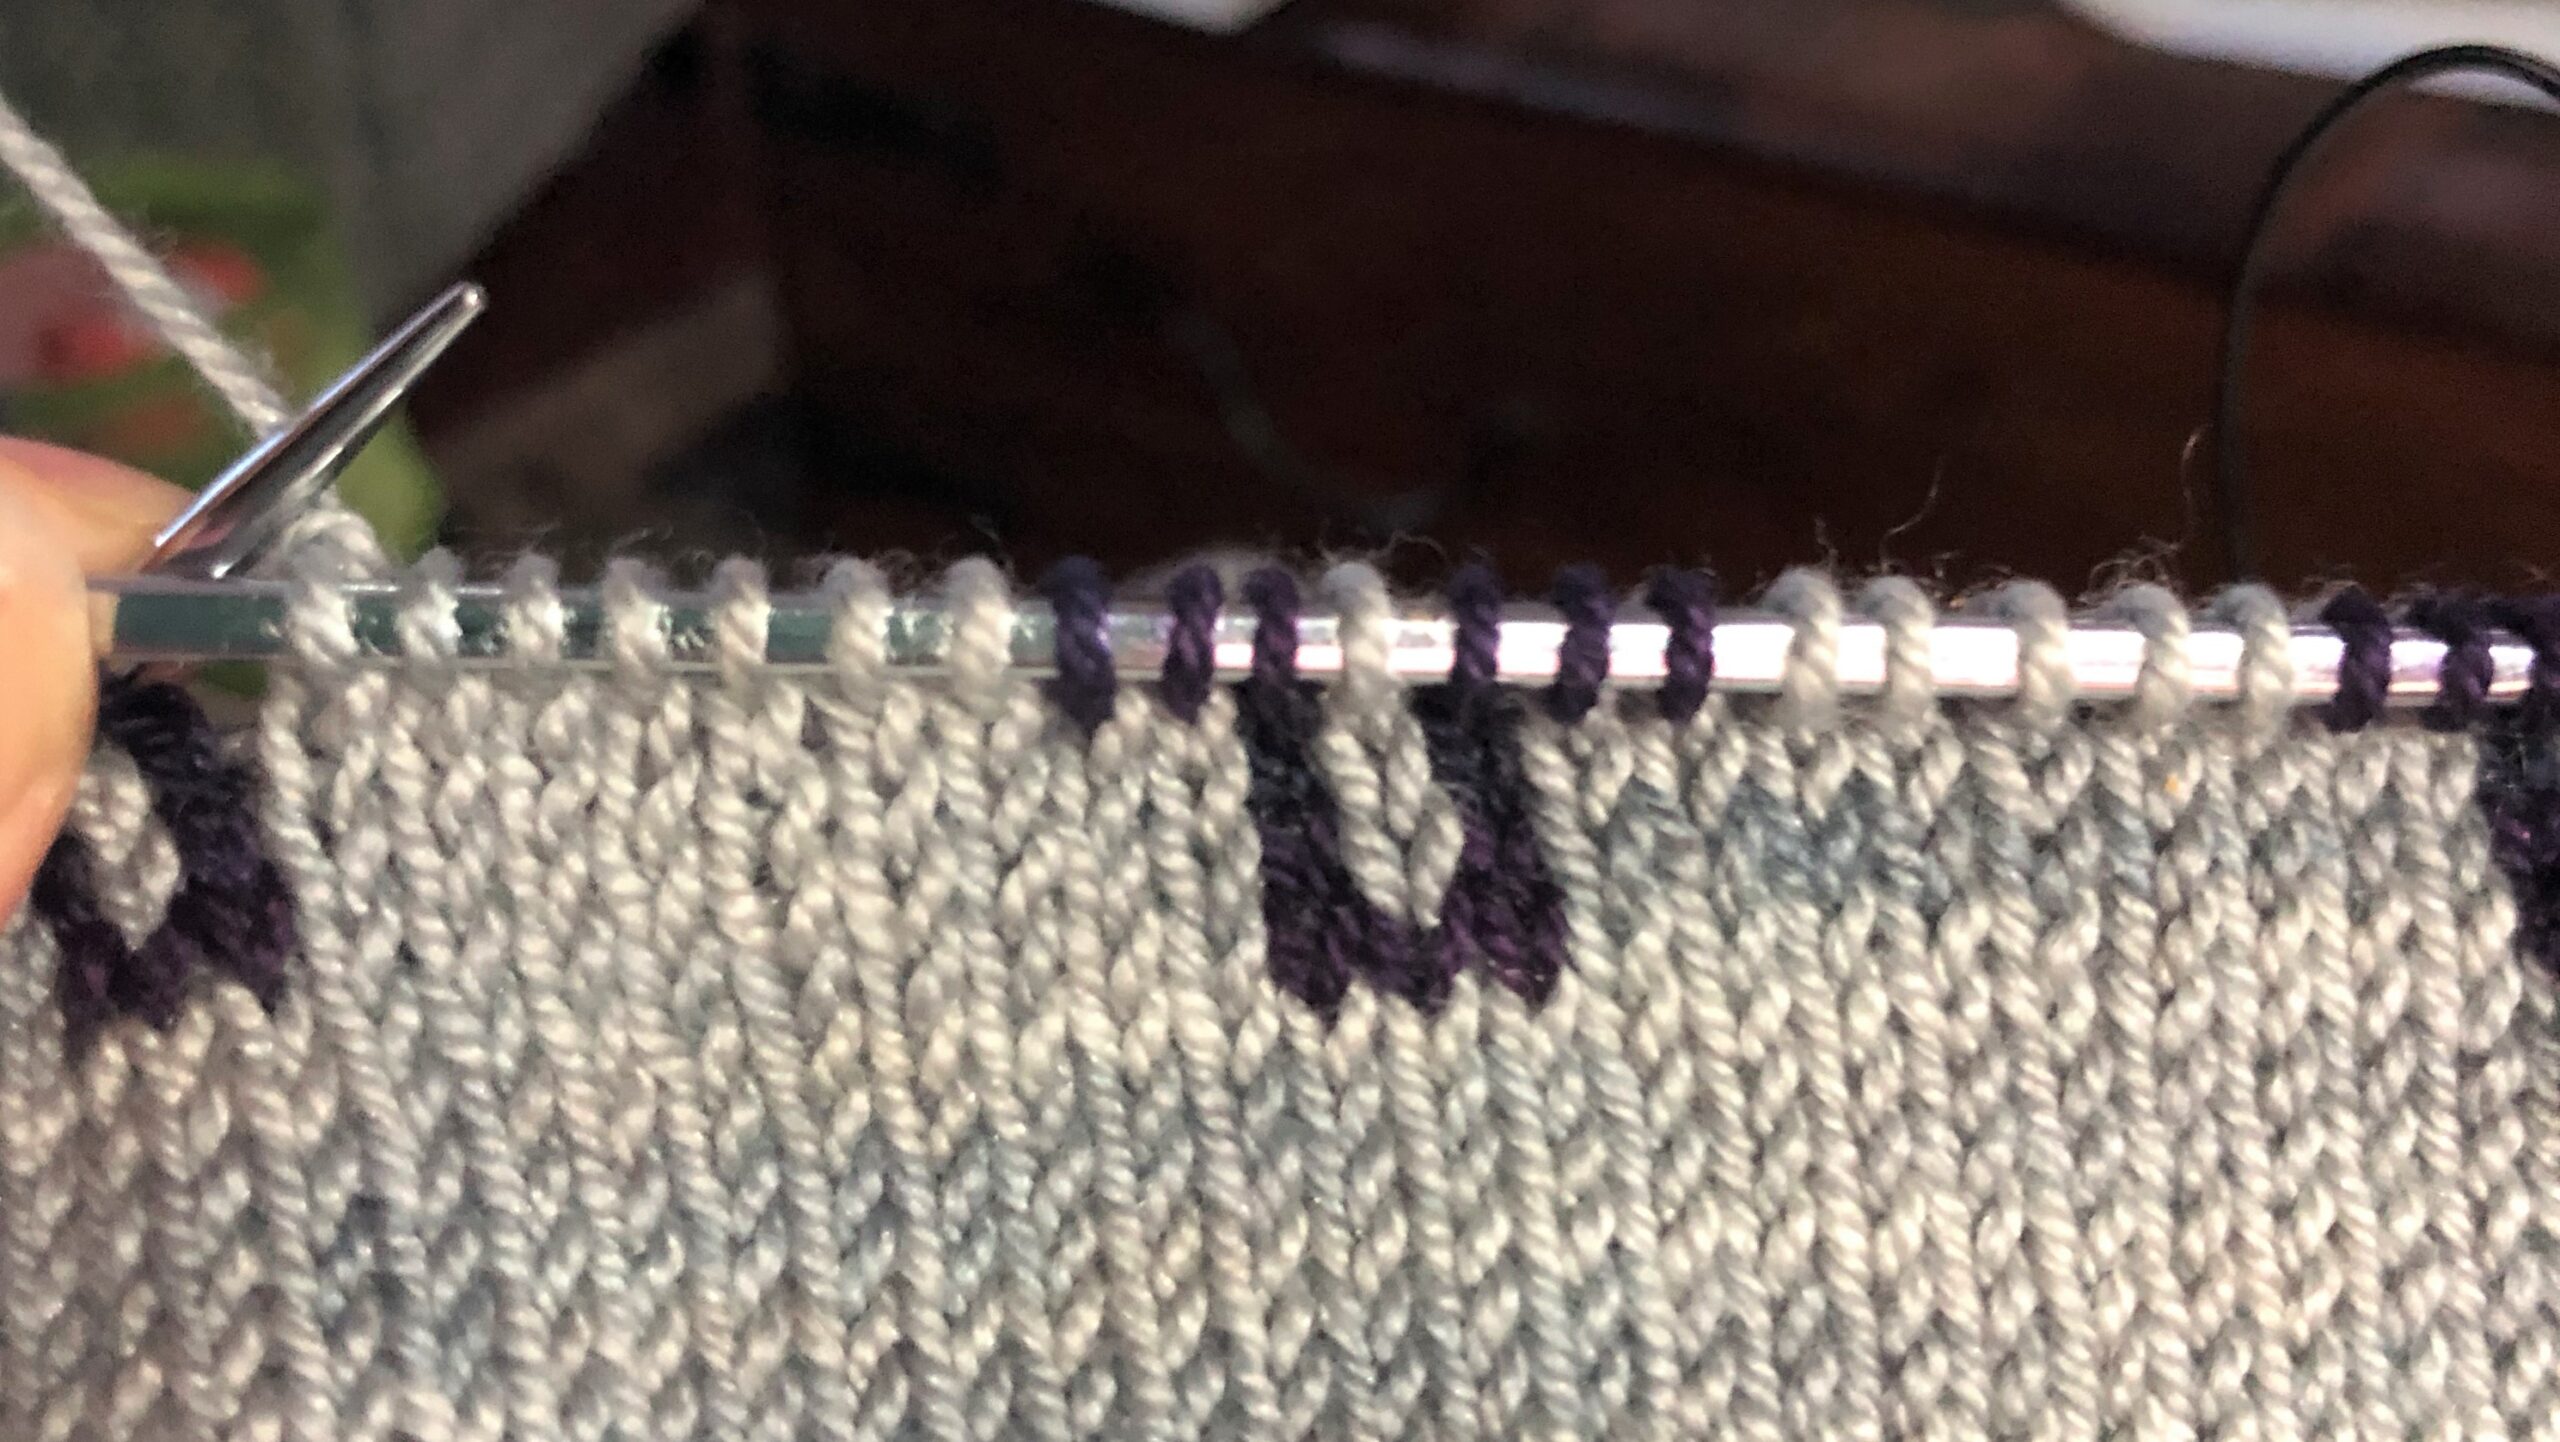
Totally cool, right? Clearly this isn’t a detailed tutorial, so please check out Techknitter’s page for full instructions: STUART method.
Given these new tools in my kit, I’m feeling pretty confident that I can take another run at my elephantine nemesis and produce something both beautiful AND wearable.
I’m coming for you, Ele-can’t, and I’m armed (with skills, not actual weapons, because hurting elephants is really really very bad and wrong).
What technique is eating peanuts in your room? Tell us about it and how, or if, you won the day.
Knit well. You got this.
Knicoleknits
I recently took an online course from Patricia Fortune ( knitography on you tube) and learned the Norwegian method of carrying floats. I chose an Erica Heussar mitten pattern for it and using Patricia’s method made it a very enjoyable knit.
Thanks for the tip! I’ll think Arne & Carlos have a tutorial for this as well. I’ll check it out 🙂